A Lesson in Simplicity from my Girls

IMG_1471

Having backyard chickens teaches the owner many things. Most people think that chickens are characteristically unintelligent but this is far from the truth. Just because they cannot understand technology or make complex machines does not mean that they are not wise beyond their years. As the closest living relative to the ferocious T-Rex, these guys have been around a long time and have much to teach us.

Recently those who follow me on Facebook may have noticed that I have disappeared from the social media landscape. This is true, I have recently decided to leave the social media world behind. After getting caught up in a flame war I decided that this is not me and this is not what I want to be. I took a step back and thought to myself, what am I doing getting caught up in all the drama that comes with social media. People said things to me that were hurtful and I said my own things that were hurtful. I decided that this is not the person that I want to be and cut the cord with social media. I also want to offer an apology to those who followed me on Facebook. If I posed anything or said anything that you found offensive I offer my deepest apology.

Since I am no longer on Facebook I have created an email address for those who would like to contact me outside of the comment section on my blog. That address is kuntryklucker@gmail.com. I will add that to the contact section of my page as well.

IMG_1470

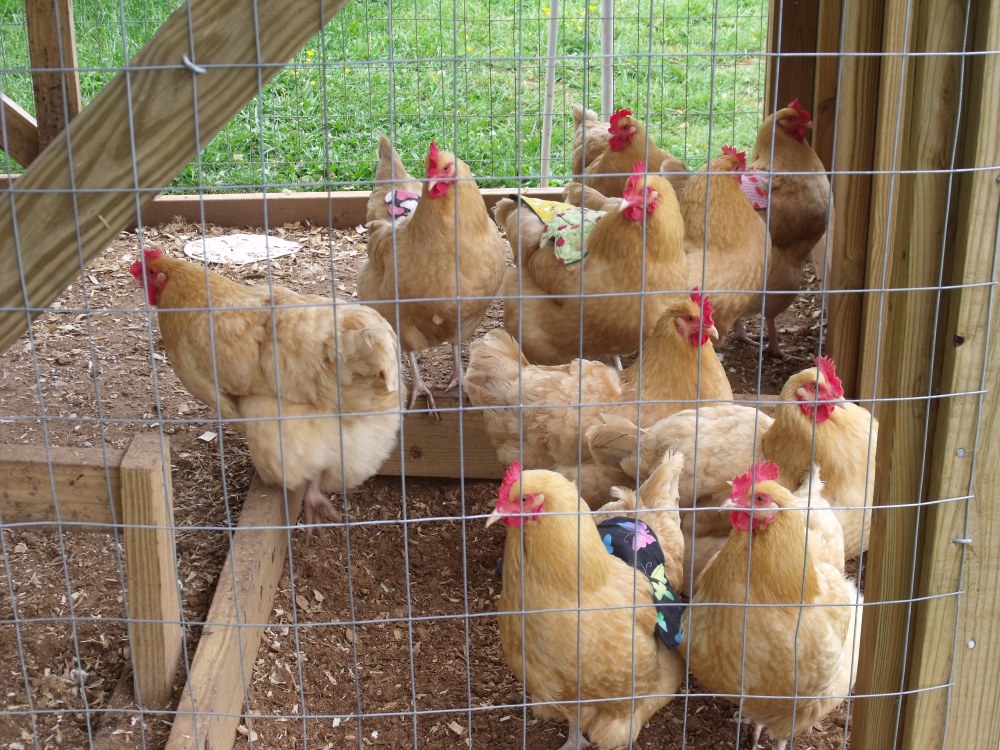
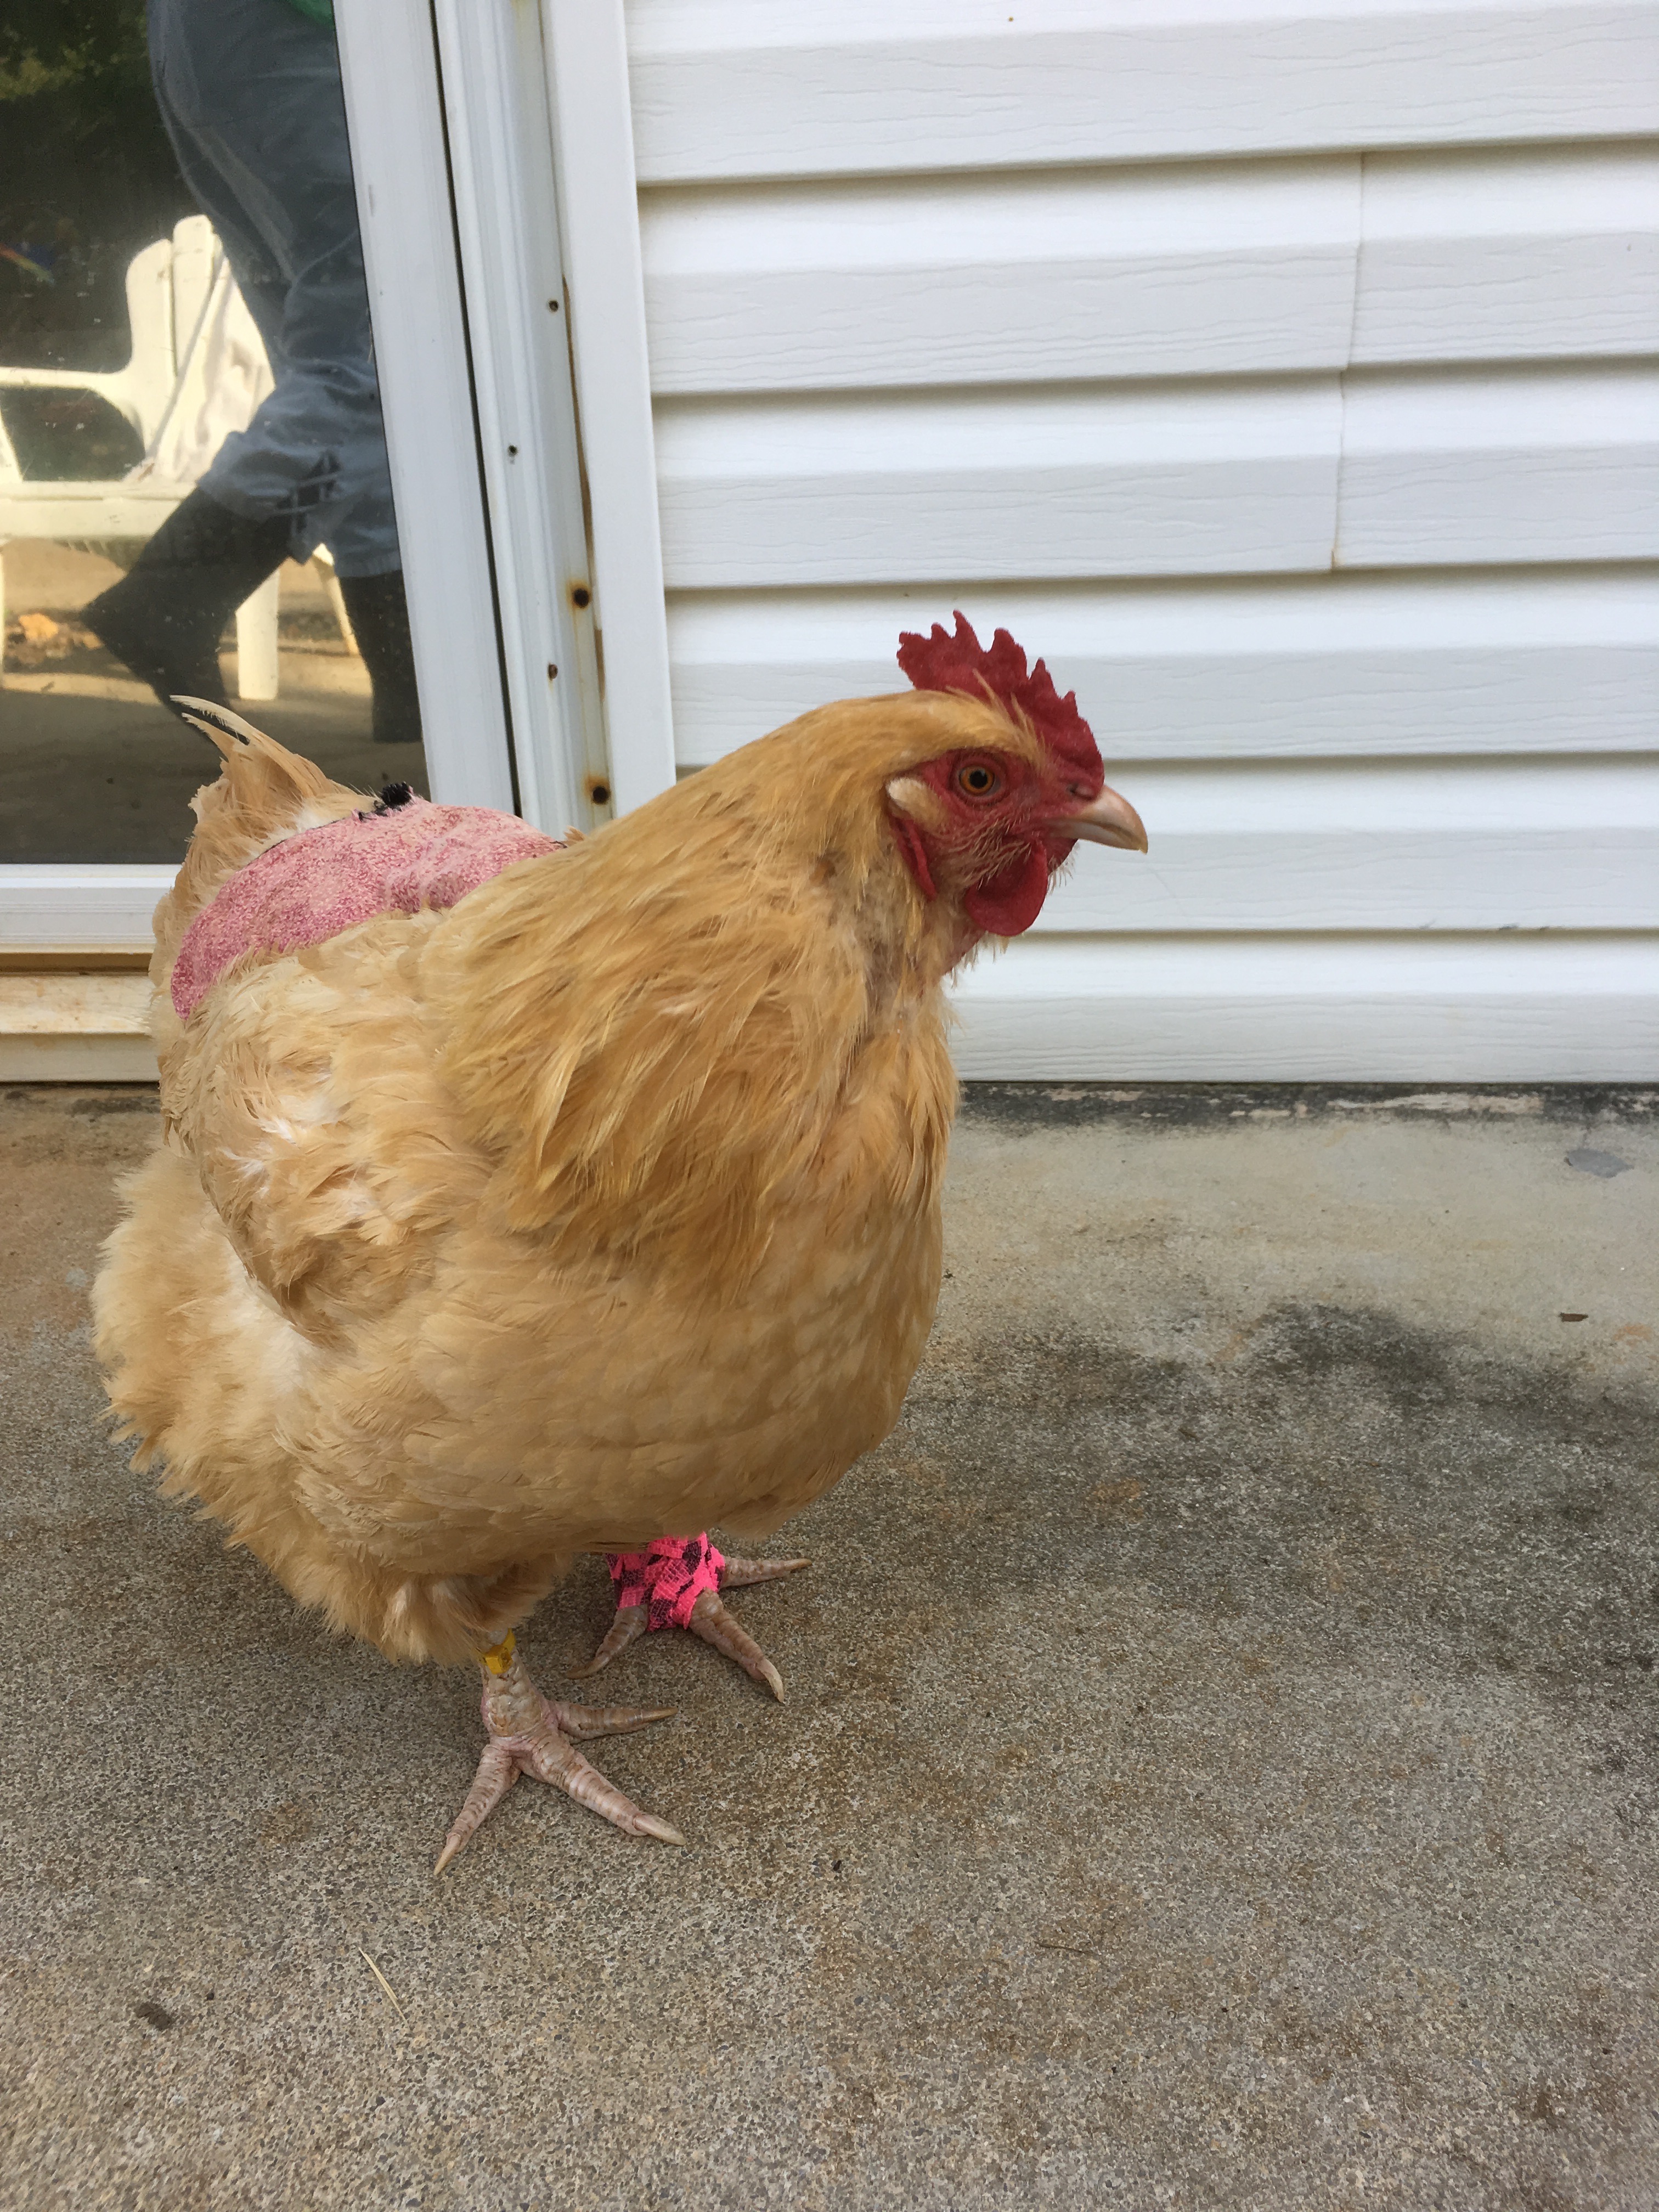
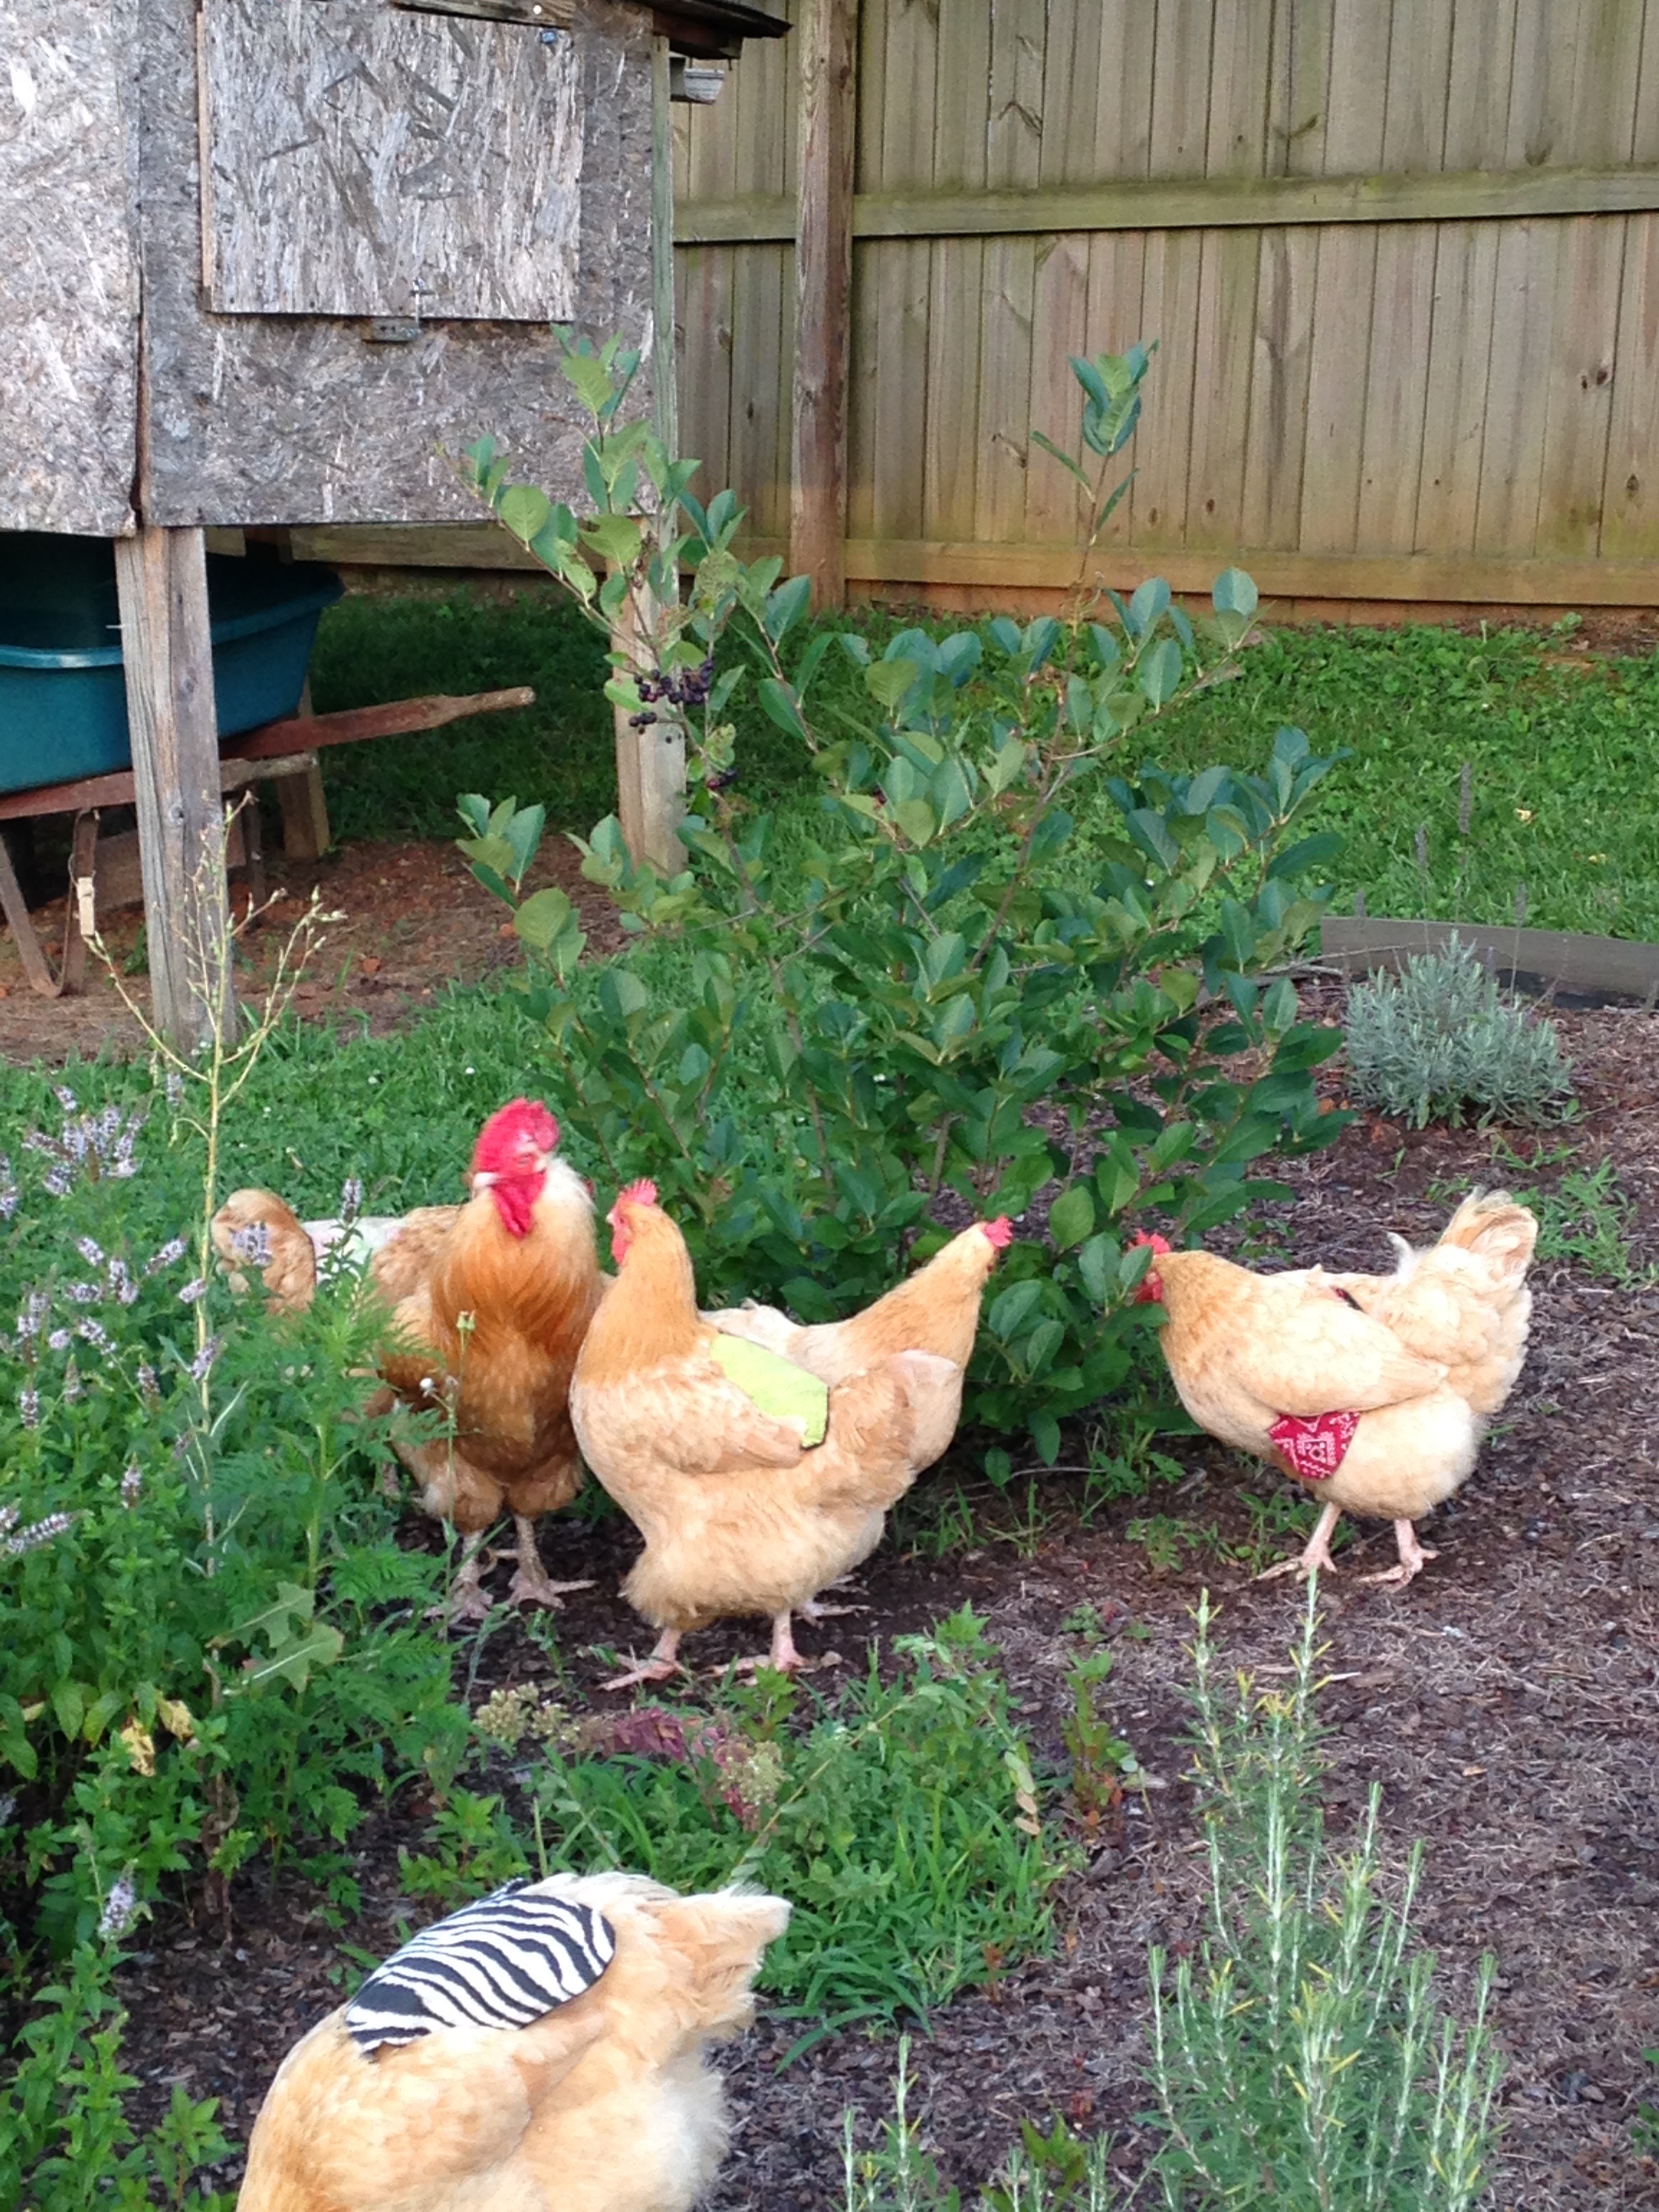
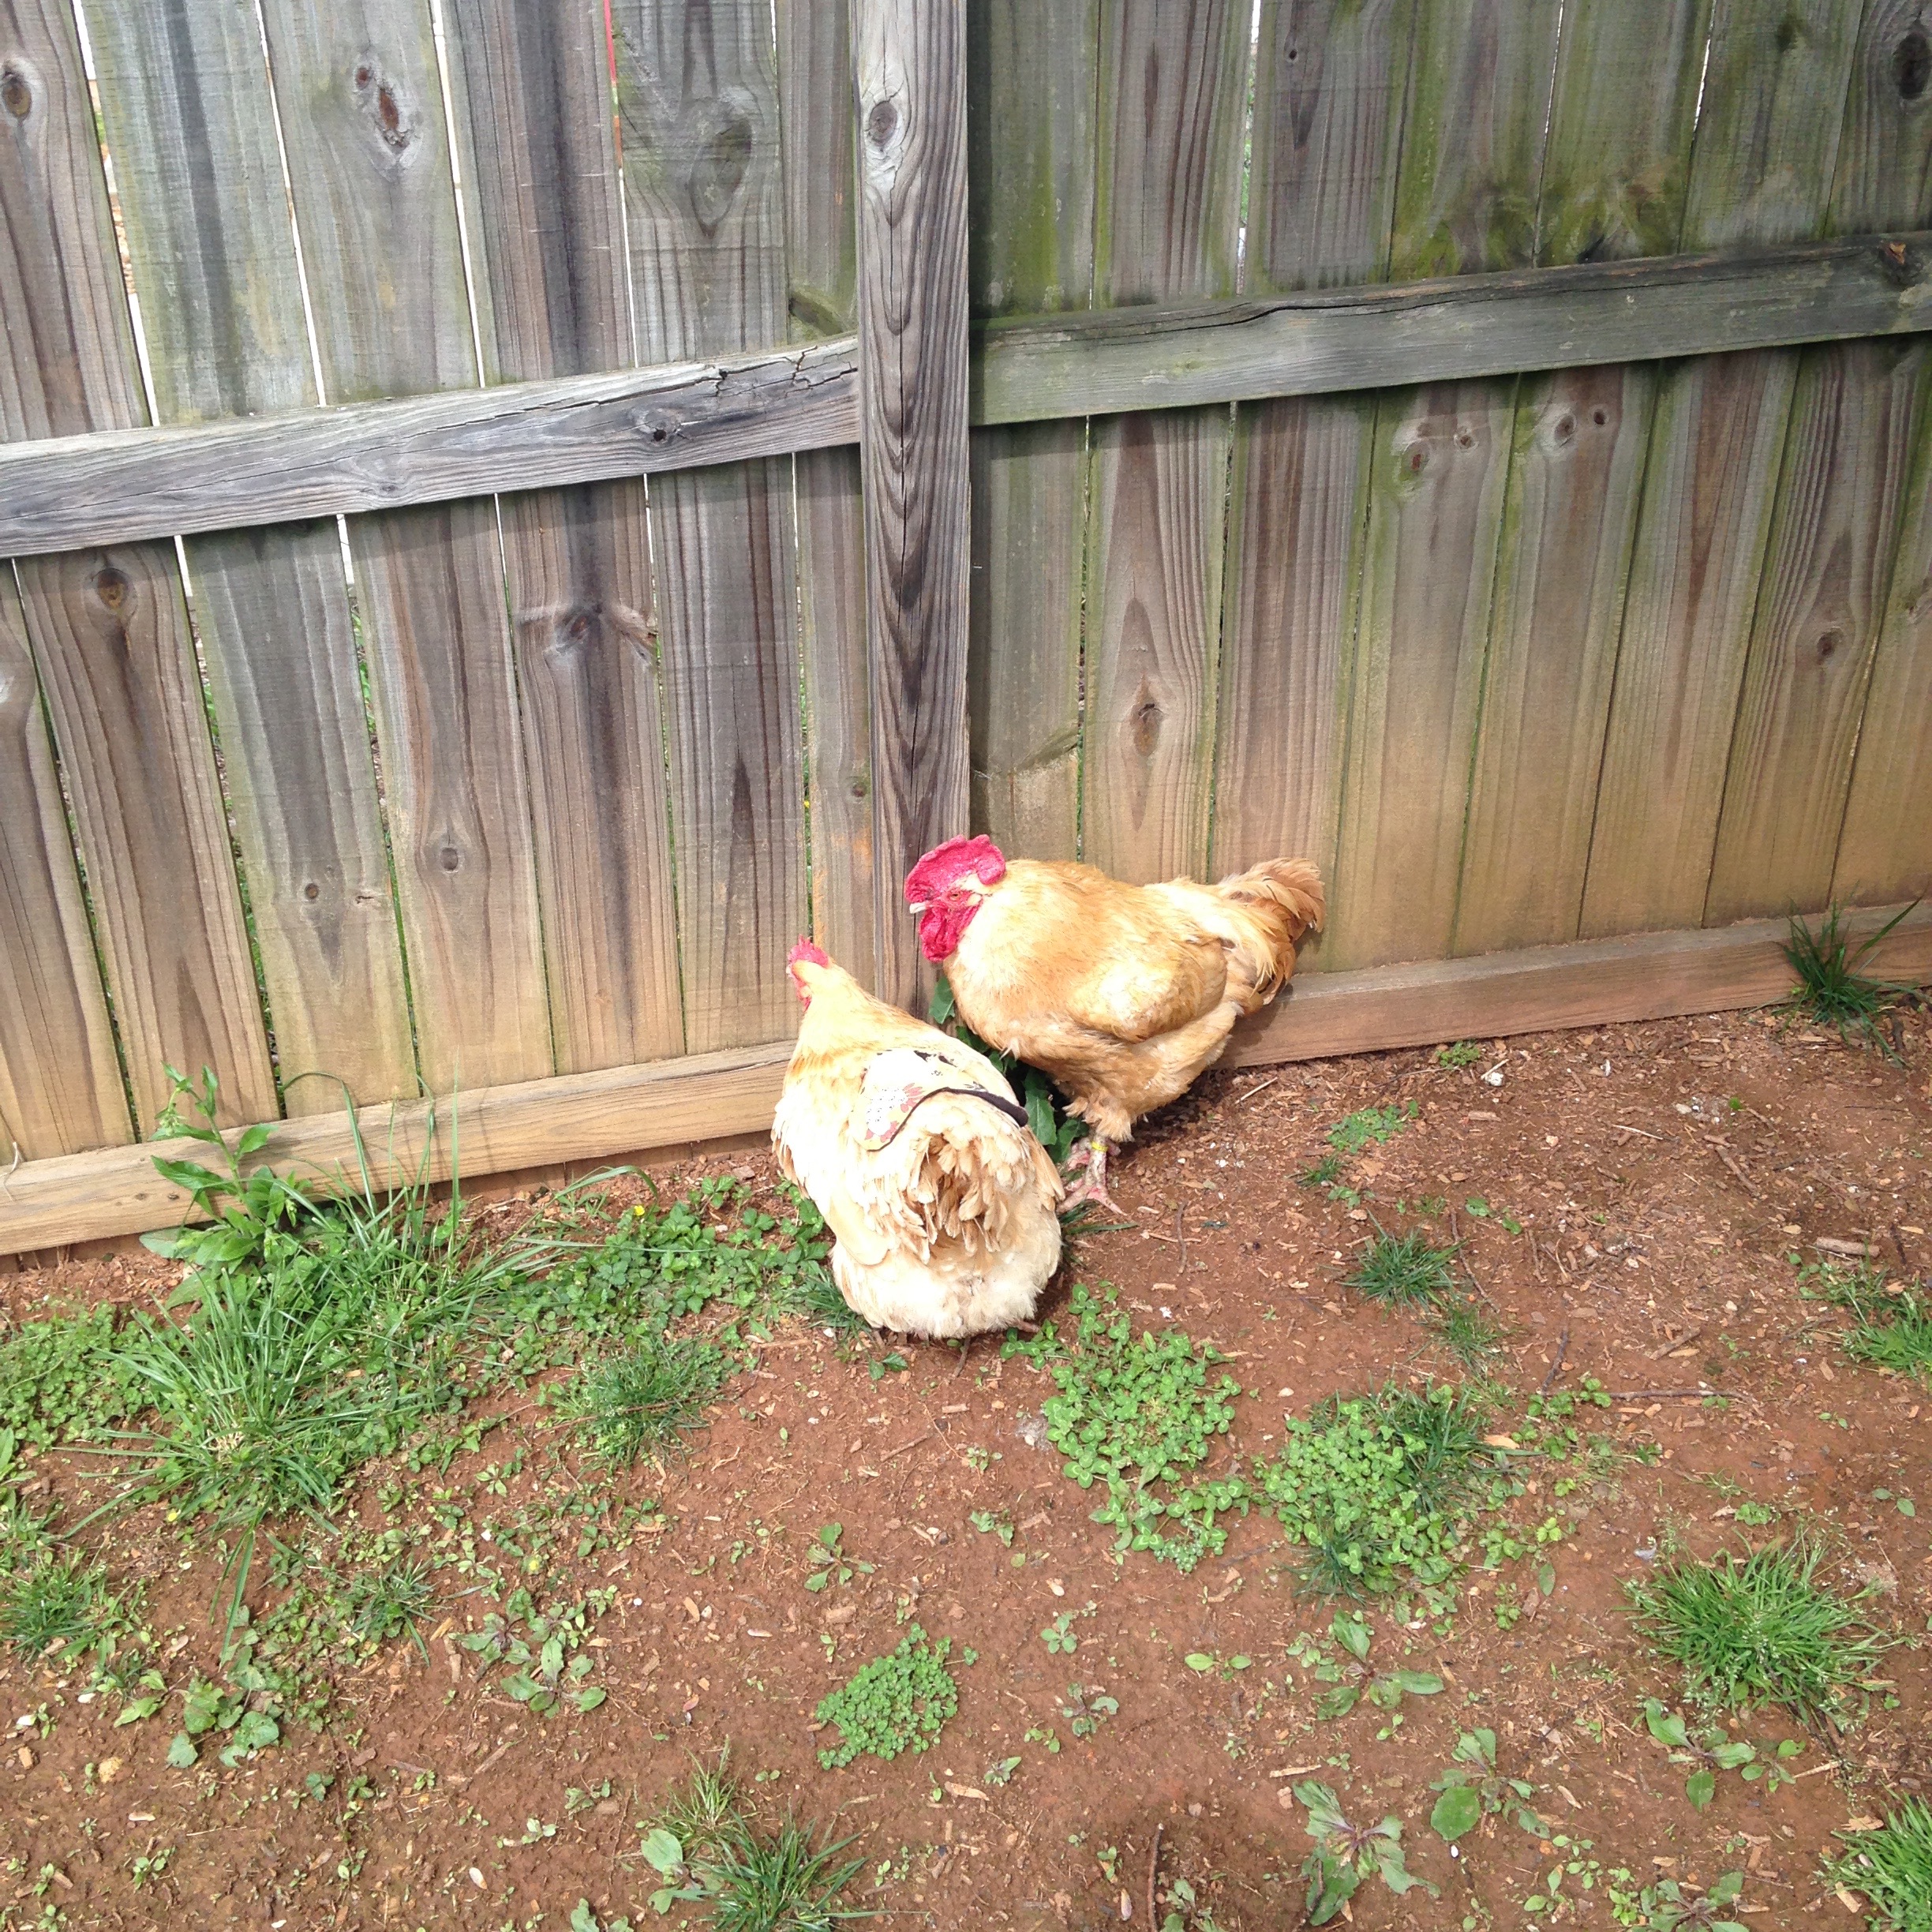
This blog is entitled “A Lesson in Simplicity from my Girls”, so what I am doing rambling on about social media. Well, after I got my wake up call via a flame war that I got drawn into, I took a step back,  left my office and went to visit the girls. As I thought about how awful people can be to one another,  I watched them as they hunted and pecked in the backyard. I watched them as a group stroll in the backyard without a care in the world (I know that they have cares and have emotions) but I watched as they were content to simply be.

cropped-img_13043.jpg

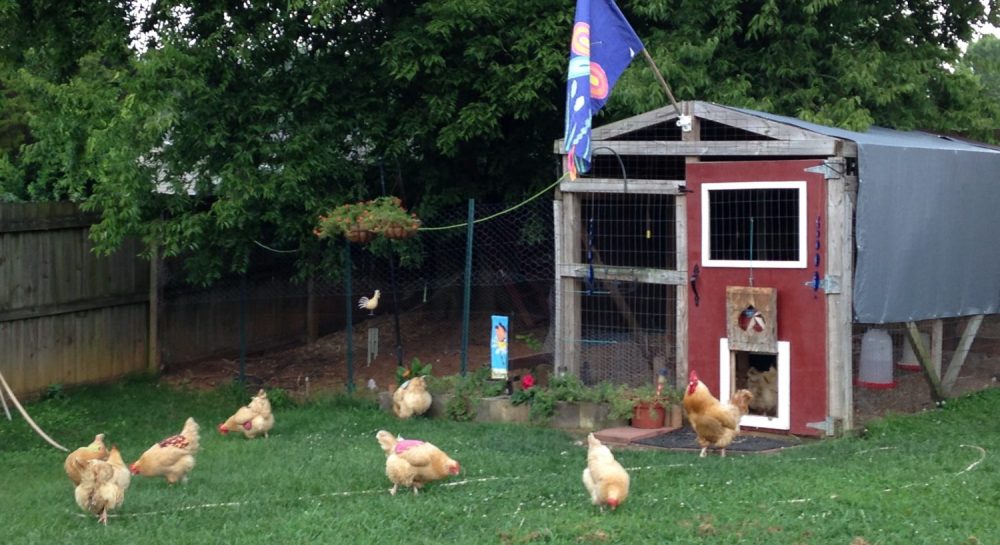
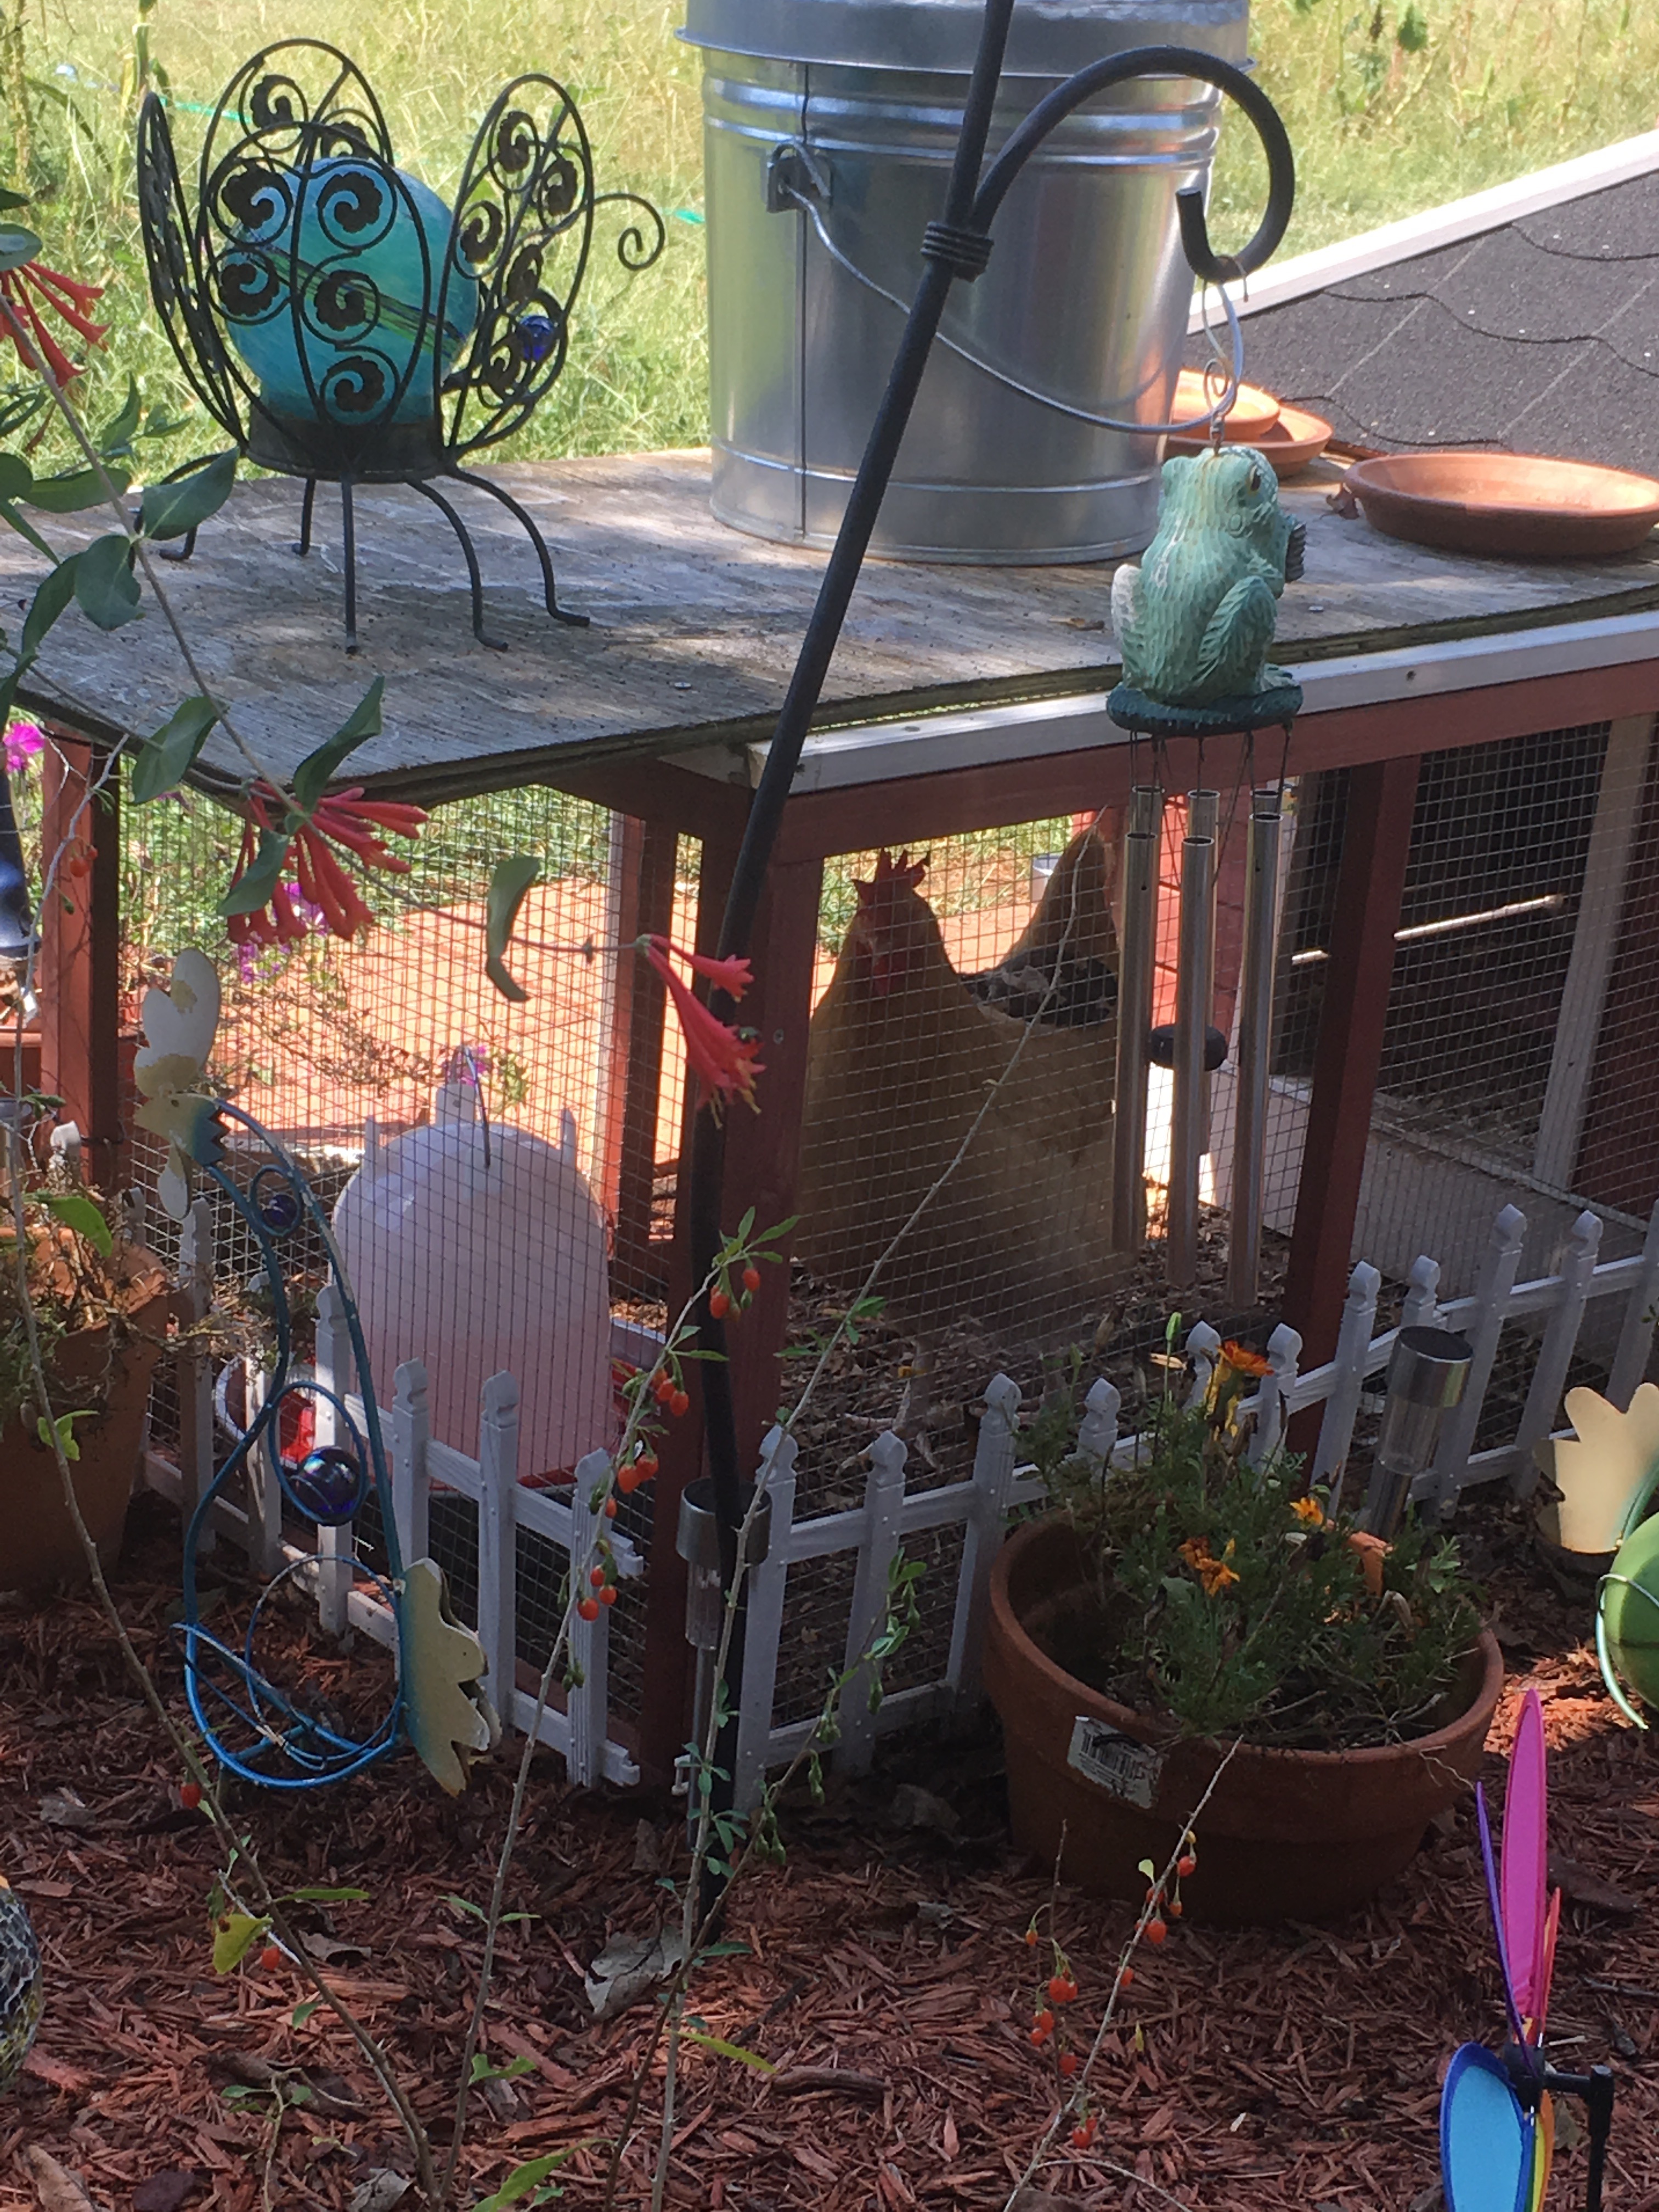
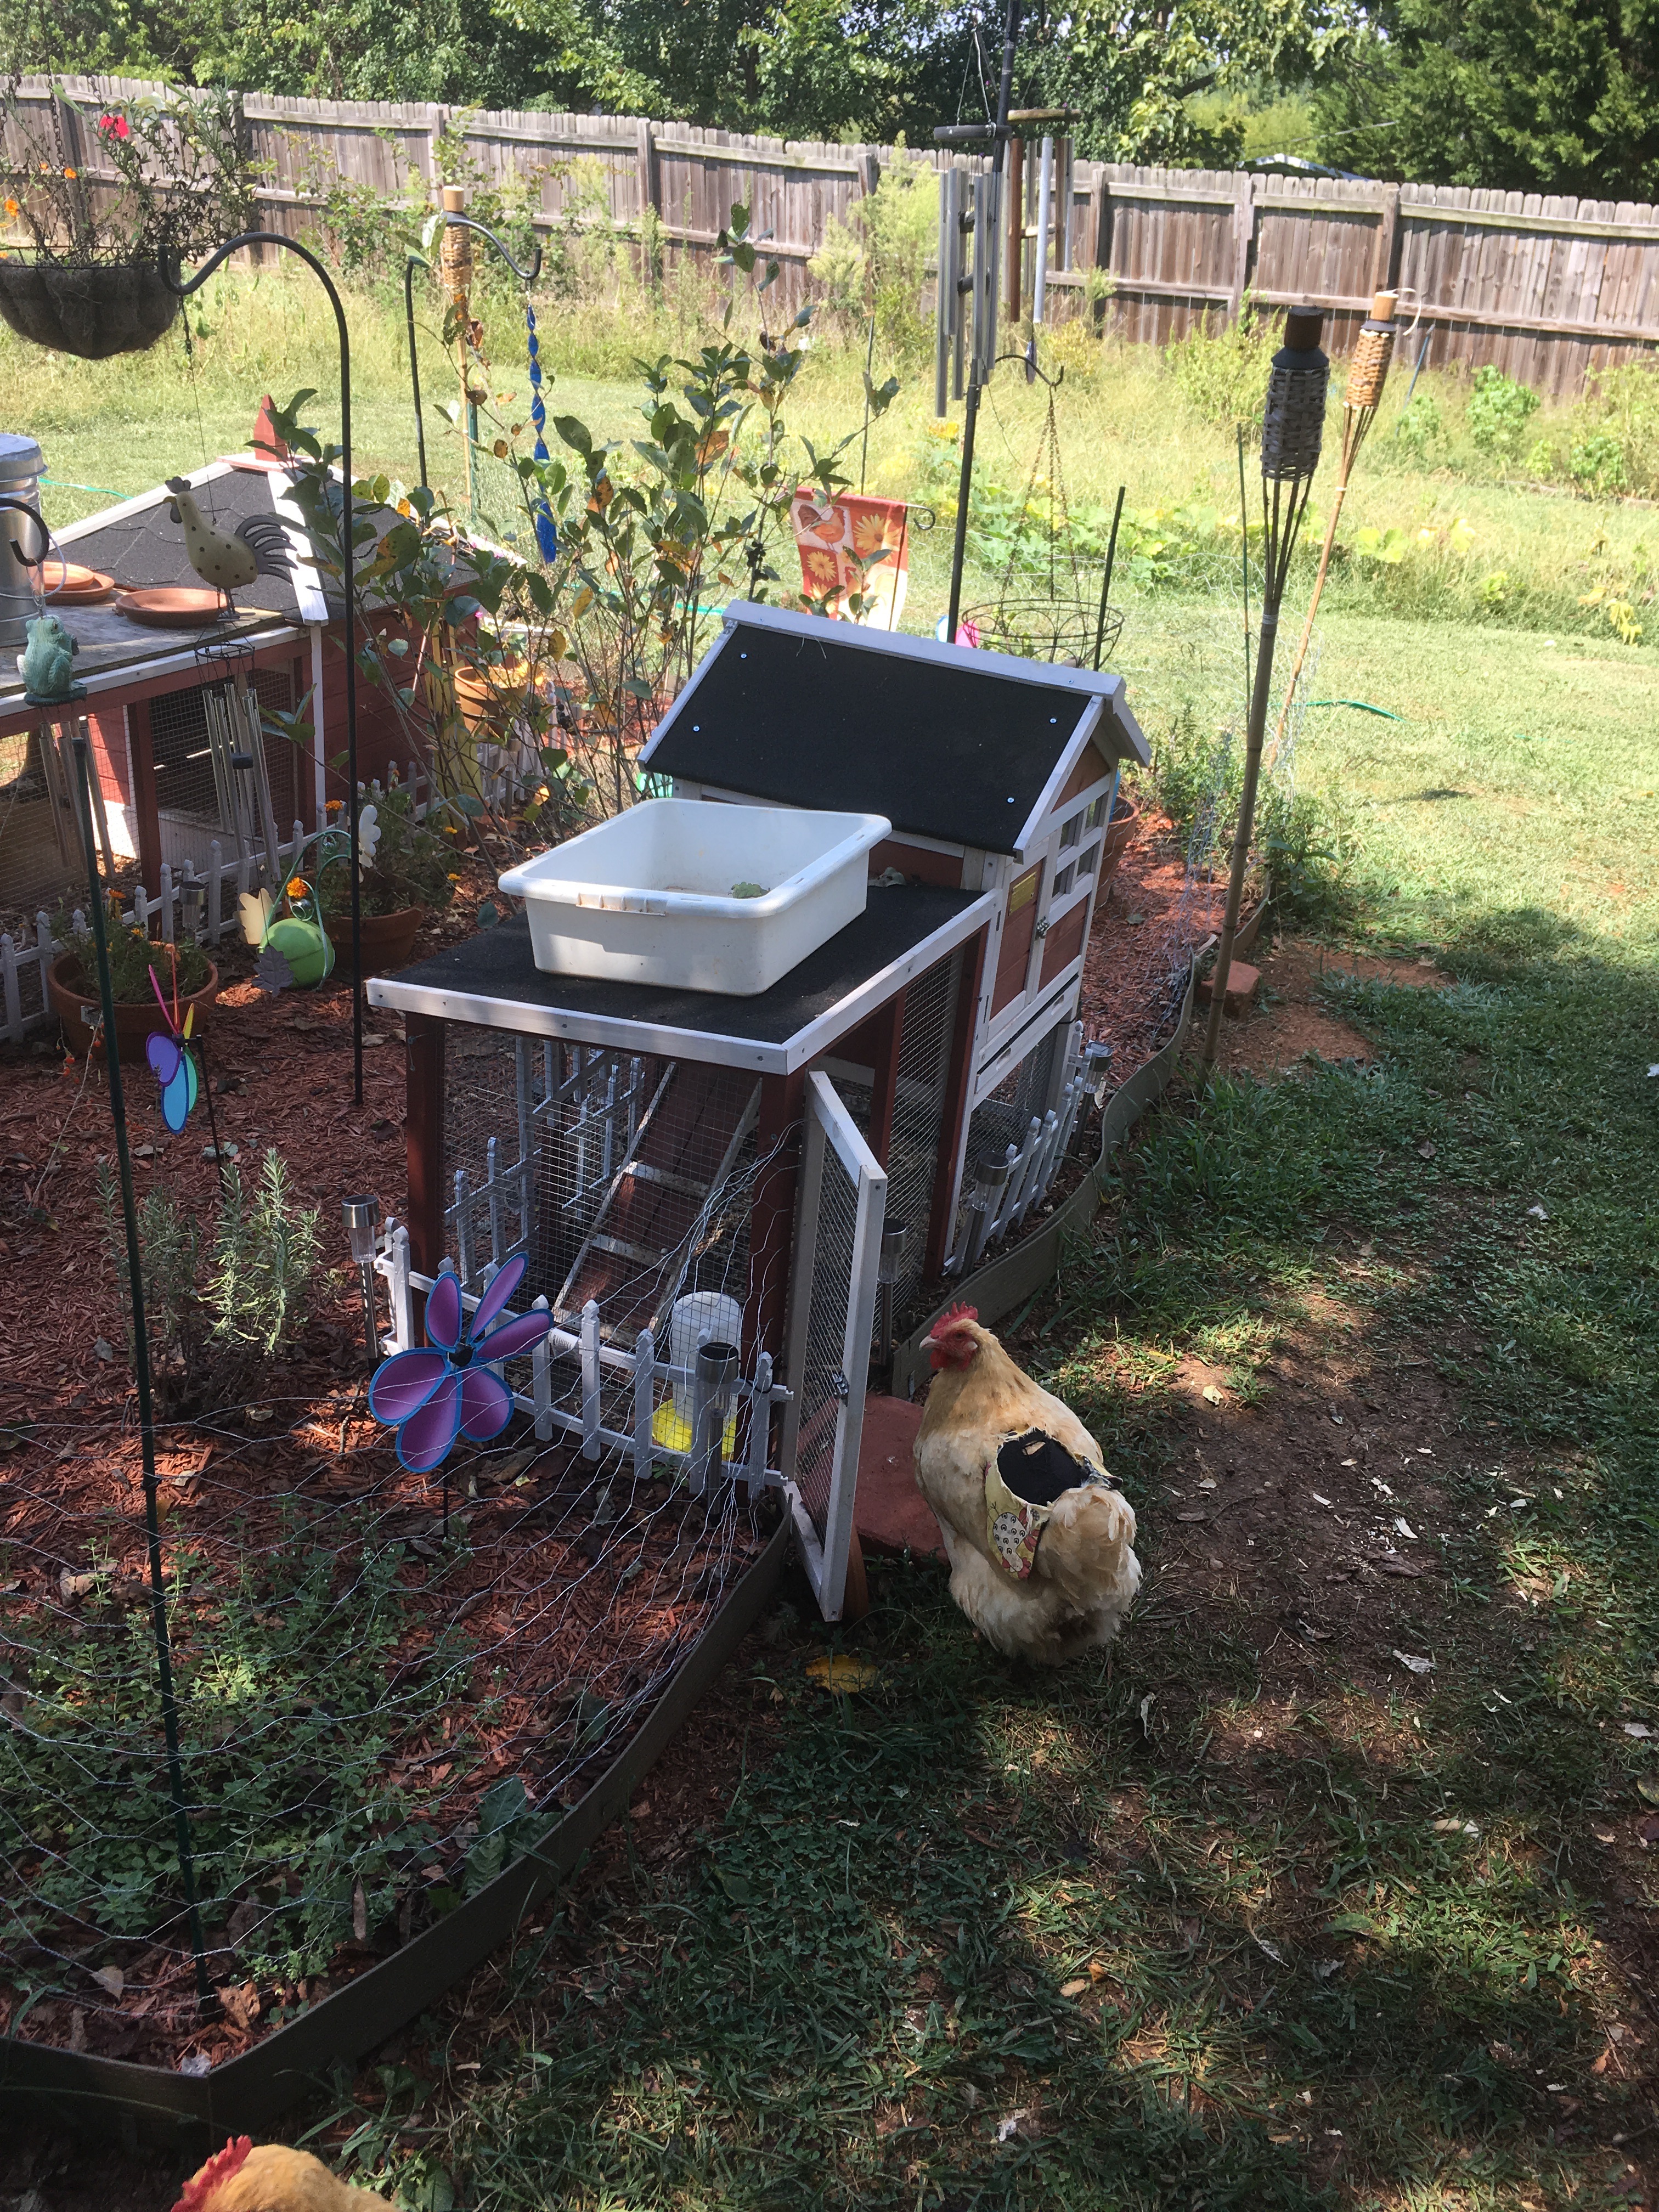
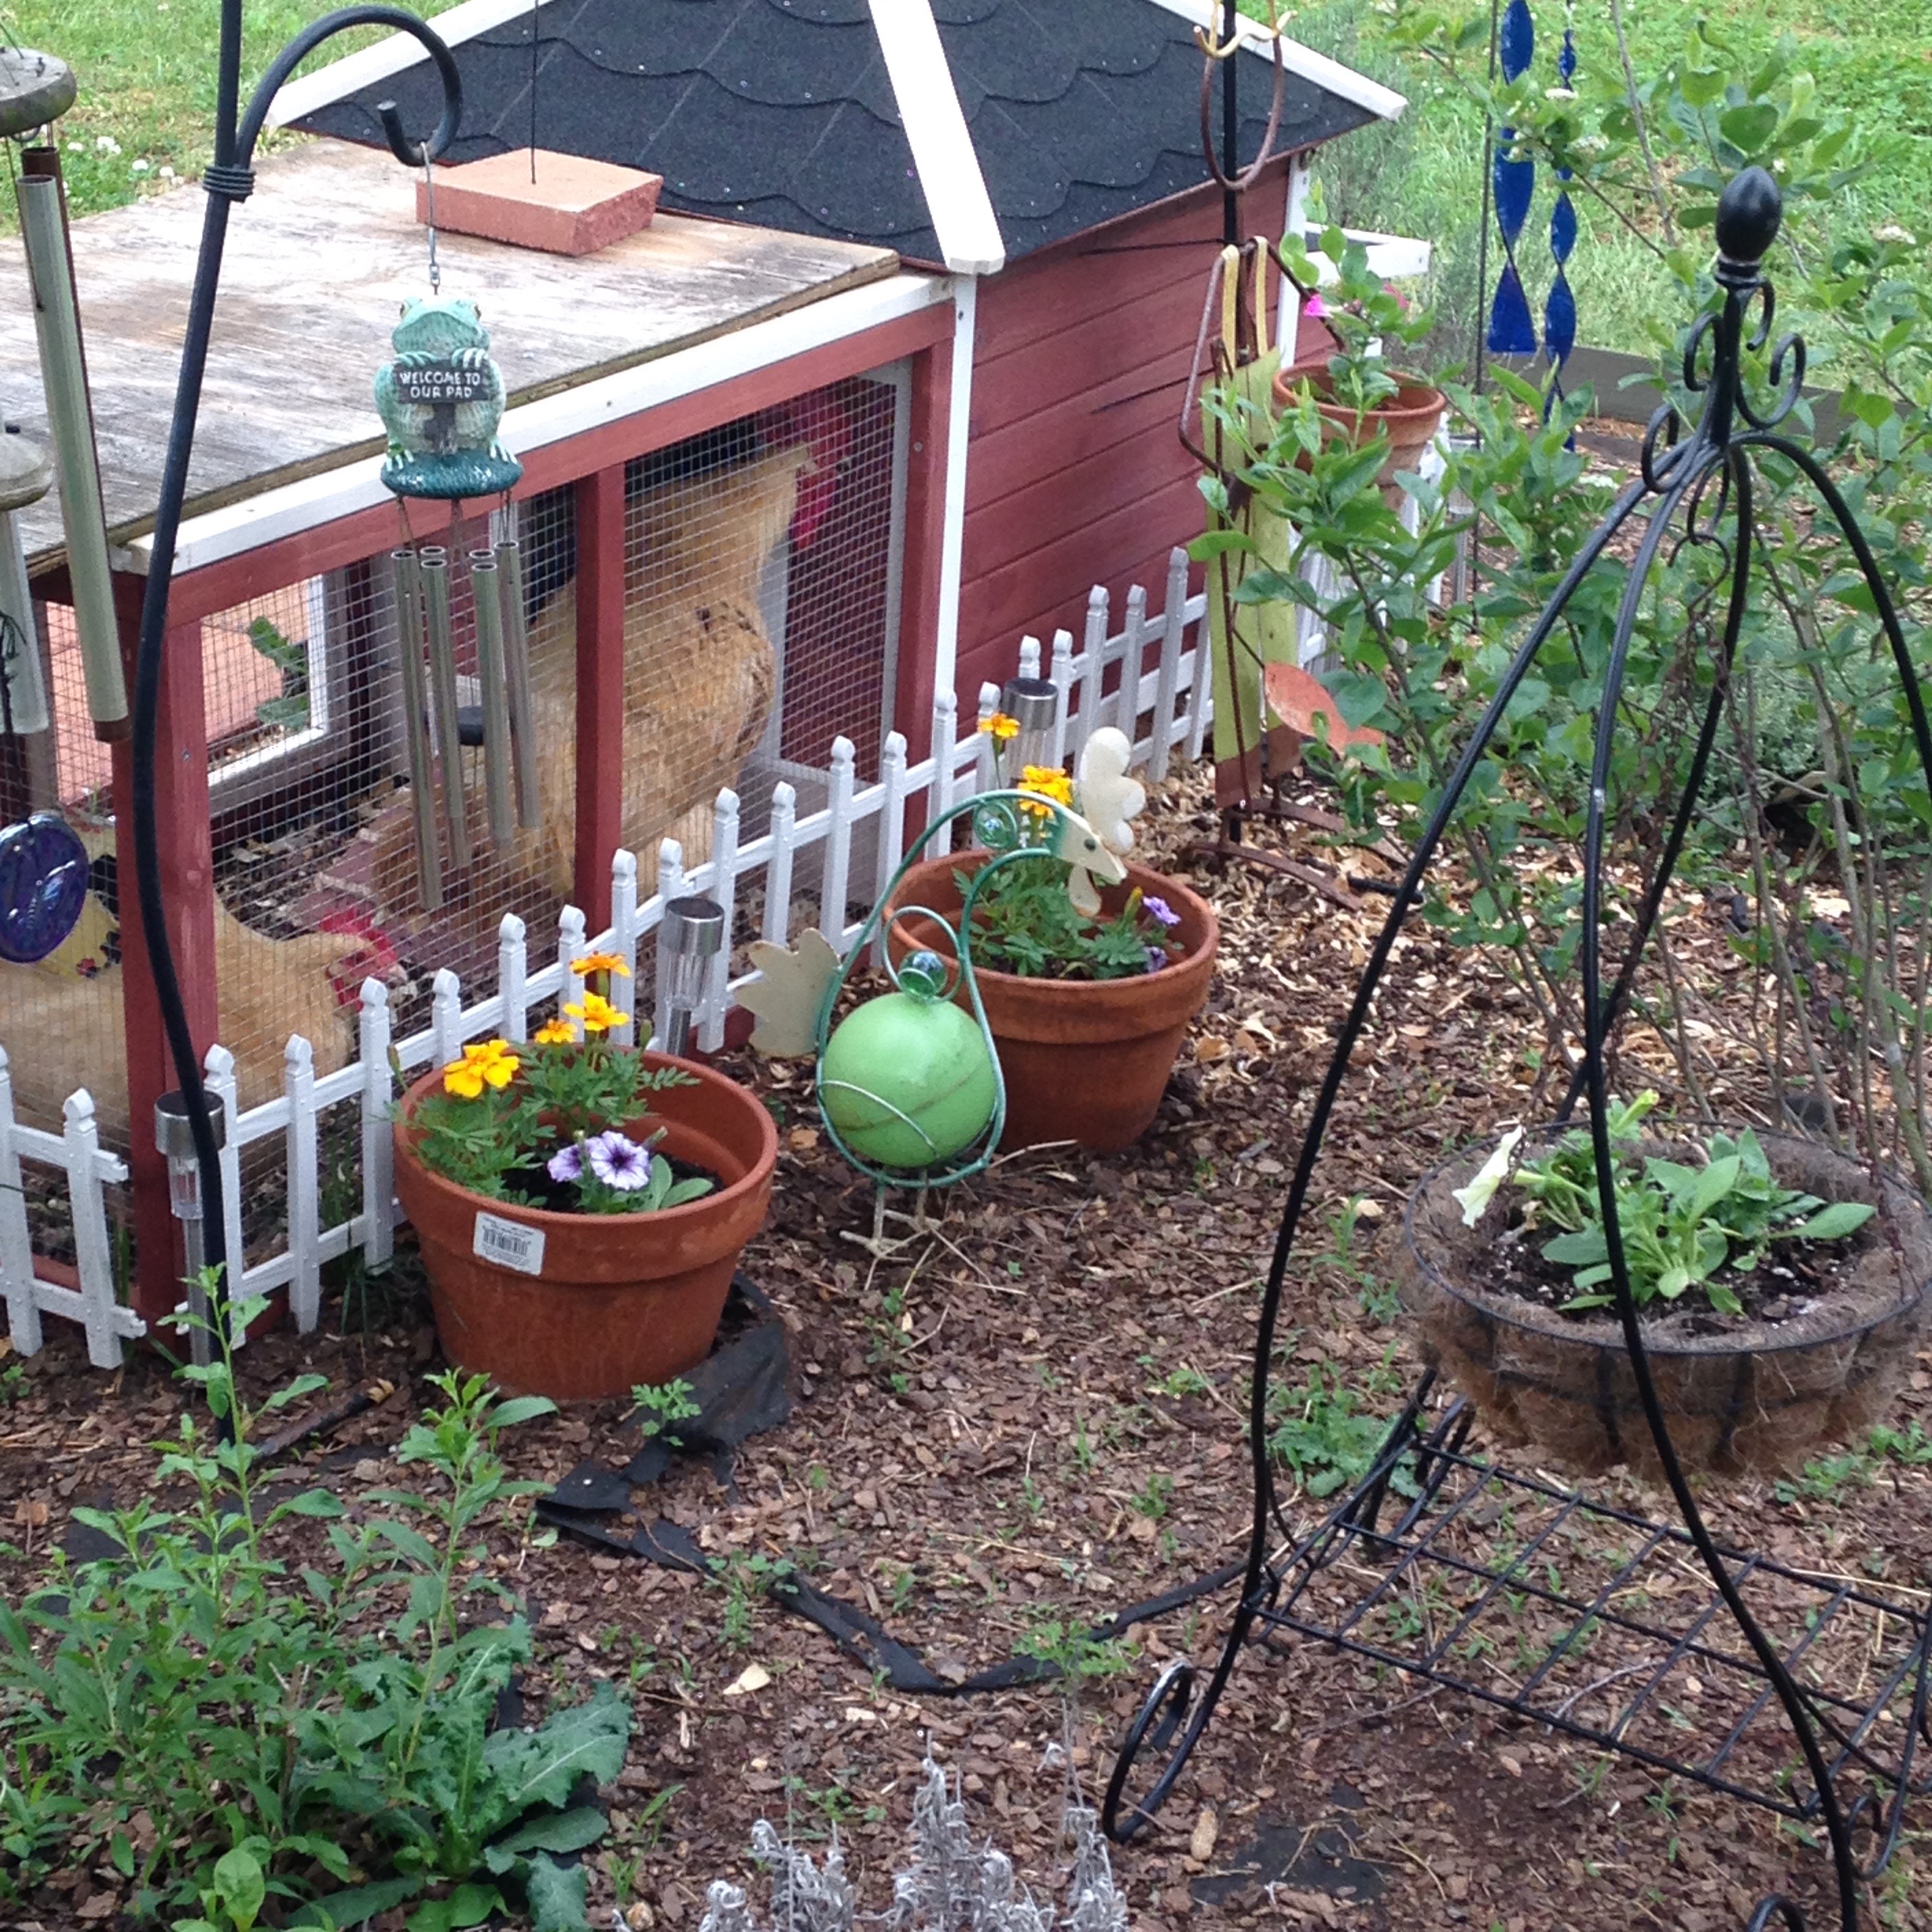
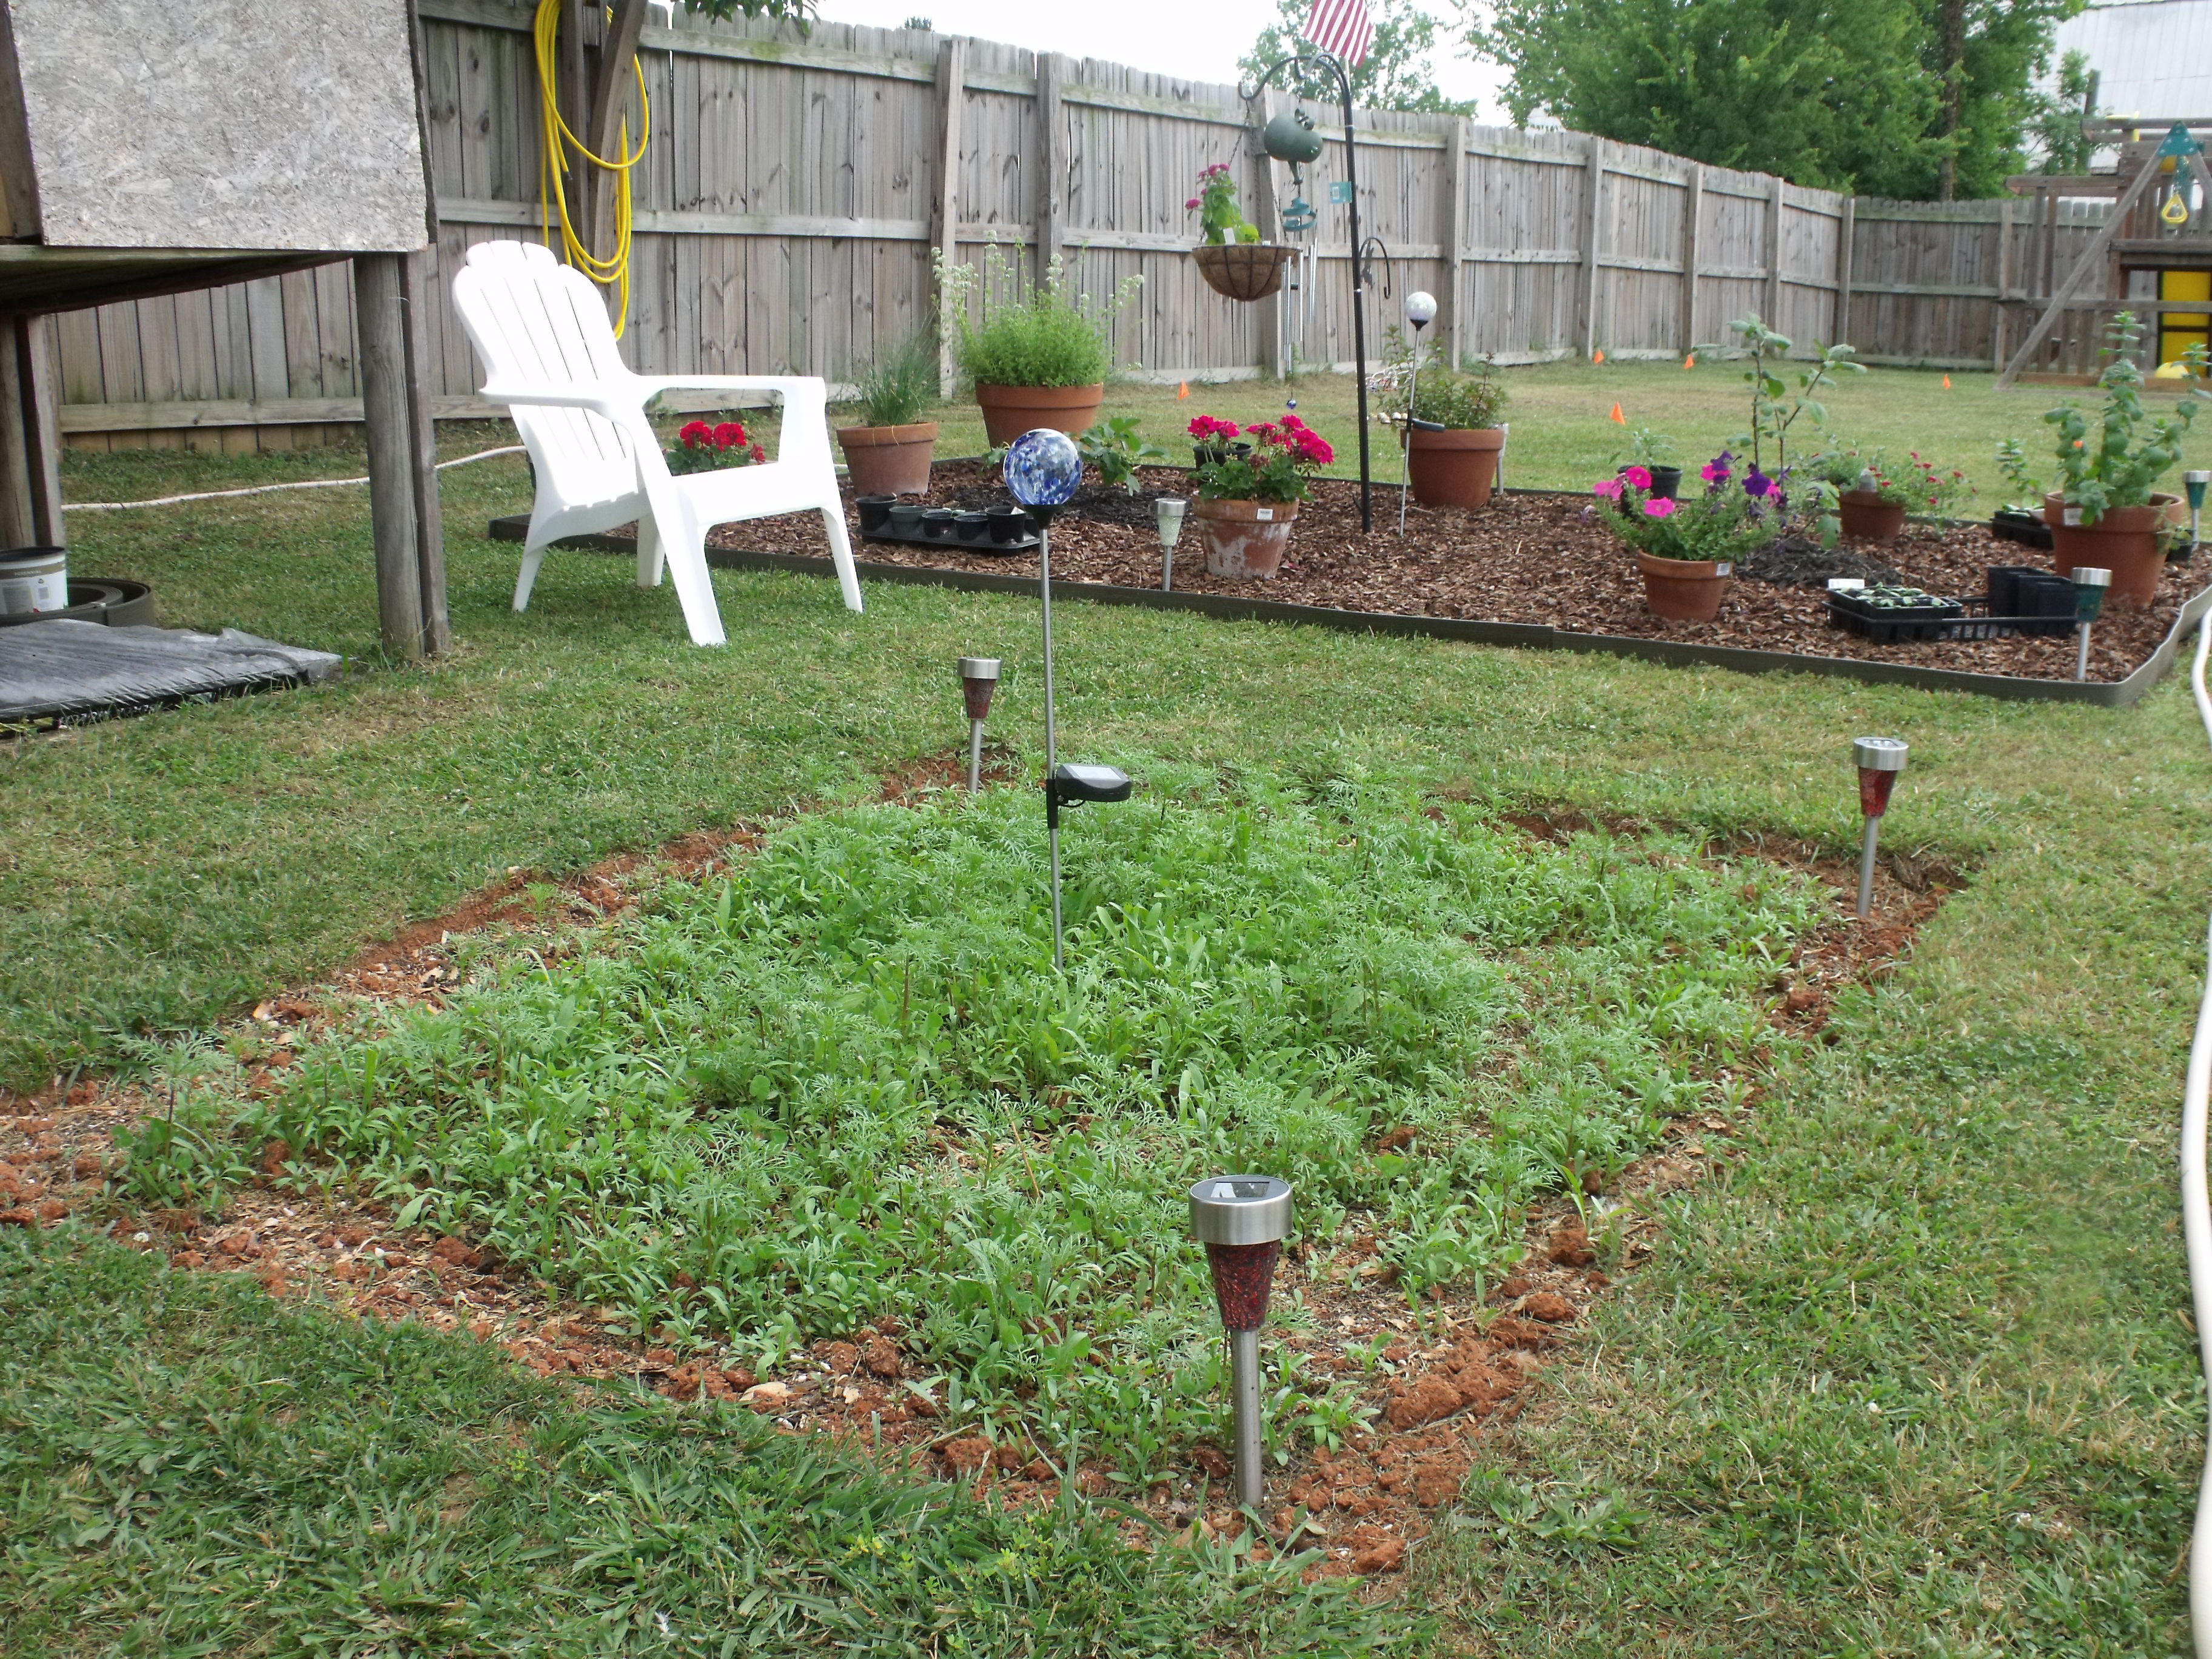
The needs of a chicken are very few. They need food, shelter, and water like all organisms on Earth. A stretch of green grass to find bugs and a little dirt to dust bathe in this is all they need for contentment. Now I know that I spoil my girls above and beyond that, they have a penthouse of a coop and more plants than they could graze on. But outside of that, if all they had was food, water, dirt and space to hunt for bugs they would be completely content.

IMG_1296

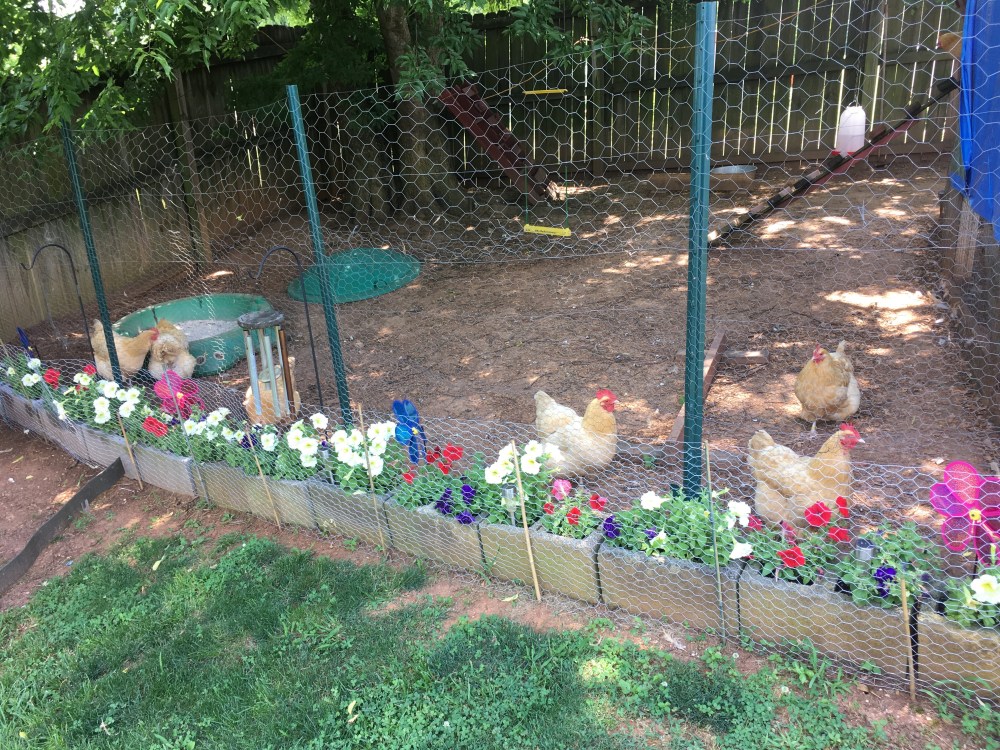
This is where I realized something, my girls are showing me how to be content with life , not worry or get caught up in the drama around me. They have drama around them, everything from dogs, to the occasional hawk sighting, to the excitement of a big juicy bug being found. But outside of that they are completely at peace to just be.

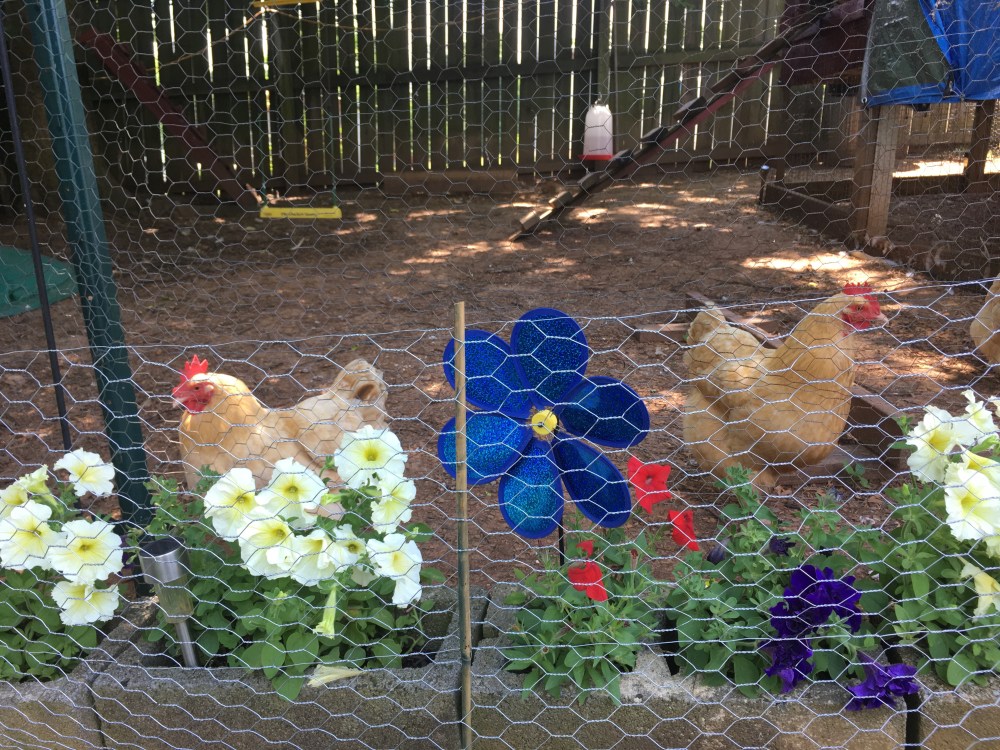
I decided, after watching them for an hour or more that I understand what simplicity is. Its being content with where you are and simply pecking in the grass as the drama passes you by. After realizing this, I decided to cut my ties with the social media world. I will of course keep plucking away at my blog here, but as far as the drama that social media can create, I choose to simply be and leave it behind.

I know that many of you will miss my quirky posts and pics. But what really matters to me are my girls, and my love for sharing the backyard chicken hobby with others. Keeping chickens is more than just feeding them and collecting eggs, its taking in the lessons that they teach. Although they cannot speak our language they do speak the universal language of life. They speak in simple terms but that may be just what we as humans need. A life of simplicity is not a wasted one, it is one lived with focus on what is most important and the rest left behind.

Again, I am sorry if my disappearance of leaving Facebook concerned you or if I may have posted or said something that offended you. I offer my deepest apology. But, this lesson in both life and simplicity is one that I needed. I thank those who made me aware of my mistakes and my girls for showing me how to move forward with a simplicity that is only found in the lesson from a chicken.

Keep calm, look for delectables, and simply be

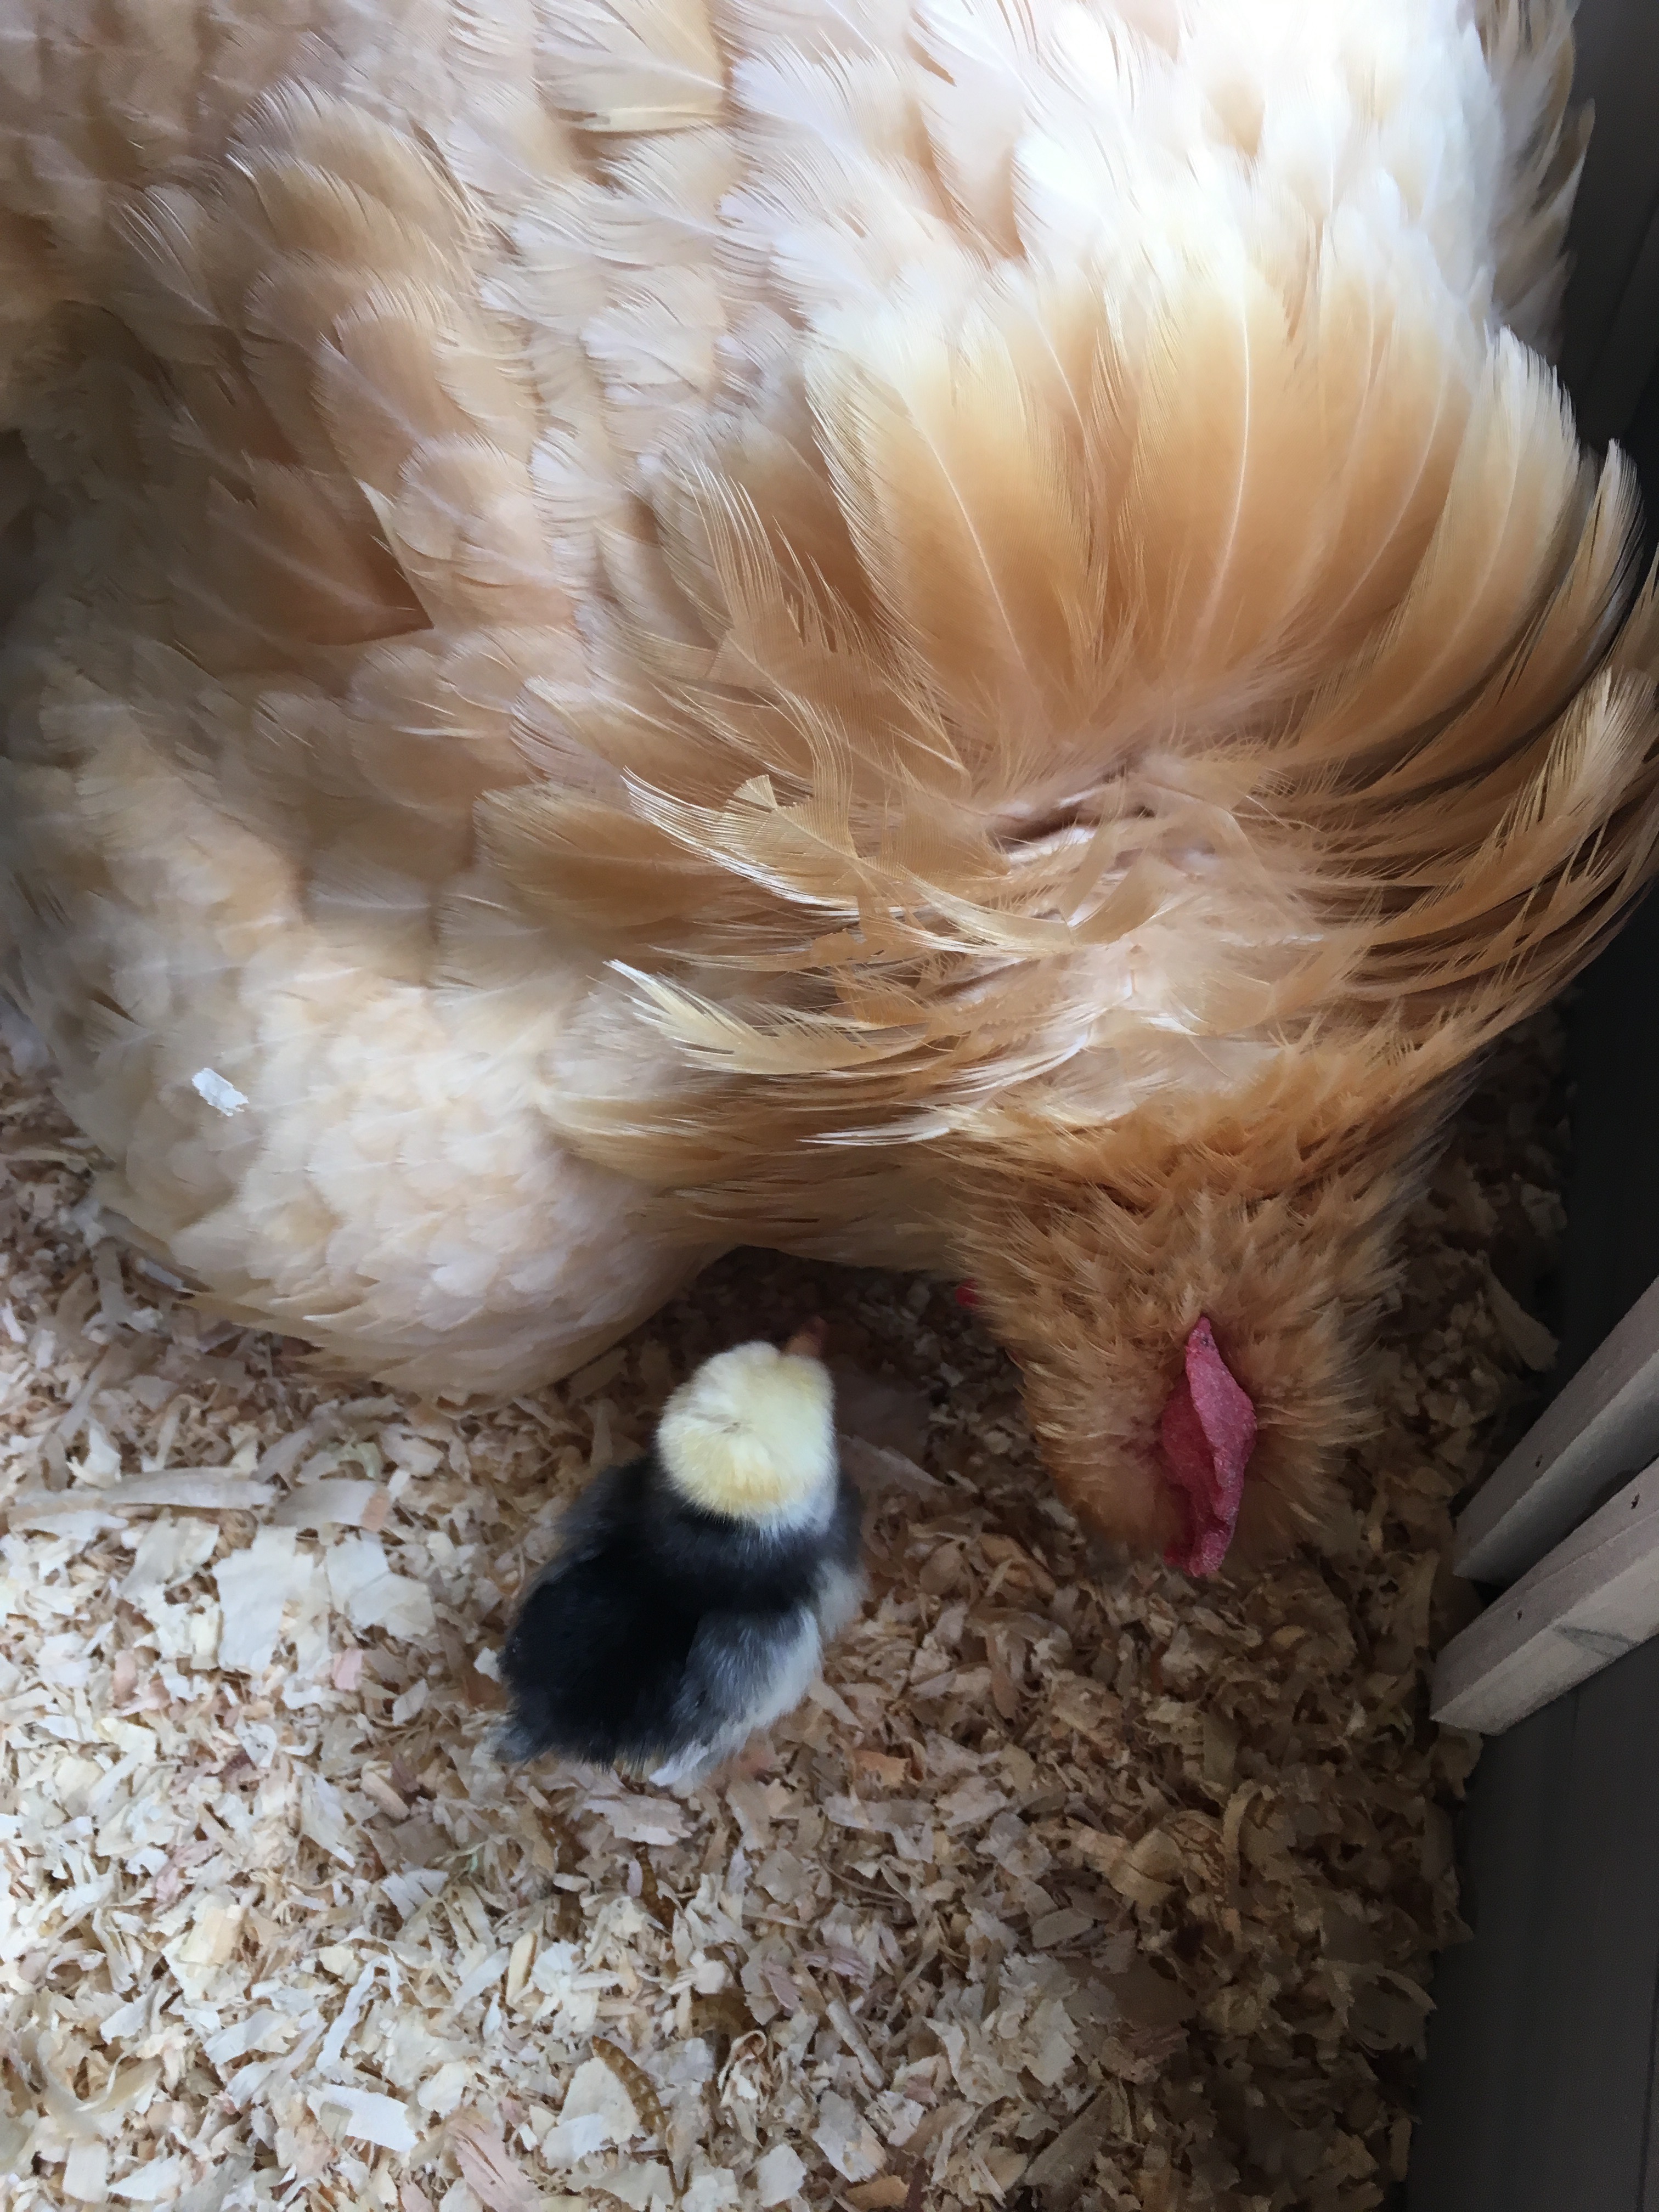
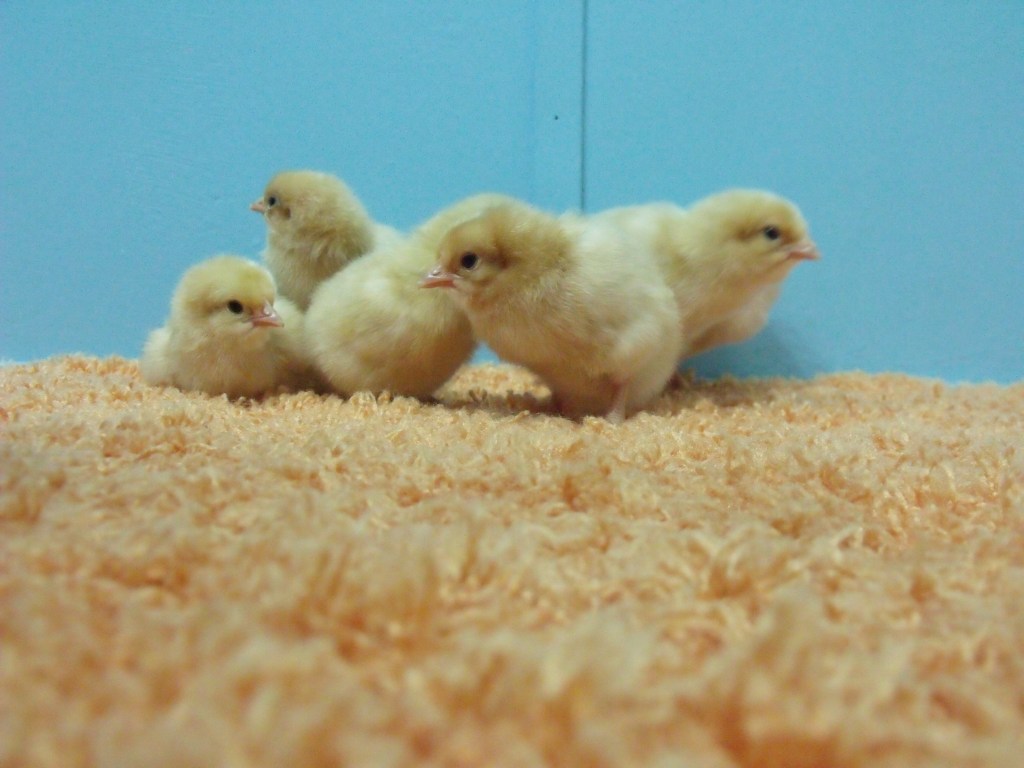
I have some exciting posts coming soon. The Bantom Boutique Crew is getting big and looking fantastic. I will have a blog post of them coming very soon. Also, as many of you are aware the United States is going to experience an eclipse on August 21st. I am in the direct path of totality for this celestial event. I will have a post on the experience of this eclipse as seen from my girls. It will occur during the high afternoon hours, I am sure that they girls will be quite confused as the sky starts to darken in the middle of the day. I plan to catch this as much more in video and picture. I will share them here with you for those who are not in the path of totality. I hope that it will be a post that is most enjoyable and entertaining from the girls perspective.

Thanks for taking the time to drop by and catch up with the girls and I.

Till next time, keep your eyes to the sky and enjoy the passing butterflies

~ The Kuntry Klucker Crew ~

dscf4984


Moving Day!

The Bantom Boutique crew are finally in their news digs. I moved them to their outdoor home about a week ago. I usually wait till they are 6 weeks old before making the big transition but given the very warm weather we are having I thought they would do better outdoors. They still need their little heater during the night, but during the day they are busy exploring their new home.

IMG_1443

Making the big transition from brooder to coop takes a bit of care and good timing. One reason that I usually get a May hatch date for all my new chicks is the ability to move them outdoor sooner than a cooler hatch date would allow. Once the are mostly feathered out I start planning their big moving day. I have found that the best time to move chick outdoors is a night. During this time they are kind of drowsy which makes the transition less stressful on the brood. After carefully arranging the coop to resemble the brooder as closely as I can, I carefully place them one by one in their new home. I allow them to spend at least 48 hours in the coop before I allow them access to the pen. This gives them time to become familiar with their new coop and help them to associate the coop with safety and sleeping. I place their heater, food, and water in the coop along with fresh savings. I also introduce them to roosts. Their coop has plenty of room so they spend the first few days learning about the big outdoors and playing on their roosts.

IMG_1438

After about 48 hours I allow them access to their pen. The curiosity with their new surroundings is just so adorable to watch. It is much like a child who experiences Disney World for the first time. Just so many things to do and not enough time. They quickly take to all the open space and have a blast. The first thing that many of the chicks did was dust bathe. This is a natural activity that all chickens do which they find very enjoyable. They don’t need to be taught they just know. Because I have the bottom of their pen filled with sand, they have plenty of dust bathing media. They spent most of  their first day running around and dust bathing. I can say that they absolutely love their new digs.

Although they are officially moved in to their home I still have some work to do. For the first few weeks, at dusk I will have to pick them up one by one and place them in their coop for the night. They will at some point put themselves to bed, but for now they need a little extra instruction. Till they can master the ladder up to the coop I will have to give them a little bit of help. One evening I will go out to put them to bed and find that they are all in the coop and ready to be lock in for the night. It is not very hard to put them to bed I just have to plan a little extra time in my evening to see that they all get into the coop safely.

Andromeda is still with Miss Katie, she will raise the little one for the next few weeks or so till she starts to push the little one away to make its own way in the world. At this time I will reintroduce the little chick to the Bantom Boutique flock. I will do a later post on my procedure to successfully integrate the little chick back into the flock. But for now, everyone is happy and enjoying life in the big outdoors here at the Kuntry Klucker Farm.

As always thank you for spending a little time with the girls and I, we are so glad that you stopped by. Till next time, keep on clucking.

~ The Kuntry Klucker and Bantom Boutique Crew ~

Sometimes you just need a Momma.

Hi everyone, toward the end of my last post I mentioned that I had a broody hen, Miss Katie. When I last left you, she was sitting on a few ceramic eggs that I placed under her. In doing so I was hoping that she would adopt my chicks when they arrived. This was the first time that I had ever attempted adoption by a broody hen. I had done research on the topic but never actually attempted it myself. Well, I am pleased to say that the adoption was a complete success, Miss Katie is thrilled to be a momma again. In this post I will detail my procedure which lead to this successful outcome.

IMG_1626

Miss Katie is the mamma hen of my flock of Buff Orpingtons. As far as she is concerned it is her calling in life to be a momma to as many chicks as possible. She loves to sit on eggs and loves even more to teach her little ones how to be a chicken. It all started about three weeks before my chicks were to arrive at my local post office. Miss Katie as years before went broody wanting nothing more than just to sit on her eggs. Given this opportunity I went ahead and let her sit on some ceramic eggs in the Bantom Boutique. If I could keep her in the broody mindset, she just might adopt the chicks that were to arrive in a few weeks. So, on a gamble I went ahead and let her sit. She was determined that she was going to sit so I just provided her a private space away from the other girls and gave her some eggs to tend for a few weeks.

Normally when a mother hen sits on eggs, she will make this her life purpose till they hatch. Knowing that Miss Katie was sitting on fake eggs I wondered if she would accept a chick that did not hatch from one of the eggs under her. This is where some careful planning and luck came in to play.

When the chicks first arrived, I placed one under her, she accepted the baby chick with no problems as if it was her own that she hatched. The following is my method which lead to this successful adoption.

  1. First when Miss Katie went broody, I let her sit. Since I do not have a rooster any natural eggs that she was sitting on would eventually go bad which would cause her to abandon the nest. To avoid this, I placed under her 4 ceramic eggs. They look, feel, and radiate heat just like a real chicken egg does. To her there was no difference.
IMG_1618

2. Next I placed her in a private space separate from the girls. Since the Bantom Boutique was ready for the new arrivals I went ahead and put some shaving and the eggs in this coop. She then made her nest the way she wanted. After that the rest was up to her.

IMG_1209

3. I made sure that she was sitting for at least 2 weeks before the chicks would arrive. A natural incubation time for a sitting hen is about 20-23 days. From the time that Miss Katie went broody to the time that the chick would arrive was 21 days. Given the time frame this would align perfectly to a natural hatch as seen by Miss Katie’s perspective. This would make sure that she was sitting and in the broody mind set for at least 2 weeks. This time also gave me a good indication that she was ready to sit for the term of the incubation period.

4. When the chicks finally arrived, I placed them in my brooder inside. After their long trip I wanted to make sure that they were all healthy and had something to eat and drink for a few hours before I introduced them to Miss Katie.

739FFF8D-0694-401E-880A-E71EA6D7D6AE (2)

5. Since I was not sure if she would accept a chick that she did not hatch I chose just one chick to give to Miss Katie. When the chicks arrived, I noticed that there was one chick that was a bit smaller than the others and was really struggling to eat and drink. This is the one that I chose to give to Miss Katie. I knew that if Miss Katie would accept this chick that it would do much better under and natural mother hen than in the brooder with the others.

6. Late at night, well after 10 pm when it was really dark, and Miss Katie was asleep I made my approach. I took the chick, wrapped it securely in my hands and opened the coop. Miss Katie heard the chick and started clucking as she had in the past with the other chicks that he had raised. When I heard this, I knew it was safe to try to place the chick under her. I placed the chick next to her, she immediately tucked it under her wing and was thrilled to be a momma again. Once I was sure that she had accepted the chick I took an egg from under her. In the morning all she knew is that there was one less egg and I chick under her. It was a complete success!! I was so excited that Miss Katie accepted the chick, and she was ecstatic to be a momma again. Since this little chick was having a bit of problems with life giving it to Miss Katie was the best thing, I could do for it. Within 24 hours she had it eating and drinking just like the rest of the chicks were doing in the house. She was able to help the little chick in a way that I could not. Sometimes you just need a momma.

IMG_1362

7. Now that this was a complete success, I was sure that Miss Katie was all in on being a momma, so the next night I took the rest of the eggs. After about three days or so the momma hen will abandon the eggs that did not hatch. In order to encourage her to put all her efforts into raising this little chick I had to take the rest of the eggs. So once again after it was nice and dark, I snuck out to the coop and took the rest of the eggs. As far as she was concerned, they were just gone and now she could concentrate on raising her little one.

IMG_1386.jpg

Miss Katie has helped this little one out so much. If it was not for her, I am pretty sure that it would have died. It was a lot smaller than the rest of the chicks in the brooder and was not eating or drinking well like the rest of them. Since it was struggling with life the others just seemed to run it over in their scampering around the brooder. For this reason, I chose to give this chick and only this chick to Miss Katie. If I had given her the entire clutch of chicks, she would have noticed that this one was struggling and as nature usually, does she would have killed it. But since she had just this one chick and nothing else to compare it too, she gave it her full attention and brought it around in a way that I could not. She is definitely my ally in the chick brooding department. This was a win, win, win situation. The chick survived, I am able to say that all the chicks that I ordered survived, and Miss Katie was able to live out her life mission, to be a momma. She has definitely lived up to her reputation as the momma hen of the flock.

I am so glad that this adoption was a success. The experience that I gained from the situation is very valuable. Yet again, this is one more thing that my girls taught me. Chickens are amazing creatures; I am privileged to care for a small flock of these magnificent wonders of nature.

I am a published author, multi-disciplinary writer and blog contributor. If you like this blog, please visit soem of my other sites.

Coffee and Coelophysis – A blog about dinosaurs!

Chicken Math University – Adventures in Homeschooling.

Knowledge of the Spheres – Exploring the Celestial Spheres.

If you liked this post, peck the subscribe button.

Thank you for taking a little time and dropping by, we are so glad that you did. Till next time take care and keep on crowing.

~ The Kuntry Klucker & Bantom Boutique Crew ~

Is it hard to raise Backyard Chickens?

Raising chickens is a fun and affordable hobby. Its called backyard chickens for a reason, this implies that one wants to raise a mini flock of chickens rather than a large operation. Now, don’t get me wrong, chicken math is a force of nature not to be taken lightly. But for the average backyard chicken enthusiast, keeping your flock at a manageable number is relatively easy. Its just takes the persistent enforcement of chicken birth control (aka. collecting eggs) and obtaining only a few number of chicks from reliable hatcheries. You can also ask one of your backyard chicken friends to hatch  you off a small starter flock. Other than that, keeping a small flock of backyard chickens is not inherently difficult.

dscf5543

Chickens are very simple creatures, they do not demand a lot from their owners. Since chickens are very social animals they have plenty of company among their flock members. The needs of a chicken are simple. They need clean, fresh water daily. It does not need to be filtered or bottled but it does need to be fresh and clean daily. Simply filling up a clean water container every morning when letting the flock out of the coop is all this entails. They also need fresh and dry feed daily. It is always best to keep your feed in galvanized trash cans if you plan on keeping it outside. Not only will this keep your feed uncontaminated (from rats, coons and other wildlife) it will ensure that the feed will remain dry and thus not spoil. Chicken feed comes in large 25 to 50 pound bags, you will have enough feed to last a while depending on the size of your flock.  As you can see in the image below, I keep two galvanized trash cans outside of the pen, this is were I store the feed for the girls. Be warned, your chickens will very quickly  learn to associate the sound of the lids being removed from the cans as a makeshift dinner bell. My girls get very excited when they hear the all too familiar”clank” of the trash cans lids. I am suddenly surrounded by a group of girls eagerly anticipating its contents.

img_1013

Next, you will need a habitat. This is where a lot of chicken owners can be creative and inventive. You can do whatever you want to make your backyard chickens home personable to you, just make sure that is has a few very important qualities.

  1. Your chickens home needs to be large enough to accommodate the size of your birds as well as your flock.  A lot of coop descriptions will say that “this coop will fit 2-4 standard size birds”. What does that mean? Well chickens come in two sizes, standard or large fowl and bantam or miniature chickens. If you have 6 standard size birds you need to make sure that you choose a coop that can fit 6-8 standard size birds. Choosing a coop that fits less than that will cause stress in the flock. If the birds do not have ample room and feel over crowded many problems can result. Over mating of the hens by the rooster, cannabolism caused by pecking of flock mates, and of course illness due to the birds being under stress. So when choosing a coop, first know the size of your birds and based on the dimensions of the coop how many can fit comfortably.
  2. Your chickens home needs to be secure. This means not only does it need latches on the door to keep predators out, the coop also needs to have a pen if you choose to keep your girls in a pen vs free ranging. Most if not all coops bought in the stores usually come with an attached pen in its design. Make sure that the pen is enclosed with wire mesh that is galvanized with holes small enough to keep even the peskiest mouse out of your girls home.
  3. Your coop must be easy to clean. Most coops are designed with a drawer that can be pulled out from under the roosts to clean the dropping off from the previous night. Many chicken owner put pine shaving on this drawer to absorb moisture from the dropping and simply with gloves or a small hand shovel remove the dropping like you would clean a litter box. Either method is fine, just make sure the you clean the dropping out daily to keep flies and illness at bay.
  4. your coop must be draft free. When looking for or constructing a coop make sure that the coop has both ample ventilation while at the same time being draft free. It sounds like a double edged sword, I know. What this basically means is leave room at the top for air to escape while also protecting the birds from fridgid winter wind, rains, and other elements. Your coop does not need to be warm or heated. In fact, heat lamps are the number one cause of coop fires. Not only will a heat lamp fire kill your birds, coop fires can also damage other structures on your property including your home. Never use Heat lamps in coops, they are just too dangerous. Instead focus on keeping your chicken coop clean and dry. Chickens do not need heat, they come with down jackets factory installed and are well able to regulate their own body temperature given the right conditions, that being a coop that is clean, dry, and draft free. As long as your birds remain dry and protected from the wind and rain they will do just fine when it comes to surviving winter.
  5. The design of the coop. The design of chicken coops are endless. I have seen everything from little cottages to barn style chicken coops. Quite honestly, I think that picking out the perfect chicken coop is almost as fun as picking out what breed or breeds you want to raise. You don’t have to buy your coop prefab you can get plans off the internet and make your own from raw materials. Either way its up to you. We have done both. We made our first coop and pen from scratch. It was fun and we really enjoyed the process. The additional coops I bought as prefab kits that I put together.Both have advantages and disadvantages. The advantage of making your own coop is that you can make it as big as you want, the disadvantage is that it takes a while to construct and can be expensive. The advantage of prefab kit coops is that they come already made all you have to do is screw them together and you have a coop in about 45 minutes. The disadvantage is that you are limited by the designs that are available. Personally I like the prefab coops better. They are made with quality materials and are easy to maintain and clean. I cannot keep large numbers of birds in them so I usually have to get several but I don’t mind having to take care of more than one coop. Coop chores are so simple, more than one coop really does not make that much more work.

Here are a few pics of my coops. I currently have three and have plans to purchase one more. The first one is The Kuntry Klucker, this is the coop that hubby and I made from scratch. It took about 4 months and roughly $1000 from start to finish. This will house up to 20 standard size birds. The most I have ever had in this coop is 17. Even then they still had plenty of room.

coop-cadi-corner

Next is Roy’s Roost, it is a prefab coop. It will house two standard size birds or 3 bantom size birds. I bough it for Roy as his hospital coop when he was sick. Since his passing its purpose still remains as my hospital coop. When I have a girl that needs separated from the flock due to injury or illness I place her in this coop. I can better monitor her eating and drinking habits as well as administer medication if needed. The patient will remain here till she can be returned to the flock.

IMG_0796

This last coop is Betsy’s Bliss. I bought this coop to serve as a broody coop. This is where I will house a broody momma as she sits on her nest. This allows the mamma hen some privacy while still allowing her to eat, drink, and dust bathe normally. When the chicks hatch both mamma and chicks are protected from predators and curious flock mates. It will house one standard size bird and a few chicks or two bantam size chickens.

IMG_0964

I have placed these two smaller kit coops in my spice garden. When not in use they serve a decorative accents in my garden. I purchased these two coops about two years ago. They have survived the elements and mother nature very well. In the fall I put a coat of wood protectant on them to protect them from the harsh elements of winter. If we have heavy snow or ice in the forecast I will put 6×8 tarps over the top of them just to give them a bit of extra protection. Other than their size, I really do not experience any different in their function  or durability. I am very pleased with these kit coops and will plan on purchasing more as my needs arise.

IMG_0977

Other than the basic needs of food, water, and housing chickens are very simple to raise. The only other thing I can suggest is to have a chicken first aid kit on hand. I have built up my first aid kit slowly over the years. Basically you will need items to treat a chicken that may have injuries or illness. When taken care of properly chickens do not encounter much illness. The most complicated condition I have ever had to deal with was when several of my girls coming down with Bumble foot. I have a blog post on Bumble foot for those who wish to learn how to affectively and simply treat this condition.

Your first aid kit should include basic items such as: epsom salts, rubbing alcohol, peroxide, cotton balls, triple antibiotic cream, salve, and vet wrap. Vet wrap is very handy because unlike a band-aid it will stick to itself making it ideal for animal use. I cannot tell you how many feet of vet wrap I have used throughout my years as a backyard chicken keeper.

My girls have never needed any antibiotic treatment. I am usually able to treat minor ailment with natural methods such as apple cider vinegar in the water, electrolytes, and chicken rx herbal drops. Should my girls ever develop an infection that needs antibiotic I would consult a vet to assist me. In my experience, given proper care my girls have never developed any conditions that I could not treat at home.

As for the cost of keeping backyard chickens, once you have their habitat purchased or constructed they are very affordable to maintain. My 10 girls will go through a 50 pound of feed in about a month. I find compared to a medium size dog chickens are much cheaper to keep. Additionally, for all your work and dedication they will give you something in return, a beautiful farm fresh egg. In my book a pet that makes me breakfast is worth its weight in gold.

Thanks for stopping by and spending time with the girls and I. As always if you have any questions please feel free to post in the comments. I will do my best to get back to you as soon as I can.

Thanks for visiting, the girls and I will see you soon.

~ The Kuntry Klucker Crew~

DSCF4724

How to Treat Bumble foot in Backyard Chickens.

IMG_0238.jpg

Along with the fun of raising backyard chickens, there are times when care needs to be taken to assure the well-being of our feathered friends. Last summer I had a few of my girls come down with a condition called bumble foot. I know it’s a funny sounding word, what it basically amounts to is an infection in the pad of their foot. Now, the chicken has an amazing ability to heal and recover from a variety of wounds and conditions. Often times I am most certain that an ailment will take the life of one of my girls and as it turns out they, make an amazing recovery.

So what is bumble foot exactly? Basically, it is caused by a very small puncture wound on the chicken’s foot. As the chicken’s body attempts to heal itself, a “corn” is formed in the soft tissue of the foot, creating a very painful condition called bumble foot. Although it is not inherently common in backyard flocks, it does happen from time to time.

My girls came down with the condition by injuring their feet by tree branches that fell into their outdoor run area after several severe spring storms ripped through our area. Some of the branches were sharp and a few of the girls obtained small wounds on their feet before I could get everything cleaned up. Even something as simple as digging in mulch can cause a splinter to get infected and cause bumble foot in a chicken. So, there are a variety of things that can cause bumble foot to grow in the soft tissue of even pampered backyard divas.

Although the condition sounds severe, it is actually rather simple to treat. All it takes is some time and attention. There are many ways to treat the infection. Some chicken owners will actually cut the infection out of the foot. I would only do this is only in extreme conditions. Although this would remove the infection from the bird very quickly, I would hate to cause this much pain to one of my girls. This procedure honestly is much better handled by a vet who has the proper pain management to perform this method of addressing bumble foot. I take a bit gentler approach, working with the chicken’s body to draw out the infection with as little pain as possible. I call it the salve method. I will detail below with pictures how to treat the infection using salve.

First, you will need to catch the patient that needs the bumble foot infection addressed. It is best to wrap the patient in a towel. This will keep the bird calm and make it easier for your assistant to hold. That is right, I forgot to mention that you will need a helper for this little project. My helper today is my mom, Mary. She loves my girls and enjoys holding and talking to our patient throughout the entire procedure.

img_0180

Our patient today is Miss Pea. She is one of the last remaining girls that is still recovering from a bumble foot infection. Her infection is slow to heal, mainly because she is the largest of all my hens. She puts a lot of weight on her feet which does tend to make the healing process slower. Nonetheless, she takes her Pedi days in stride.

Ok, now that you have your patient wrapped in a towel, give the patient to you assistant and let them hold the bird for you. This will make it easier for you to use both your hands to work on the bumble foot infection.

img_0175
img_0183

One very important note here: Make sure that you wear gloves!!! Bumble foot is a bacterial infection. Many bacteria live in the ground, it is possible that some bumble foot infection can actually contain the staph bacteria making them staph infections. So to protect yourself, make sure that you wear a good pair of quality medical exam gloves. Also, see that your assistant wears that same quality medical exam gloves.

Ok, now for the procedure, make sure that you have a stocked medical kit. You will need: Gloves, Peroxide, rubbing Alcohol, cotton balls, scissors, rolled gauze, antibacterial cream such as triple antibiotic cream, salve, and vet wrap. Here are my supplies laid out and ready to use.

img_0178

Ok, now that you have your patient and your assistant holding your patient, it’s time to begin. Isolate the foot that has the infection and secure the other foot under the towel. A chicken will have the natural reaction to kick with the other foot, so that foot need to be secured. You don’t want the claws from the other foot to put holes in your gloves.

img_0177

Take a cotton ball, dip it into some alcohol or peroxide and wipe the foot clean. Removing all debris and disinfecting the foot pad. Chickens’ feet can be very dirty. Sometimes it helps to soak the foot in a tub of warm Epsom salt water to further clean the feet and allow the skin to soften.

After you have cleaned the foot, inspect the wound. This is Miss Pea’s foot; she has a pretty large bumble foot infection. As you can see, they are usually circular in nature and can be very deep. After I cleaned her foot, I put a dab of Salve on her foot. Just enough to cover the wound, you don’t need to smear the whole foot in Salve.

img_0199

Now is a good time to talk about Salve. I swear by this product. The purpose of Salve is to soften the skin allowing the body to expel the infection. It is often used for horses to pull pebbles and other objects out of their hove’s. It is non-toxic and painless for the bird. It is a wonderful product. I would not keep chickens without this in my chicken first aid kit. It is found at Tractor Supply and costs about $20 a tub. It will last you literally forever. It is black, smells awful, looks like tar but will works miracles on bumble foot infection. I also use it on my kids when they get splinters or other cut wounds.

img_0939
img_0940

Once you put the Salve on the patients cleaned and disinfected foot, place some gauze on top of it. The gauze will keep the salve next to the skin and offer some protection for the wound.

img_0203

Now that you have the wound Salved and gauzed, it is time to wrap the foot. This keeps the gauze in place and prevents dirt and other things from contaminating the wound causing more infection to grow.

A chicken’s foot is a bit of a challenge to wrap, but once you get the hang of it its rather easy. First you will need to cut 2-3 strips of vet wrap about 10-12 inches long. Start several inches up the bird legs and wrap the vet wrap around her leg. Then, as you reach the toes just weave the vet wrap in-between the toes, making sure to cover the bottom of the foot completely. A note here, DO NOT make the vet wrap too tight. You are not trying to provide compression. You are simply holding the gauze in place and preventing dirt from infecting the wound further. Wrapping too tight will cut off circulation to the patient’s foot causing severe leg problems. Keep the wrap rather loose, vet wrap will stick to itself so there is no need to wrap the foot too tight. I would rather that you question whether it is too loose than too tight.

img_0212
img_0176

Once you have the patients foot wrapped. They are good to go, a free bird. You can allow your patient to roam with the rest of the flock. All I caution about is do not let their foot get wet. So, if you are expecting rain in the forecast, make sure that they do not step in mud or puddles. Secure your patient to the pen for the day if the weather is going to be bad. If the foot does gets wet, it could cause further infection and delay recovery. However, if their foot gets wet just remove the bandage, disinfect, apply more salve and rewrap. It’s not a big deal, it happened to me several times when we would get a freak shower. So, I just rewrapped her and called it a day.

img_0238

Once they have their foot fashions on, return the patient to the flock and check the wound in a few days. I go no longer than a week, every 2-3 days is ideal. The Salve will work to pull the infection from the body bring with its puss and the corn. Simply remove the gauze, disinfect the foot with either alcohol or peroxide apply more salve, and wrap.

The Salve method takes a while to completely clear the infection. A bad bumble foot infection can take several months to completely clear up. This is the disadvantage of using the Salve vs cutting the infection out. However, the Salve is painless and very effective. The surgical method requires an individual to have a tough stomach when it comes to blood and puss. Not only is it bloody but it is very painful unless numbing medication is properly administered. This procedure is best left to a vet. Additionally, when you cut into a bird you risk the very real possibility of severe life-threatening infection. This is because if the bacterium in foot gets into the blood stream it could be life threatening for the bird. I would much rather use a method that takes a bit longer but is painless and reduces the infection rather than possibly making it worse. The Salve will work, it is absolutely amazing, will save you hundreds on vet bills, and be painless for the patient.

Bumble foot, although sounding daunting is a very simple condition to treat. Using the right methods, it is painless for the bird and returns their quality of life once fully recovered.

I hope that this post has helped anyone who is struggling with how to address bumble foot in backyard chickens.

I am a published author, multi-disciplinary writer and blog contributor. If you like this blog, please visti some of my other sites.

Coffee and Coelophysis – A blog about dinosaurs!

Chicken Math University – Adventures in Homeschooling

Knowledge of the Spheres – Exploring the Celestial Spheres

If you liked this post, peck the subscribe button.

As always, the girls and I thank you for stopping by. Remember to keep on crowing and we will see you next time.

~The Kuntry Klucker Crew~

DSCF4984

The girls go shopping!

Hello again! Well, here we are in the last few waining days of late summer. The girls so far are weathering our 90+degree heat well. They spend a lot of time in the shade and scavenging in my gardens for grubs. The flock is adjusting well after the loss of our resident rooster Roy. I still think they miss his presence but they have decided to move on with their lives and carry on with their chicken antics. As my gardens are expiring the girls are taking this opportunity to clean all the plants of remaining bugs, fruit, and other edibles. They are having a great time tending my corn and pumpkin gardens which remain their favorite destinations. I was out today doing my daily morning chores with the girls and discovered something rather interesting about my fancy ladies, they love to shop!

shopping 3

Yes, my girls like to shop till they drop. You see, I have several small coops in my spice garden that I use as hospital or isolation housing for when I have a girl that does not feel well or a broody mama that just needs some privacy or space from the flock. When they are not being used for these purposes I leave them open for the girls to explore and lay there eggs in while they are about and about. I am afraid that if I leave them shut up till I need them wasps and other insects will set up house in the dormant coop. So to ward off these intruders I just leave them open for the girls to inspect and maintain while they are out in the yard for the day.

shopping7

Since it is hot I make sure they they have water and feeding stations all over the yard. I don’t want them at any point to be too far from a water source. It does not take a chicken long to dehydrate so I keep hydration stations very accessible for them.

shopping5

One place the I put these stations is in coops in my spice garden. I also set treats in each of the coops to keep things interesting for them and to give them a variety of food sources. Should we get a freak afternoon shower I am assured the the food will stay dry in the coops and not spoil. So for this reason the coops are a great place to keep their feed/snacks/water and so on. Additionally they will also lay their eggs in these coops. I do not find their eggs in the large coop anymore they prefer the smaller ones in the spice gardens for laying their eggs.

shopping4

So this is how I have determined that my girls like to shop. As I was spending my morning with the girls getting their stations set up I noticed something. As they made their way into the yard they one by one started inspecting all the coops, seeing what was in “store” for them to munch on today. First Betsy inspects the larger of the two coops, she goes in takes a look and exits the coop. Next Bossy does the same, and so forth as the girls made their way into the yard.

They would then go over to the other coop and see what was in “store” there. Betsy would enter the coop take inventory, exit then make her way over to the first coop she inspected and enjoy the snacks in that coop. As I watched I said to my self, “my girls are going shopping”! They are comparison shopping between the coops to see which has the best deal on the grub. I was just amazed at how they were taking inventory of the treats/food/snacks and so forth in the coops.


It just blew my mind! I just sat there on my hammock amazed at their antics. My girls like to shop! Even funnier, if one coop contained something that they preferred over the other coop, a line would then start to form. Not only can they shop, but they can wait in line waiting to check out. How funny are these ladies.

shopping8

Funny thing is, when they were chicks I staged a photo shoot of them I took some really cute pics. One of them was of them standing in front of a country store front, it appeared as thought they were shopping.

DSCF5536

Well, now that I know this I think an update in their outfits is in order. They wear their dresses but now I think they are going to need some little purses to go along with their ensemble. Not too sure how I am going to pull that off but it would be the cutest thing if I ever found a way to make it work.

shopping9

So there you have it. My girls are indeed backyard divas. They wear the latest in hen fashions and now they enjoy the art of shopping and finding the best deals. My girls amaze me more and more everyday. Keeping backyard chickens it truly the most fulfilling hobby I could ever imagine.

shopping 1

Well that is all for now. I will post an update on the girls shopping spree a I find new things to put in the coops for them to discover.

Till then, thanks for stopping by and spending a little time with the girls.

~The Kuntry Klucker Crew~

DSCF4984

Farewell Roy, Rest in Peace Buddy

Along the the joys of keeping backyard chickens there are always still the sorrows. It has been said that farm life is a balance between life and death, this is certainly true. Unfortunately, it is not easy, even though I know that the life of a chicken is not indefinitely long, when the times comes to say good-by its always hard.

Yesterday the girls and I lost our beloved rooster Roy. Now when most people think of roosters they think of a fearsome feathered backyard terror on two legs running them down. Roy was not like that at all. He was a gently creature, he was kind to humans, gentle with the girls, and the husband of his flock. He took pride in his girls even when they did not want him in their space at times, as a women I can understand this. Even then, he would always provide treats for the girls and make sure they got the best of the goods.

IMG_1299

After suffering a hawk attack several summers ago Roy was never really quite the same. With my loving care he made a full physical recovery but not a neurological one. The hawk attacked his head leaving him quite wounded. After days of care he was returned to his girls. However, ever since then he would tend to tire easier needing several naps during the day. Even then he would make sure that he took care of his ladies. I am sure that he was one tired guy at the end of the day.

All roosters are not bad, all roosters are not mean or aggressive. They have a job to do and they do it to the best of their ability. This is why I wanted a rooster. Roy however was special, he was the boss of the backyard but he was also gentle to the ones he loved including me, the girls, and his boy, my son Elijah. Loosing him is such a big loss, he has left a silent hole in our backyard.

IMG_0559

Every morning he would crow greeting the day while summoning his anticipation for breakfast for him and the girls. If I was late in letting them out in the morning he would make it no secret. If there was something amiss in the backyard, he would sound the alarm altering me to a problem calling for backup. He was a great rooster, I knew that with him on duty the in the backyard things were good. Now the girls and I are going to have to find a new normal till we decide if we want to get another rooster. Roy can never be replaced, even if I get another rooster it is no guarantee that this one will be a gentle as Roy. He really was one in a million, a diamond in the rough.

I see you

Several days ago Roy got sick. I tried everything in my power to help him but in the end nature won. It was his time to retire and make his journey to Rainbow Bridge. I am usually able to nurse my girls back to health, but every once in a while nature beats me. His case was an unfortunate case of the power of nature over me no matter how hard I tried. It is a sobering reminder that nature is a force that we can never control now matter the extent of our efforts.

So to you Roy, thank you for everything. Thank you for your years of service, protecting the ladies, providing for them in way that I never could, and for being the prize of our flock. You are indeed worth your weight in gold. Rest if Peace Buddy, every once in a while if you get a chance check in on us from your perch at Rainbow Bridge.

cropped-dscf5185.jpg

Fairwell Buddy, and thanks for all you taught me and for being my alley in caring for the girls. You are loved and will be missed more than you ever know. Fly High buddy, Fly High.

Love window

~The Kuntry Klucker Crew~


Details on the Girls Digs.

Hi All, I hope that this post finds everyone well and staying cool if it is anything like it is here. Here in the hills of East Tennessee the girls and I have been braving near 100 degree temperatures. So far we are no worse of the ware just having to take things a bit slower and take care to keep the girls as cool as possible.

This post is going to be a bit different. I have had several readers express interest in the details of “The Kuntry Klucker”. I have several comment and inquires about the construction of the coop and pen so that they can use our design to make their own pen for their flock. So, in this post I am going to include as many pics and as much commentary as possible to describe the construction of our set up.

I do not have any plans or blueprints for our design, we really did just built this off the cuff. We have no formal experience in either carpentry or construction. So this was indeed hubby and I nailing together wood in the form of a pen to give our girls a nice home. So far it has withstood mother nature for 6 years, so apparently we did a pretty solid job for not being experts in the field of construction. Ok, so without further ado, I present the details of “The Kuntry Klucker”.

First lets talk about the coop. The coop itself is about 7×5 feet. The roof is a bit harder to pinpoint because it is slanted as to move the rain and water off the coop towards the back. The roof is noting special, it is just scrapyard sheet metal. I like metal because noting can chew or claw their way into the coop from the top. It stands about 2 feet off the ground to discourage any varmits from living under or digging into the coop from beneath it. Additionally, during the rainy season if the pens floods (which it has at times) the girls remain safe, dry, and warm inside the coop.

The coop has several features that I added to it that make it a great home for my girls. First off, the side door, which I call the egg door is a dual purpose door. I open this door to collect eggs which are right inside in the nesting box. Secondly, it is a great opening  to use during the summer to put a box fan in the coop for extra ventilation and cooling in extreme summer heat. And Finally, when conditions are good I have a removable latter that I attach to allow the girls access to the outdoor run area. I currently have them in the pen due to severe storms expected later this afternoon. Once they are out in their play yard they hate to come in. So I have to keep them confined to the pen when we are expecting bad weather.

Two of the roosts are built into the coop, and one roost is removable. The one that is removable I use to keep the majority of the shavings on the side of the coop where the roosts are. Otherwise, they would spread them all over the entire floor of the coop.

The lower back of the coop in on hinges so that I can lift up the entire flap to get access to the coop for cleaning, filling feeders, and giving them fresh water. Inside the coop I keep a 1 gallon feeder and waterer. Doing times of severe weather they will often times reside in the coop till the storm has passed. In this summer heat I don’t want them to be without water so I keep a small supply of food and water in the coop. They tend to use it more in the winter time when it is too cold to go out into the pen.

cleaning the coop is very easy. Each morning I turn over the bedding with the droppings from the night before. I usually clean it out complete and replace with new shavings when it gets really dirty or stinky . Usually about twice a month or so. In the winter it is more frequent due to the fact that they spend more time in the coop.

IMG_0987

The coop has a solid wood waterproofed floor. So they stay plenty warm in the winter and cleaning the wood floor is a breeze. A few times a year I will spray it out with a hose to get all the dust and other debris out. It dries fast and I put clean shavings in and other necessities back in their place.

IMG_1014.jpg


Ok, so now for the pen. The pen is about 7×14. It is roughly 7 feet at the peak. I am 5’8″ and can stand up with my arm above my head to hang things and have no trouble. It is tall enough for a grown man to comfortably walk in and do chicken chores. I know this because hubby at times has to pitch in and he does not hit his head on the top beam of the pen.

IMG_1009.jpg

the pen is connected to the coop. We literally have 4 2×4’s attached to the coop to both offer stability of the coop and closing gaps to not allow any critters access to the pen and coop. The large boards that serve as the foundation or footers of the pen are cemented into the ground by about 6 inches or so. they are very wide boards, I think they are 2×8 or something near to those dimensions. So nothing is able to dig under to get into the pen. Also, since we have a ring of cement under the pen providing the foundation it is impossible for the wind to lift the pen into the air if we have a huge storm.

Part of the design in the pen’s wind worthiness is that we allow the wind to pass through. Above the door is a triangular opening which allows wind to pass into the pen. Opposite it, above the coop is the same triangular opening allowing the wind to exit the pen. With the tarp being our roof, wind could easily get trapped and lift the tarp in attempts to decompress causing both damage to the construction and injury to the girls. With these wind funneling points and the fact that the pen is securely cemented into the ground it has braved some very instense storms .

Now for the form of the pen in general. It has 4 main 4×4’s forming the corners of the pen. Two in front at each corner, and two in back in front of the coop. One central bean where the “rafters” of the pen are attached to. The side beams are angled for a plumb attachment to the large 2×8 beams that are part way buried under the ground. The rest of the roof boards are 2×4’s which just attach the central beam.

The top of the pen is lined with galvanized fencing so that no animals can get access to the pen even if they manage to rip the tarp. The tarp which acts as the roof just lays on top of the fencing and is secured at the bottom of the tarp. The tarp is easily replaced if hail or other elements get the best of it. This was our way to construct a budget friends roof. With a pen this size, constructing an actual roof with shingles and so forth would be both hard and expensive. It could be done but we decided on this instead.

The tarp provides much shade and rain protection. If we get a storm that has some pretty severely wind driven rain the outer permitter  of the pen will get wet. But for the most part the middle of the pen will stay nice a dry. The tarp has a long over hang which provides a lot of of protection even to wind driven rain. But once in a while when we get a doozy of a storm the permitter of the pen will get wet. Only once to twice has it actually flooded. This is usually when we get hurricane remnants pass over that drop rain for days. In these storms even basements flood so I don’t think anyone is really safe in these situations. When this happens, the girls usually stay in the coop so its not really a big deal. It drains pretty fast once the rain stops.

I hang the food and water from a beam forming the roof. I do this to keep them from accidentally spilling it, and also to keep debris from them scratching around from getting into the food and water. They are heavy galvanized chains to support the large waterer and feeder. I also hang various other decorations from the roof including the power cord that supplies power to the fan and their christmas light. I keep their lights on year around, and their fan going in the summer as long as it is hot.

The door of the coop is just a large human sized door attached to the pen with heavy fencing hinges, handle, and latch. It is large enough to get a wheel borrow in the pen for cleaning if needed. It is a heavy door which also offers protection from predators. At the bottom of the door is what I call the “chicken door”. This little door opens to allow the girls access to the backyard. This way they can come and go in and out of the pen without leaving the door wide open. This keep wild birds and other things for getting into their pen when they are free ranging. I am not sure of the dimensions of this little door. It is large enough for my standard Buff Orphingtins girls to come and go comfortably without getting stuck. My big rooster Roy can even stand in the threshold without any problem. This is by far my favorite feature of the pen, people just love the little pet door on the large human sized door.

There is a heart cutout on the door so that the girls can see out from the other side of the door. They get pretty excited when I open it, I think they are trying to figure out the latch. It opens and attaches to the large human sized door so that it does not close on them leaving them stranded and no access to their pen. Every now and again we have to replace this door because they tend to peck at it more than any other part of the coop. We just trace the previous door, use a jig saw to cut a new one, reuse the hardware and a new door is installed. there is also a barrel latch in the inside of the door for extra protection. Should a critter figure out  the outside latch they still cannot get to the inside latch to open it.

well, I think I am all out of details to talk about in terms of our coop and pen. I do hope that I was able to at least answer some of your questions. Hopeful all the pics were a big help too. They say a picture is worth a thousand words, I hope in this case it rings true.

Thank you for reading, till next time keep on crowing!

~The Kuntry Klucker Crew~

Love window


“Coop-Scaping”

Well, I was finally able to do some much needed landscaping or “coop-scaping”  as I call it around the chicken coops this week. It is something that I have wanted to do for a few years but just did not have the means to get it done. This year I made it a priority to liven up the girls digs and Roy’s Roost as well. For this post I will show what I did for Roy and Miss Katie.

DSCF5183IMG_1299DSCF5186

I have Roy’s Roost in my spice/herb garden in my backyard. Roy, when free ranging would always spend most of his time lounging and patrolling this particular garden (I have 7 gardens in the backyard so he actually has his pick). I am not sure if it has the best bugs, shade, or tasty greens. But for whatever reason it is his favorite. On the heels of that, when deciding where to put his coop there was no other location but his favorite garden. It must be nice to live in the garden, literally. I had to transplant some of the plants to make room for his coop and pen but that was not too hard.

Anyway, after making room for his coop and pen I needed a landscaping plan. I took a while to think about it before I bought all the decorations necessary to make it as attractive as possible. Finally, after the plan was complete and purchased, the fun part began.

IMG_0814.jpg

IMG_0796.jpg


First off, what home in not complete without a front porch. So I purchased some paving tiles and placed them at his pen door. It serves as both a standing area when I service his coop and a mudd deterrent when we get the heavy rains in the fall in winter. In addition, I have a pot of marigolds and petunias as his door step because who does not like flowers at their door.

IMG_0815.jpg


IMG_0758

This (above) is the before shot of his pad before I added the coop-scaping decor and flowers. Up till this point all I had completed was the white picket fence around his coop. It does not really serve any purpose but just to have a white picket fence around his home. I have always wanted one, but since that is not always practical I had to make sure that he had one to decorate his pad.

IMG_0813


And…here is the after picture. I have added hanging flower baskets, potted plants, and wind chimes. Amongst the already planted herbs is a Gogi berry bush, Gooseberry bush, and an Arona Berry bush. All of which I planted this spring with the exception of the tall Arona Berry Bush currently loaded with many white blooms. Roy loves this tree and picks berries from it every year. I get what grows toward the top and let him have what grows at his level.

IMG_0800IMG_0803

Here are some closer images of the coop-scaping around his pad. The pots contain marigolds and petunias. I chose these flowers for around his home for a few reasons. One, flies and other insects do not like the marigolds, hence they are natural bug repellant. Second, they are edible for the chickens. Since my girls like to sample the land I make sure that I plant things that are safe for them to eat. Finally, they hold up well around the girls. Some plants do not take being snacked on very well, they wilt and die before the season is up. The Marigolds and Petunias are very resistant and last well into the first killing frost of the late fall season. When I plant in my backyard I have to plant with care for the girls sake and for ours as well. I need things that hold up well to a flock of chickens and their curious nature.

IMG_0802.jpg

Finally, the view from my favorite chair in the backyard. I love to have my coffee in the morning relaxing listing to Roy crow and taking in the morning air. This was my scene this morning when I was enjoying my “Wake up with Roy time”. I usually have the pen door open and Roy and Katie out in the yard. But we have a hawk that is currently scoping out our yard and I wanted to keep them close to the home for their protection. Roy was attacked by a hawk several summers ago, so I take their interest in my chickens seriously. Roy and Katie don’t seem to mind it, they seem to sense the danger as well. I make sure that when I have to keep them in their pen for their safely that I stock it with lots of treats and tasty morsels.

I also have the Kuntry Klucker coop-scaped and ready for the spring and summer season. More on that next time.

Till then thanks for stopping by and keep crowing!

~The Kuntry Klucker Crew~

IMG_1299

The Spring Swing…

Hi All, Sorry it has been a while since I have updated you on our goings on around here, it has been a busy spring. Like most of you, we are over winter and ready to plant flowers and get the warm weather seasons started. So far our spring has been pretty cool so getting things in the ground has not been possible. So, instead of planting the veggie gardens in the ground this year I have then started in seed trays in the house awaiting the last frost to pass for planting.

IMG_0757

The girls too have been rather busy. We designed their chicken yard or play ground this spring. This is the outdoor enclosure next to their coop that I allow them to run in when the weather is good. Unfortunately our spring has been rather rainy so it has been a slow work in progress. The girls and I finally completed it last week. I have been wanting to spruce up their outdoor run area and incorporate more things to engage them. This year I added a few new things that they are absolutely loving. A Sand box, that is right, I got the girls a sand box which they love to scratch in and dust bath in. I also purchased them a swing. I know what you are thinking, a swing, but yes. Apparently chickens love to swing. I have a few that use it, the rest are still afraid of it. I guess they are making double sure that it will not kill them.  The swing is taking some getting used to but the sand box is a big hit!

IMG_0755

IMG_0754

When I let them out in the morning I first let them in their covered pen. I place their food and water in the section to keep the wild birds out of their food. It also ensures that their food will not get wet should we get a stray shower passing over. I then open up the side door that allows them access to their outdoor playground. Lately though, instead of being more exited about breakfast they are more excited about getting to go outside and play in their playground. They practically fly out of the coop in the morning heading for their sandbox then later go back into the covered pen area to get breakfast. It reminds me a lot of a elementary class of children flooding the playground as recess is announced. My girls love to play, it just makes me smile and laugh as I watch them enjoy their new playground digs.

Once the weather warms up I plan on continuing the cinder block row in front of the playground then filling the holes with flowers. I am hoping that the weather warms up enough for me to get to the gardening phase of my plan. The girls will not care too much about the flowers, but I think they need a few flowers to decorate their digs.

Now for some sad news. Along with the fun of raising chickens, there is also the reality that they do not live forever. Miss Lola passed away last week. She got sick and before I could even get to the vet the next day she passed in the night. Based on her condition and no appearance of any illness I think her heart just got tired, stopped and she passed. There was noting the vet could have done for her anyway. She is missed by both me and her flock friends. Chickens do have a mourning process, they all attended the funeral and cooed lowly and moaned as they said good buy to their fellow flock mate. The pecking order then had to be rearranged which aids in the mourning process for the girls. So far I think all is good, the girls all know where they stand in the pecking order line. I buried her in my wildflower garden in the backyard. A few that have gone before her are also buried there. They are missed but live again as my wildflower garden blooms this summer reincarnating their spirits in the form of beautiful flowers that feed the butterflies and hummingbirds that visit the flowers. It is a beautiful circle of life that takes place in my backyard.

DSCF5120

Roy is doing fine, he has a coop mate now. Miss Katie, one of my larger hens hurt her leg and now has a limp. She cannot climb the latter that leads to the coop so I have put her in “Roy’s Roost” with Roy. Roy too has leg issues that occurred when he was attacked by a hawk a few summers past. Katie now having suffered an injury is now rooming with Roy.

Roy is so sweet to her. While out in the yard he watches over her and does not stray far from her. He knows that she has been injured and does what he can to take care of her. He will locate a grub or what not and call her over to eat it. Katie is loving her man, the two make a great pair. She does not pick on him like the other girls do, so their arrangement is just perfect.

I had to isolate Roy from the girls because they were picking on him badly after he was hurt in the hawk attack. He is such a good rooster that I ordered another coop for him to protect him for the other girls who were brutally picking on him. Roy and Miss Katie are great together and offer each other quality companionship. I assume these two will remain coop mates for the rest of their life. The vet says that Miss Katie will be fine but will limp the rest of her life. Roy also having a limp makes them the perfect pair.

IMG_0756.jpg

Well that is all for now, I hope that my next post will encapsulate the completed decor of my spring plan of the girls digs. I hope to get the flowers planted in front of their playground in the next few weeks if the weather allows. I am sure that the girls will offer much help as we play in the dirt together. All girls need some flower gardens, my girls are no different.

Till next time keep on crowing!

~The Kuntry Klucker Crew~

hiding behind the water


I