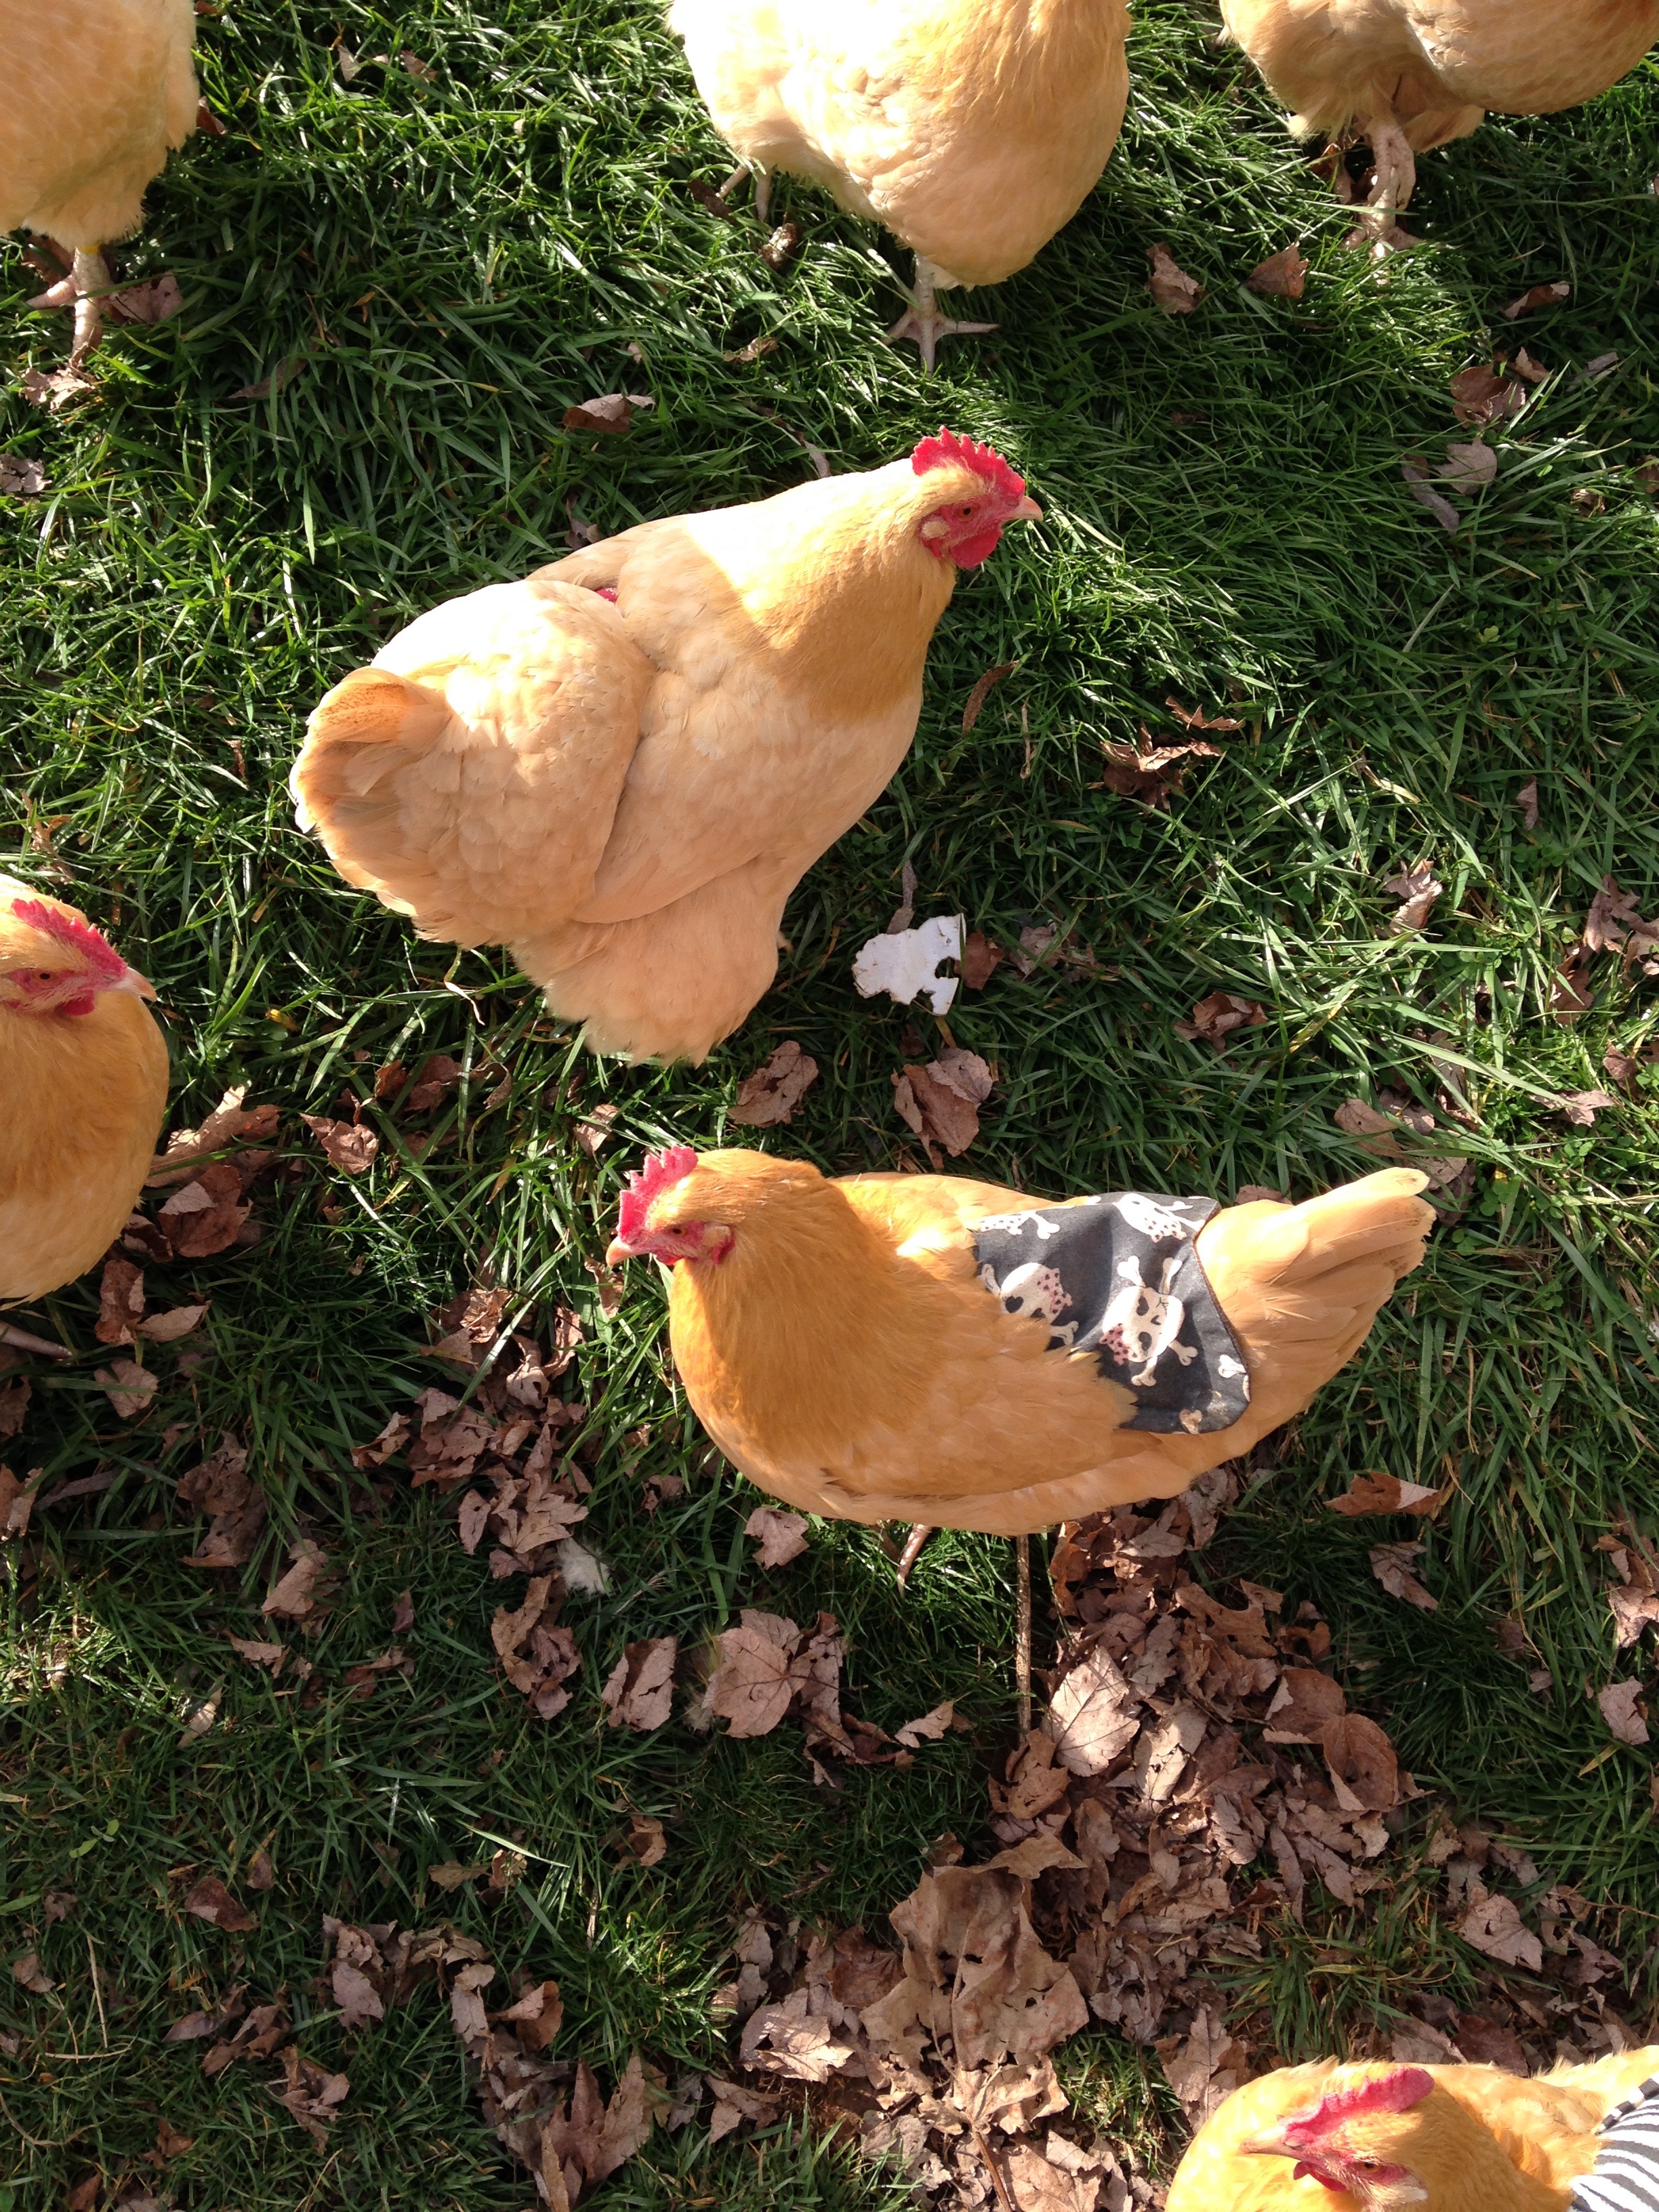
The Crew and the Coop.
I thought I would take this time and dedicate a post to the beginning of the Kuntry Klucker Crew. I will also combine this post with the construction of their coop. I have received many comments on Facebook and other social media sites inquiring about our blueprints or plans that we used build their digs. To tell you the truth, we had no plans or blue prints. We also did not use a kit, we simply researched on what they needed, got the supplies and built what we could.
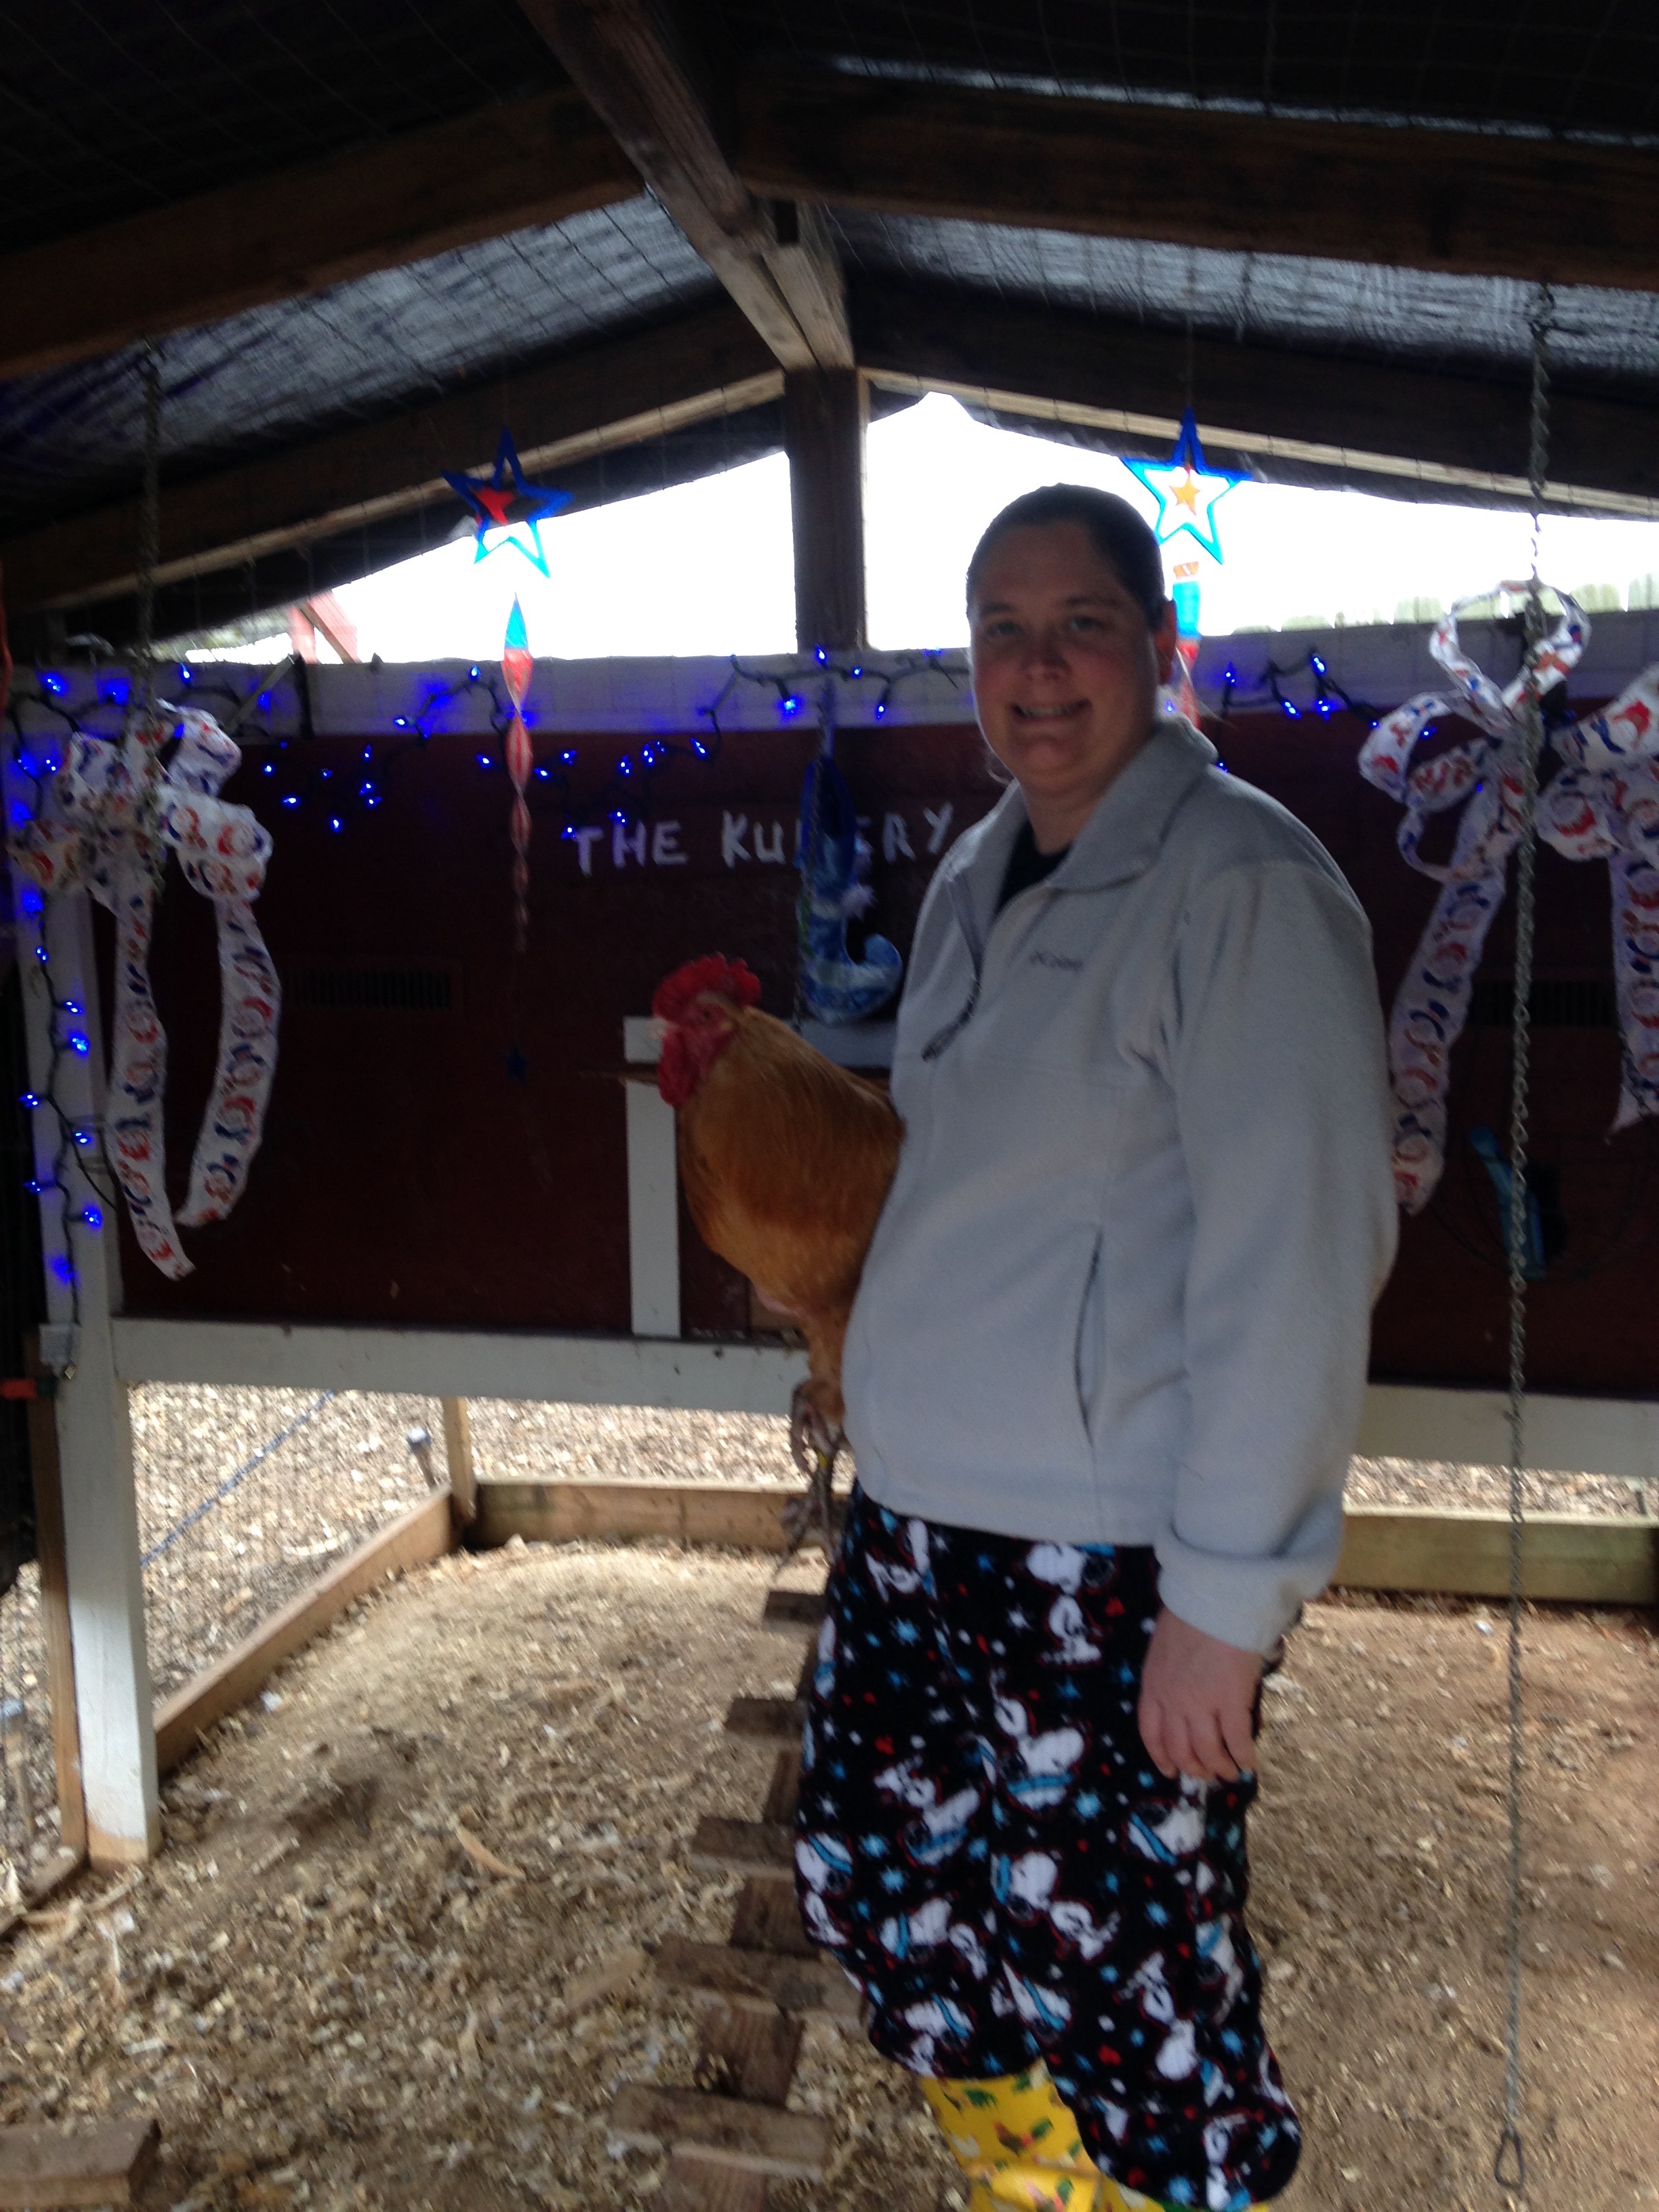
But first the crew. I mentioned in another post that the girls arrived via the mail in a small box. I am not kidding, they really did arrive in a small box, it was the cutest things I ever saw. I have never ordered chicks before, so this was a new one for me. I have ordered live plants via the mail that were delivered to my door, but never chicks. Below is a pic of their transportation digs.
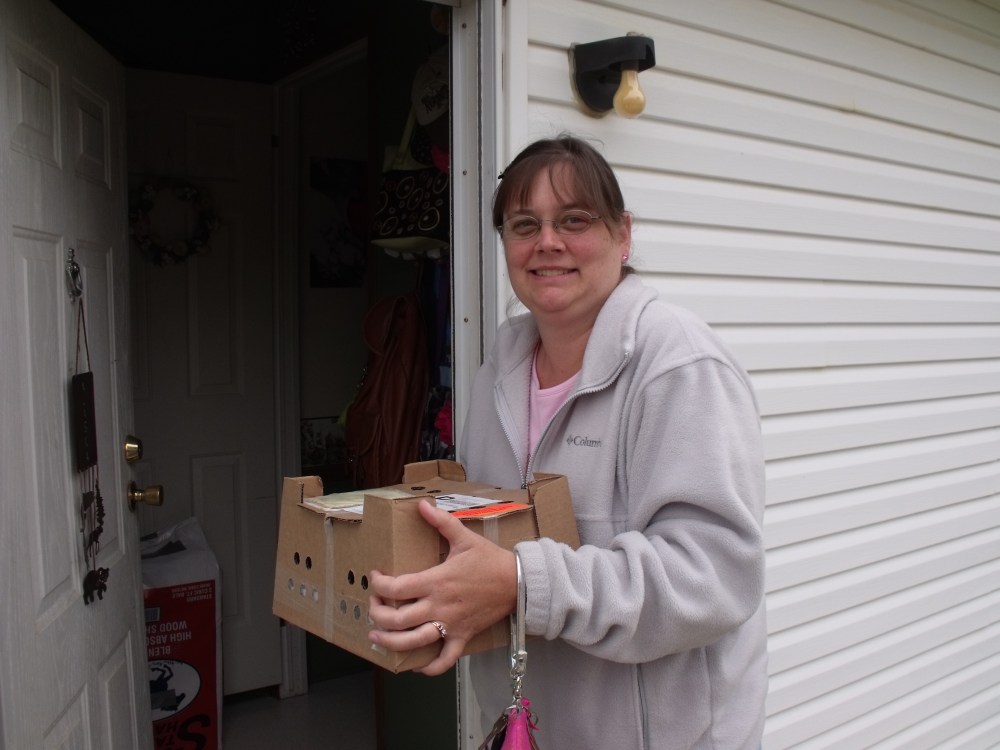
It was a cold morning when they arrived. I could not wait to get the contents of the peeping box unpacked and transfered into their warm brooder.


My brooder was origionally a large , grey, rubber made tote, which did not last long. As they grew, so did their digs. Instead of getting a new brooder I just added to it as they needed.
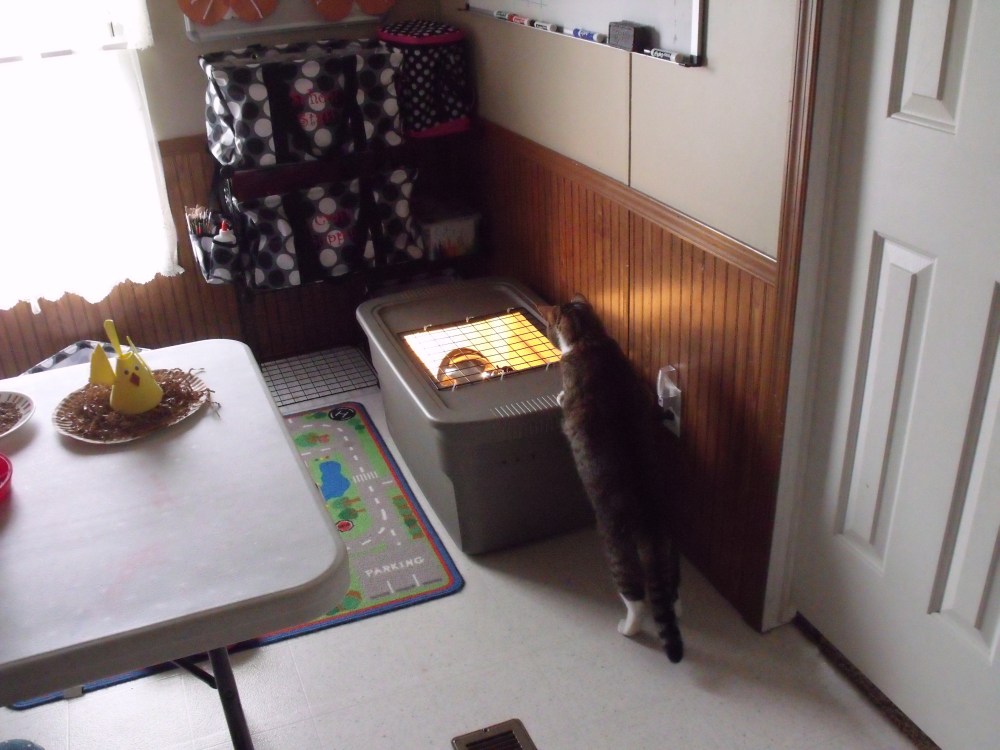
So as one living space got too small, I would cut hole in the box and attach on another box. By the time it was all said and done they had a network of several boxes to navigate through. It was almost like a brooder palace by the time I attached the final box.


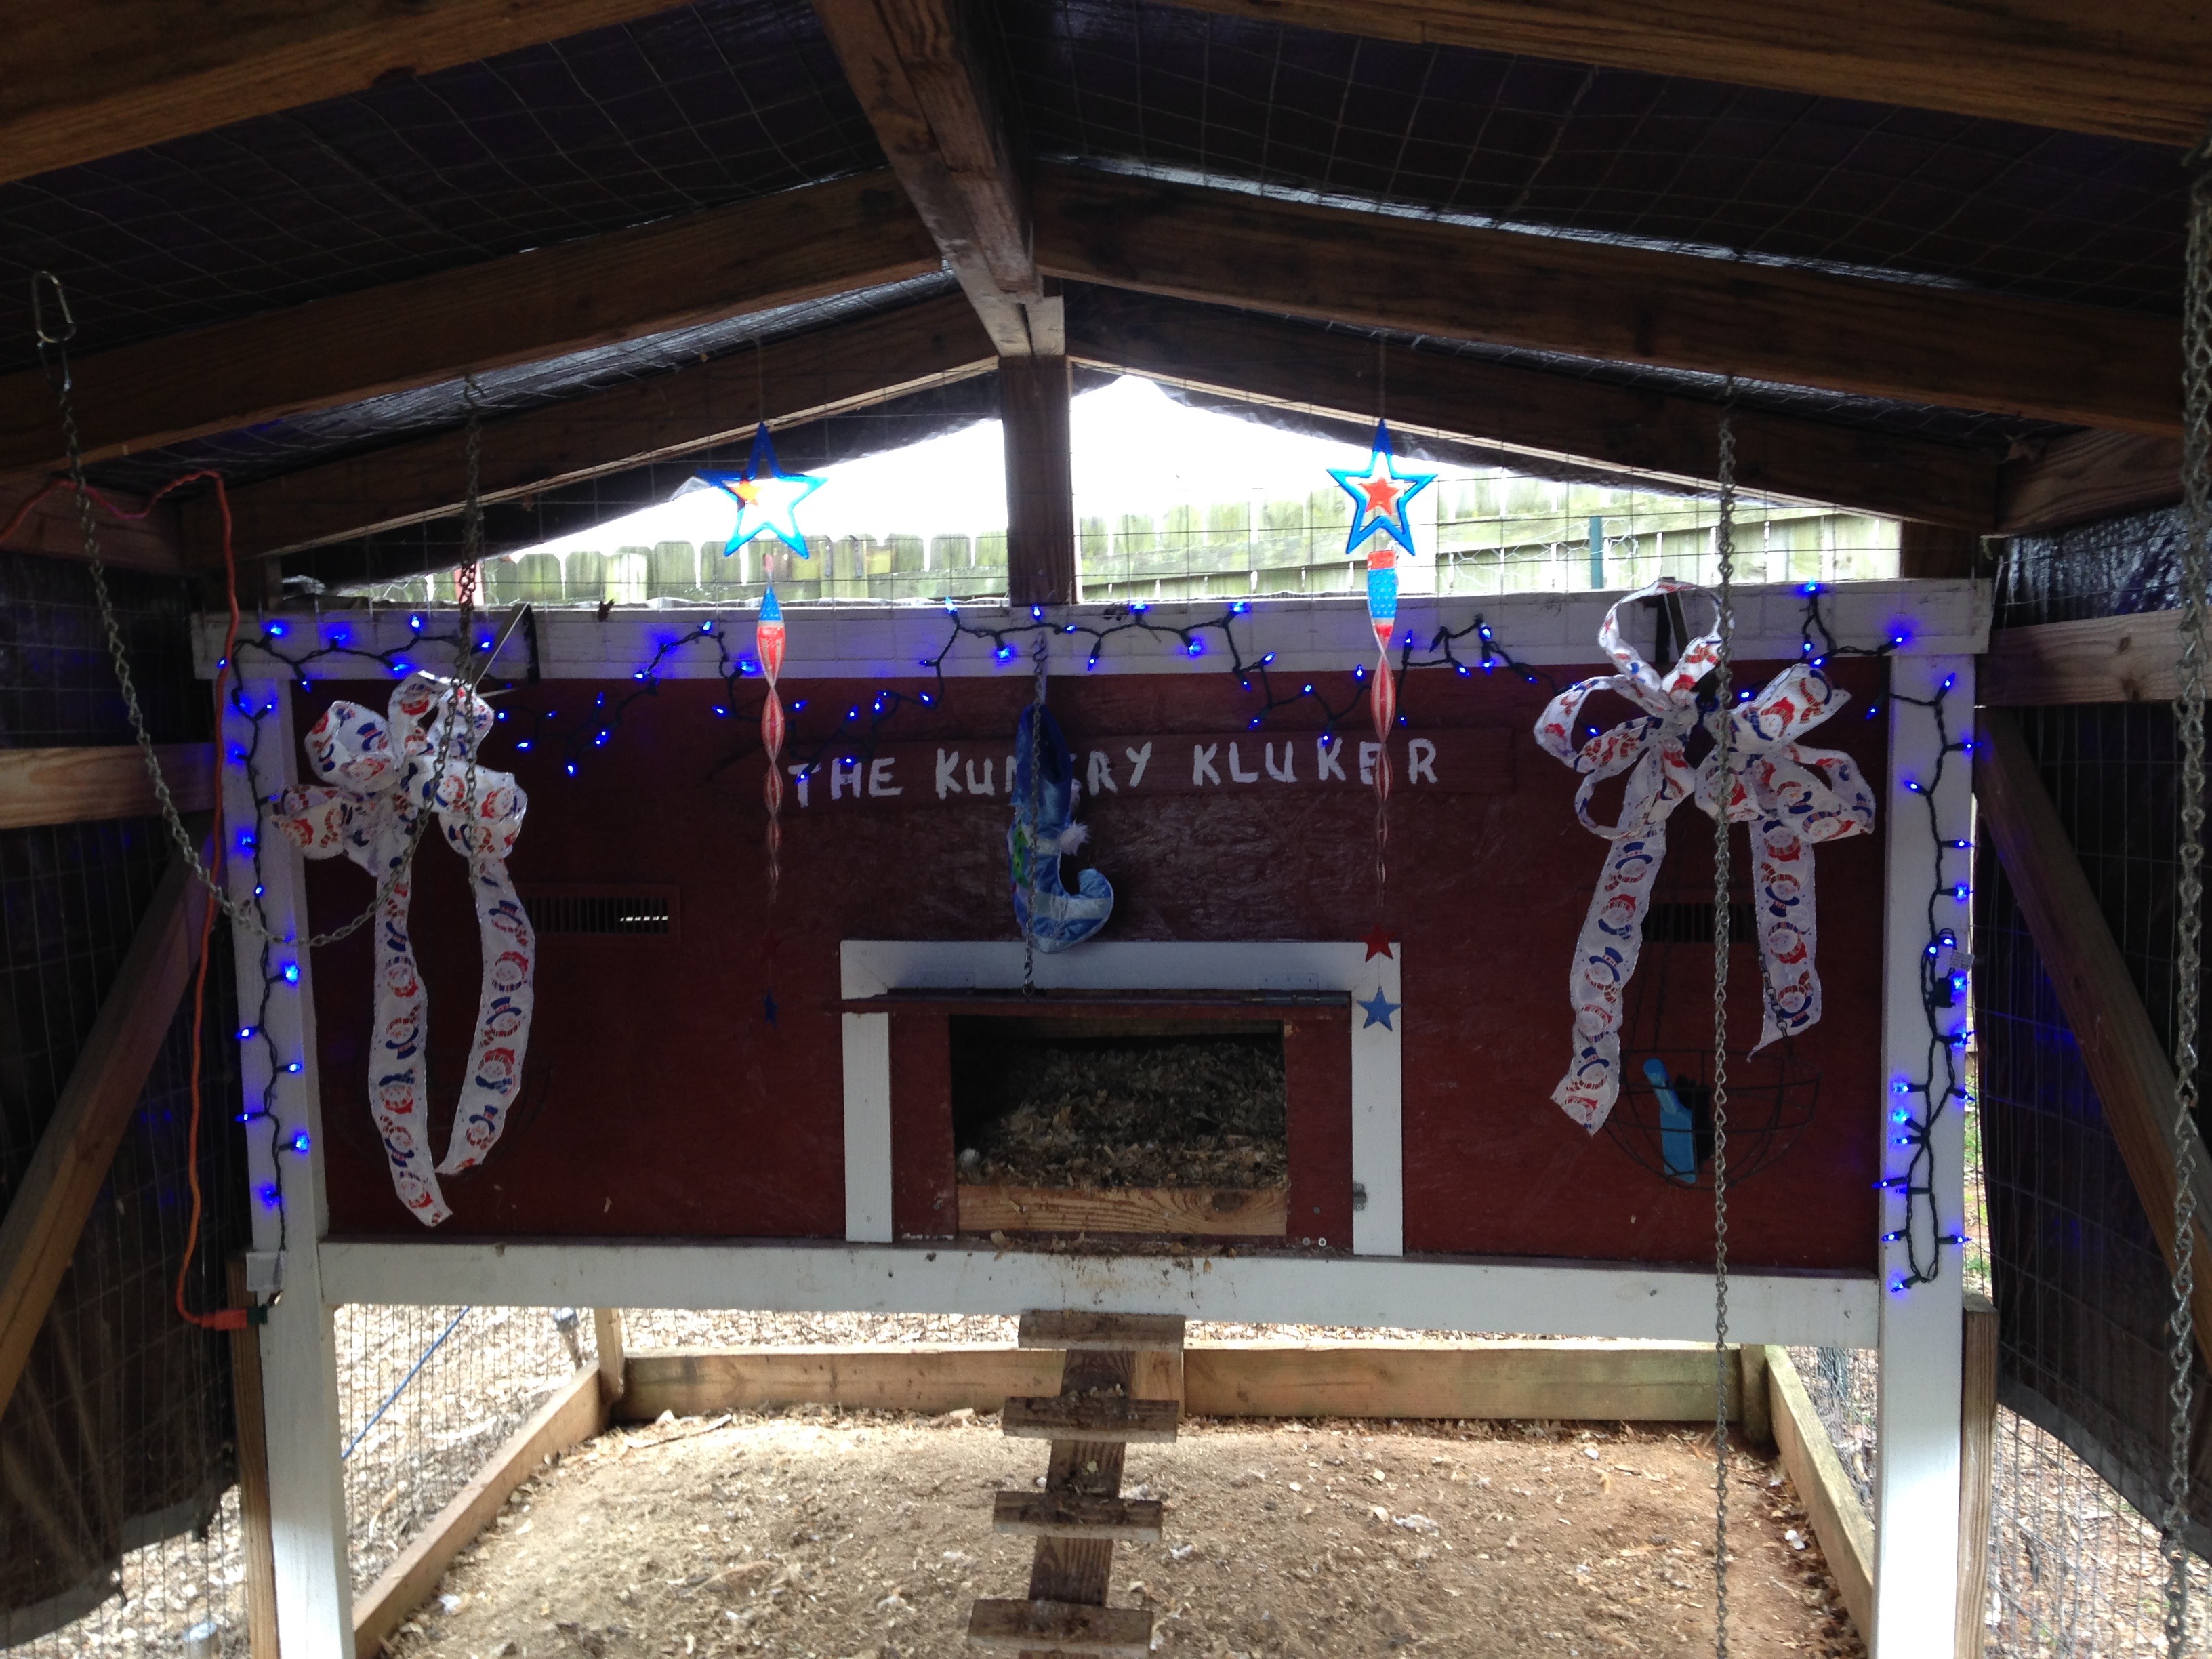
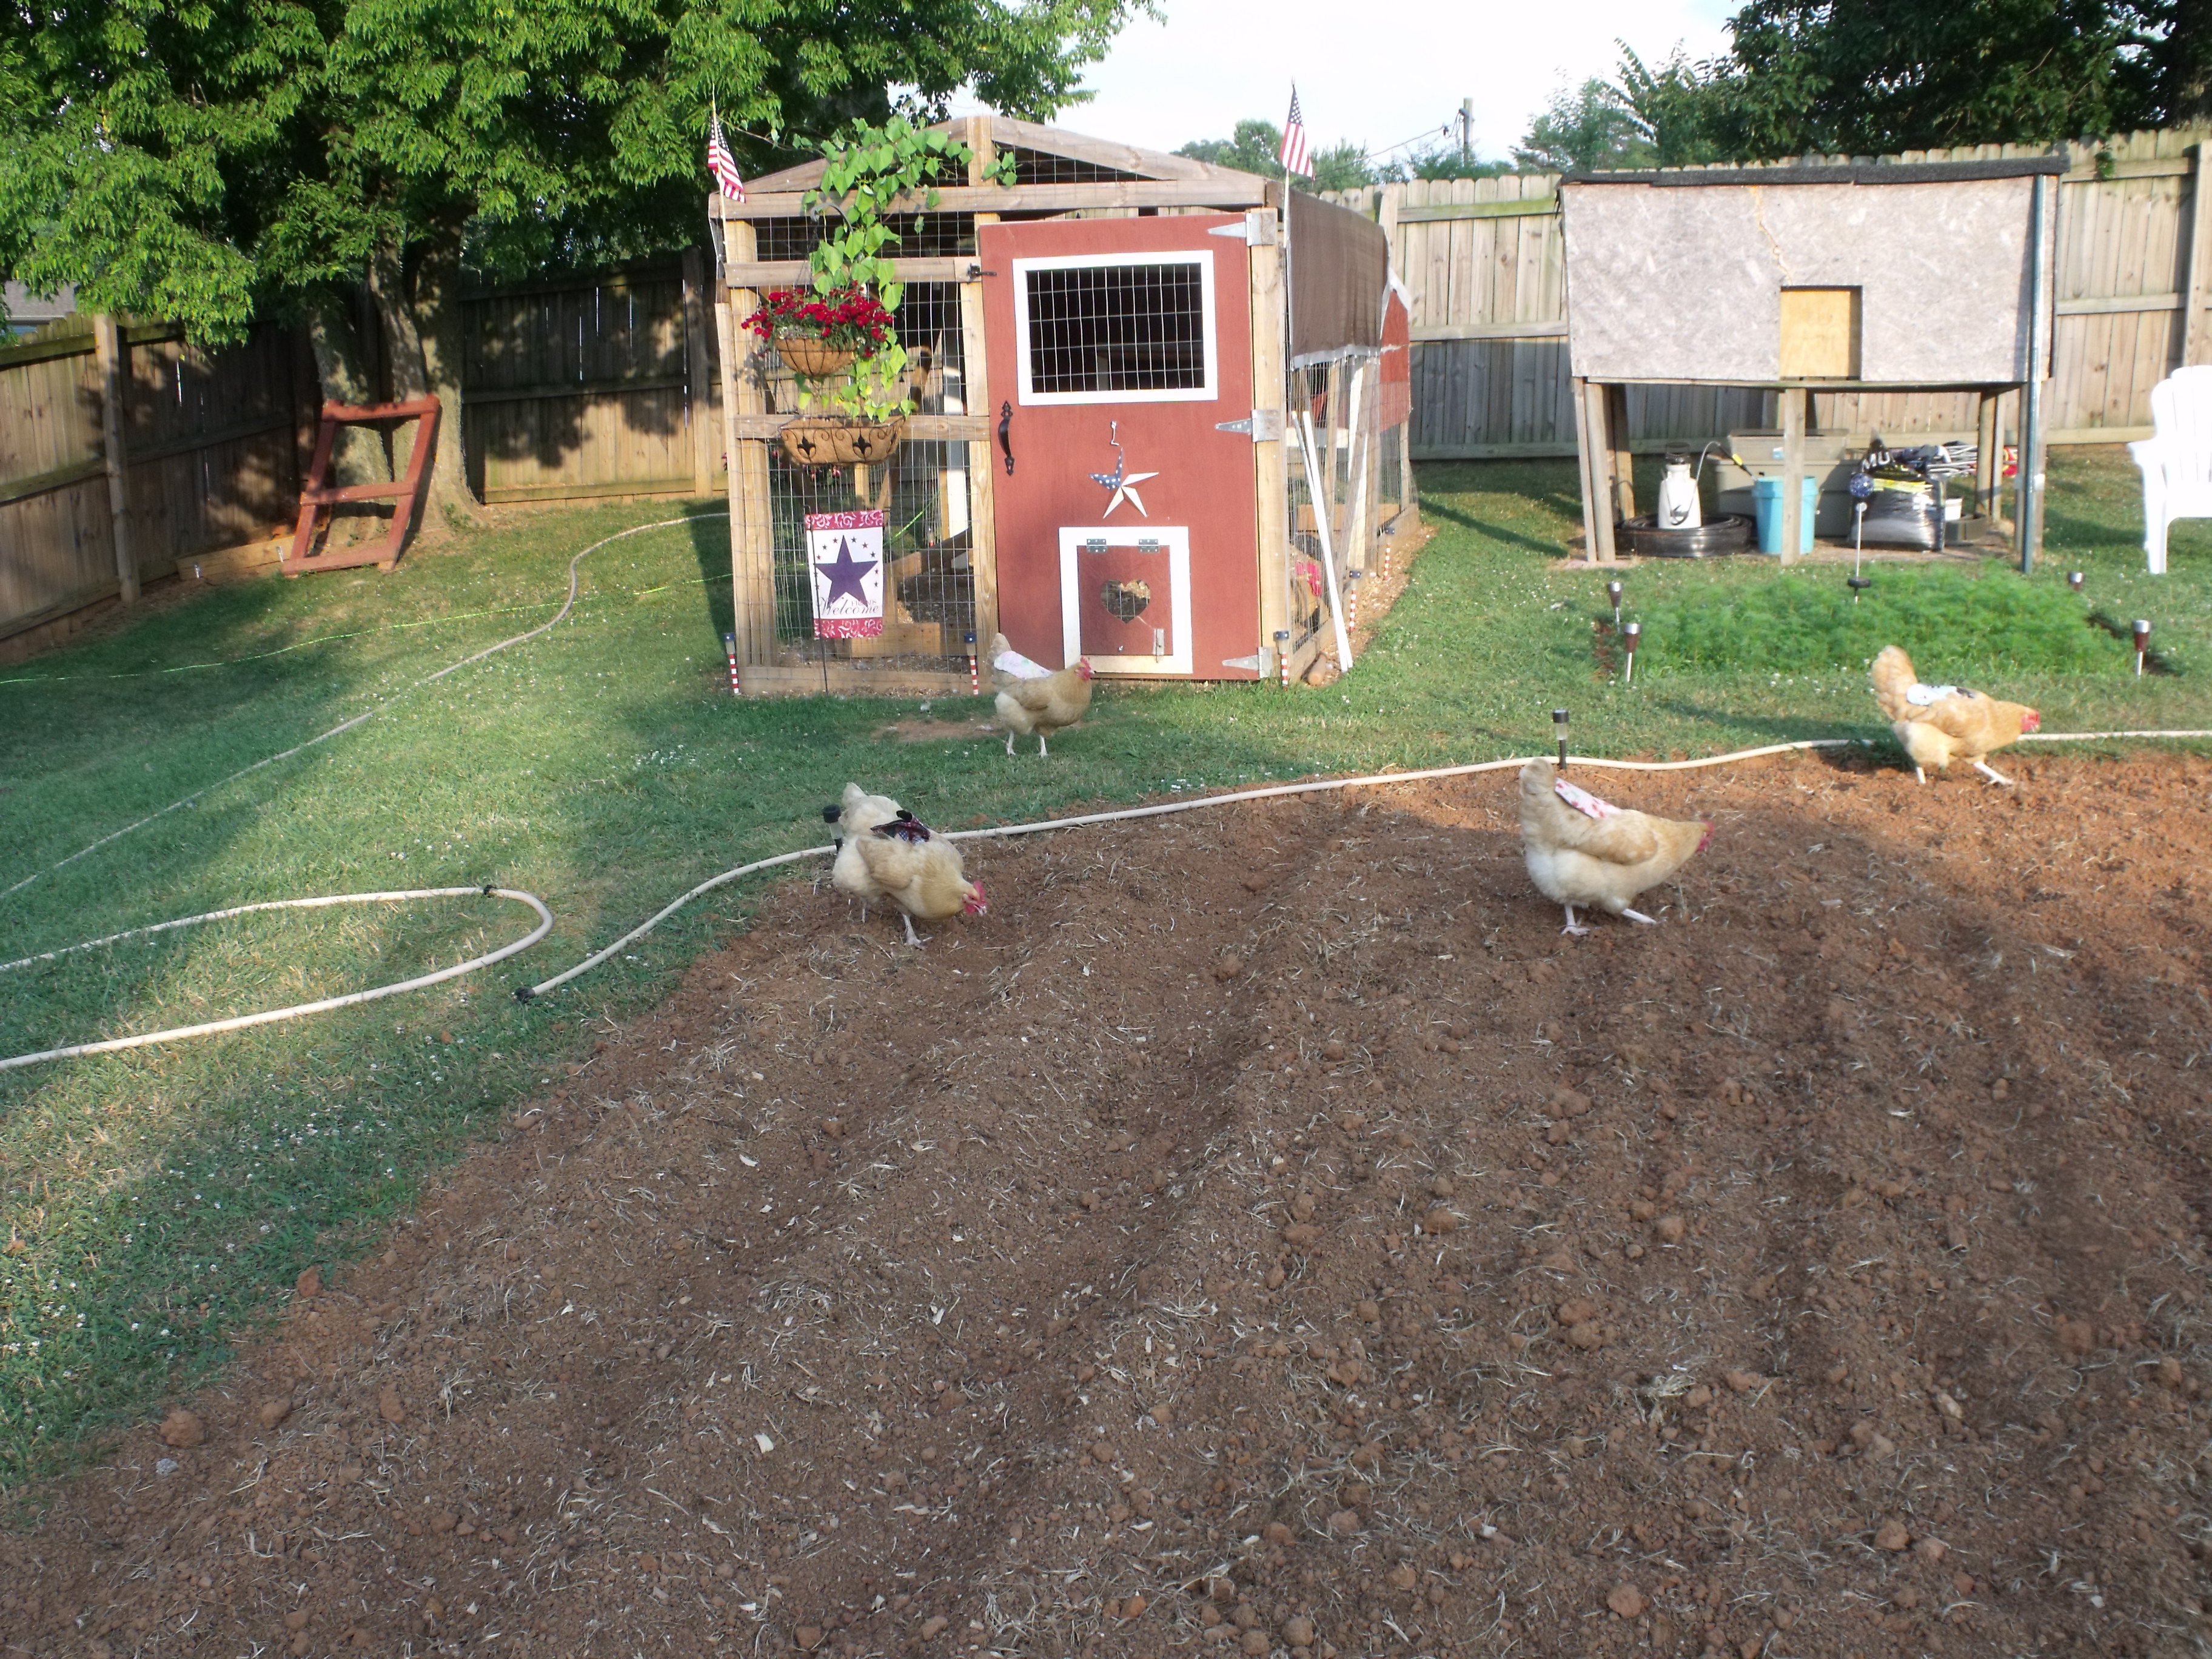
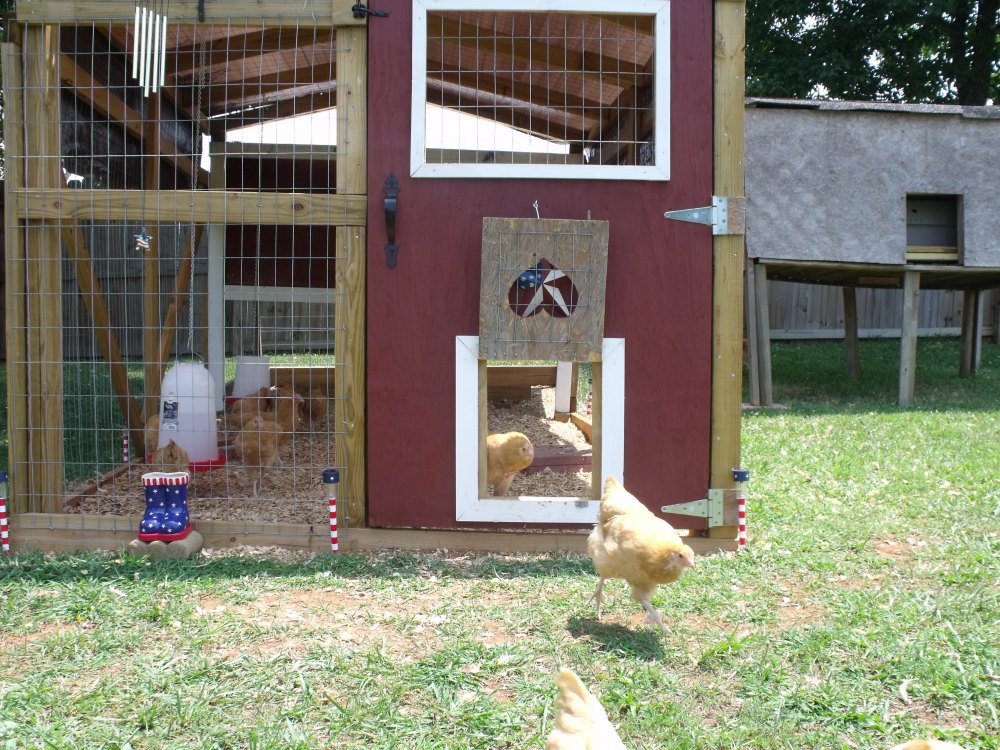
Our coop and pen are pretty much a very simple design. We have a penthouse coop, or a coop that is raised off the ground by about 2 feet. This keeps ground water from seeping into the coop and rodents from chewing into the coop or making a nest under it. I like this design, especially during seasons when we seem to get a lot of rain. Their pen has flooded several times and each time I am so glad they were clean and dry in their coop.


For the roof we just use a large tarp. This provides them shade and of course protection from the rain and other elements. Since the top of the pen has metal fencing, we did not need to add the extra expense of building an actually roof. The tarp does the job well. We replace it every other year or so to keep it in good condition. It does start to ware out after a few years. They are fairly cheap and very durable. This design meets both our budget and needs of the girls.


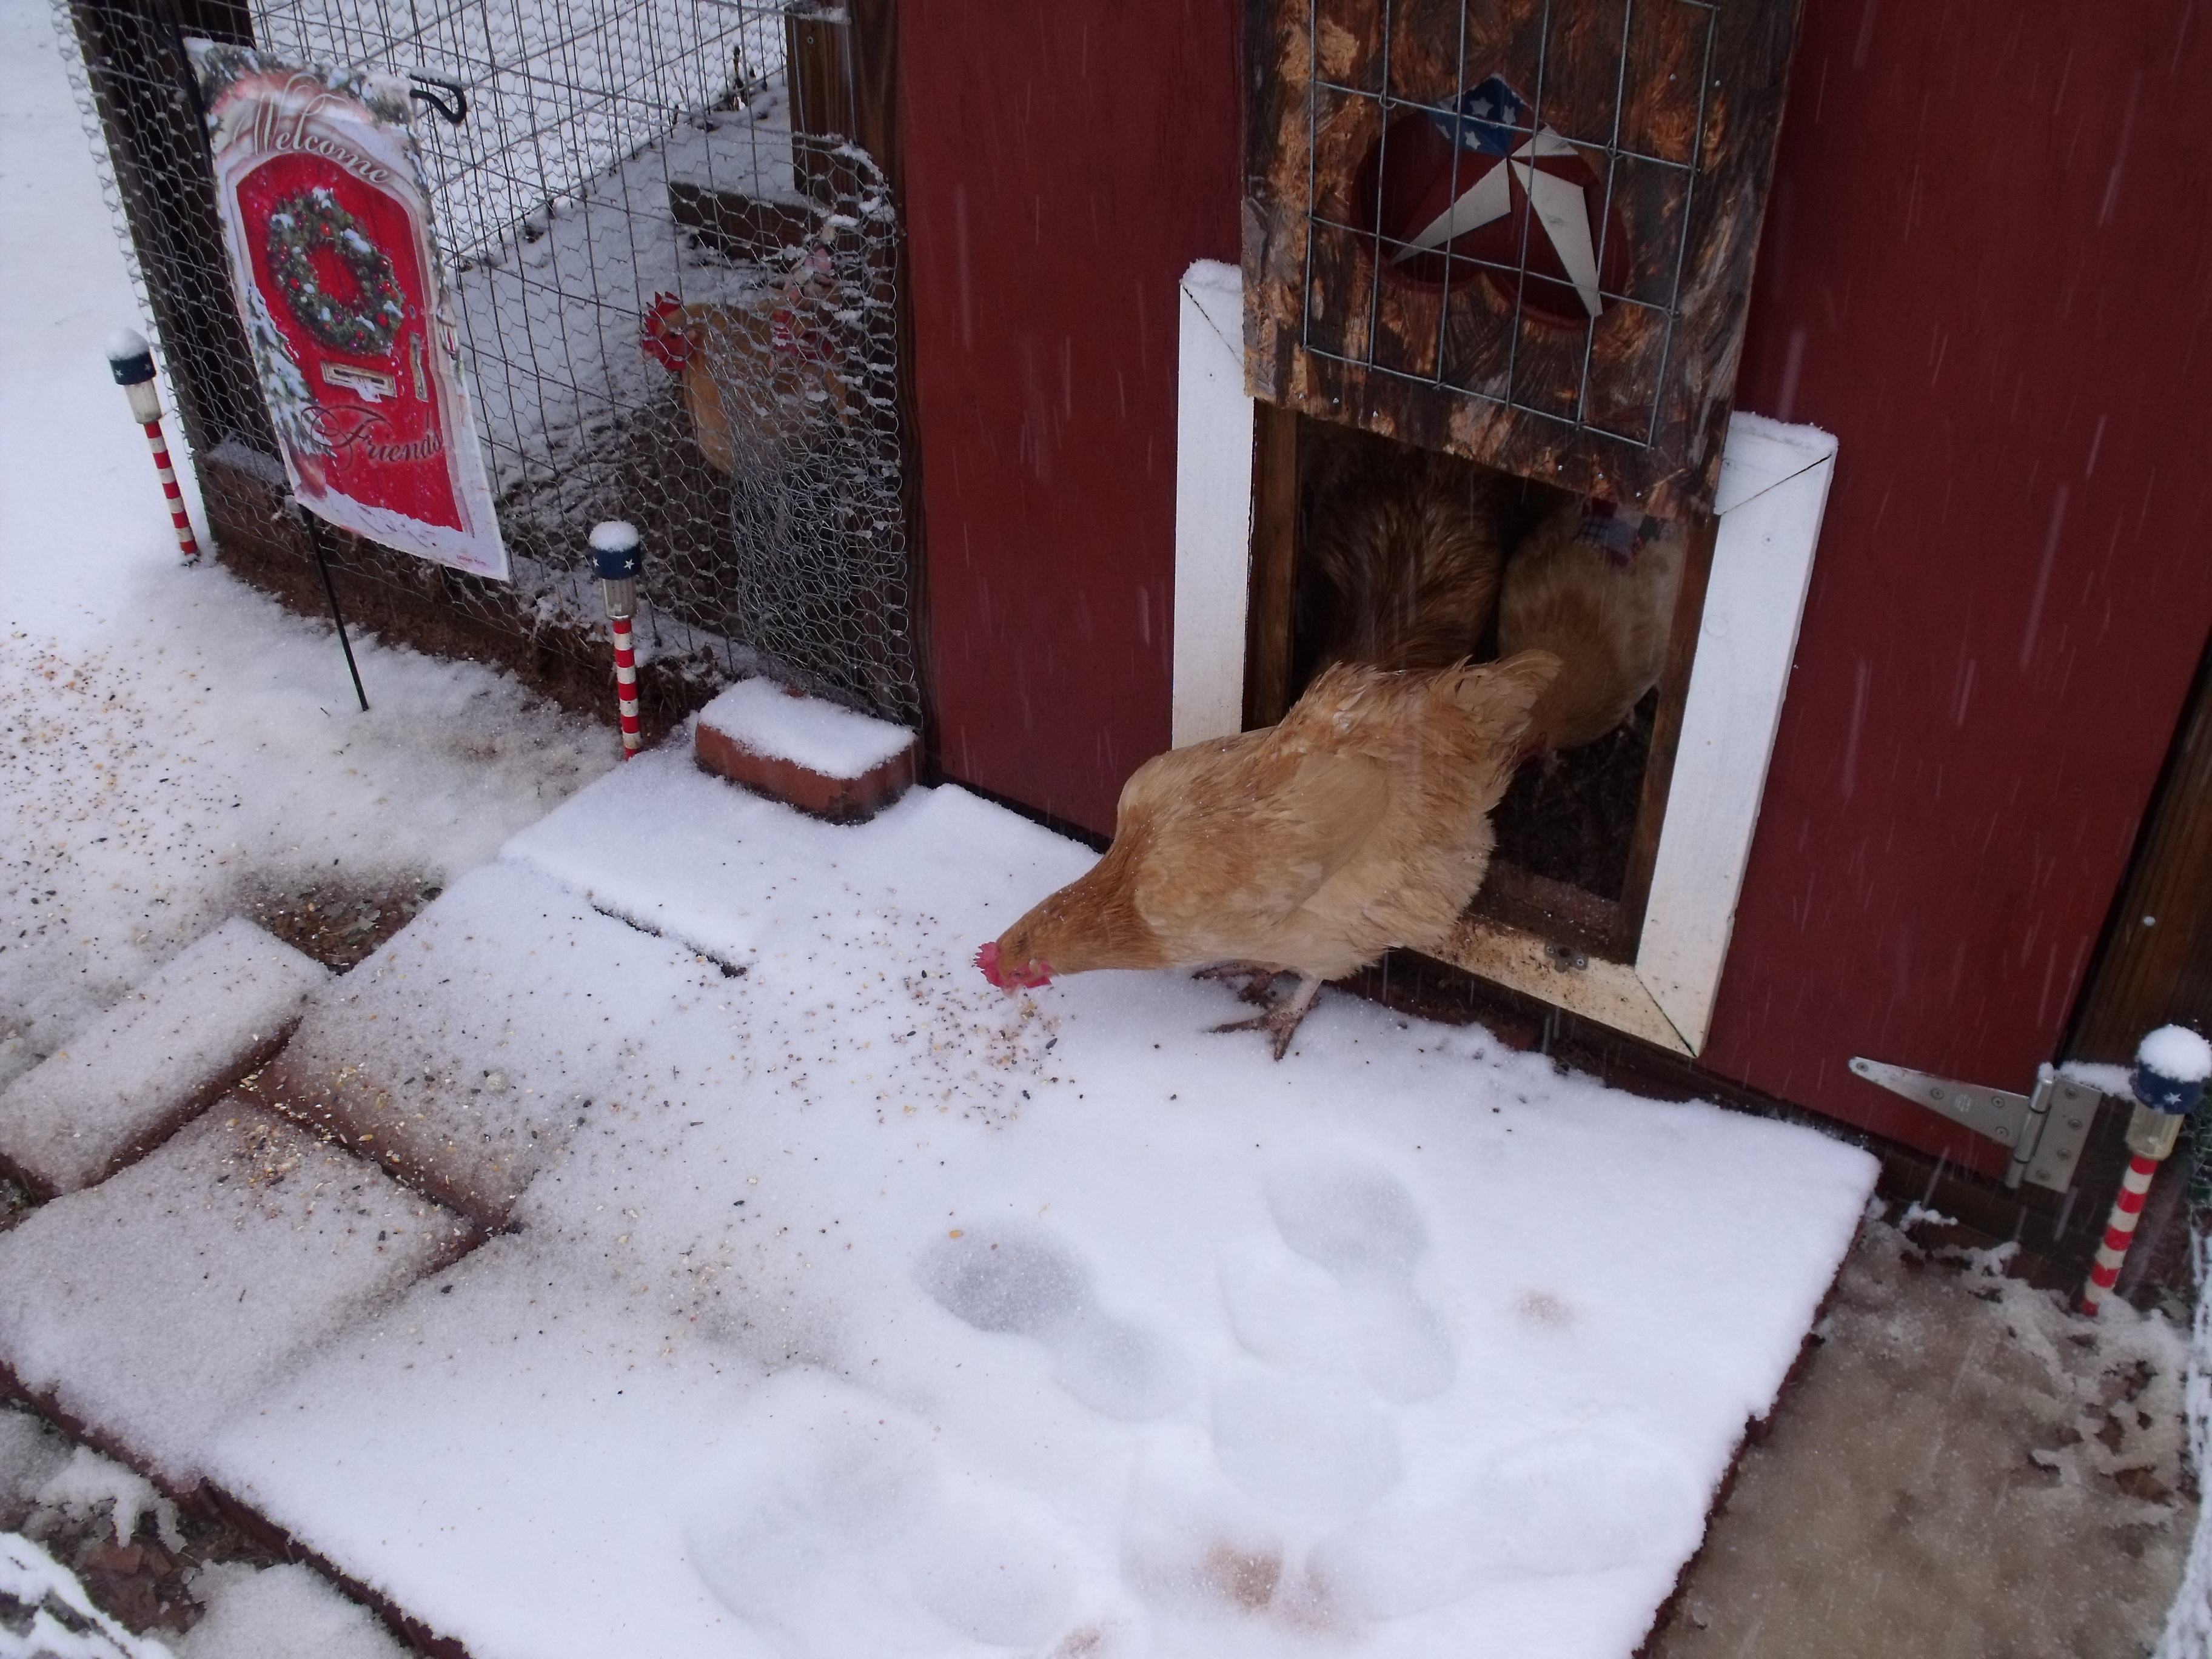
The design for their front door is our unique take on allowing them access to the backyard. At the bottom of the large door leading into the pen you see a small pet door. We call this the “chicken door”, this allows us to let them out of their pen without having to keep the large human size door open. I do this to discourage birds and other arial prey from flying into the pen. If there is a hawk scare the girls will run back to their pen and find safely there because the hawk cannot follow them in. Additionally, we cut out a heart window at their level to allow them to see out the door.


That is all I have for now. If you have any questions about our coop that you would like an answer to, please post in the comments. As always, thanks for following our adventures.
~The Kuntry Klucker Crew.~