The Essential Beginners Guide to Backyard Chickens.
So, you want to raise chickens but you have absolutely no idea where to begin. In this post, I will tell you how I began my adventure with raising chickens and show you how to begin your own backyard chicken endeavor.
It was about 10 years ago when the thought of keeping chickens first crossed my mind. I never had chickens before, nor was I raised around them. My grandparents had a farm where they raised produce and pigs. I visited every summer, that was the extent of my country upbringing. I had a good handle on how to garden and grow crops, as to livestock, I had to start from square one.
In a world where we can buy literally everything we need at the store, I waned to have a say as to where my food came from. I wanted to have farm fresh eggs and a garden where I could grow organic produce for my family. I also needed guidence on how to cultivate hard red clay here in Tennessee.

I found through this endeavor, soil conditioning and fertilizer in the form of manure is a good place to start. I also found out that chicken manure is the best from of fertilizer. Chicken, as opposed to cow or horse manure does not contain seeds, chickens process everything they consume. Due to the grinding organ, the gizzard, all seeds are broken down into usable fuel for a garden. Cow and horses on the other hand do not process all the seeds they eat, resulting in fertile weed seeds for your garden. In order to have the homestead and garden I wanted, I had to get chickens. Thus stated the adventure with my backyard divas.
Why do you want chickens?

If you are reading this blog post, you have already decided that you want to get chickens. This is the first and foremost thing to consider before getting your first flock. Keeping backyard chickens is very rewarding with many benefits. However, they do require daily care and attention. Knowing why you want to dedicate the time and resources required is very important.
Know your zoning laws.

Before you even look at coop designs and hatcheries, you need to find out what your zoning laws require. Every state has a different zoning law when it comes to livestock. Unlike a cat or dog, there are strict laws concerning pet chickens, the state views them as “livestock”. If you are in the city, if allowed, you will be limited to a small number of hens in your backyard, usually 6 or so, omitting roosters. Most city ordinances do not allow roosters per the noise issue.
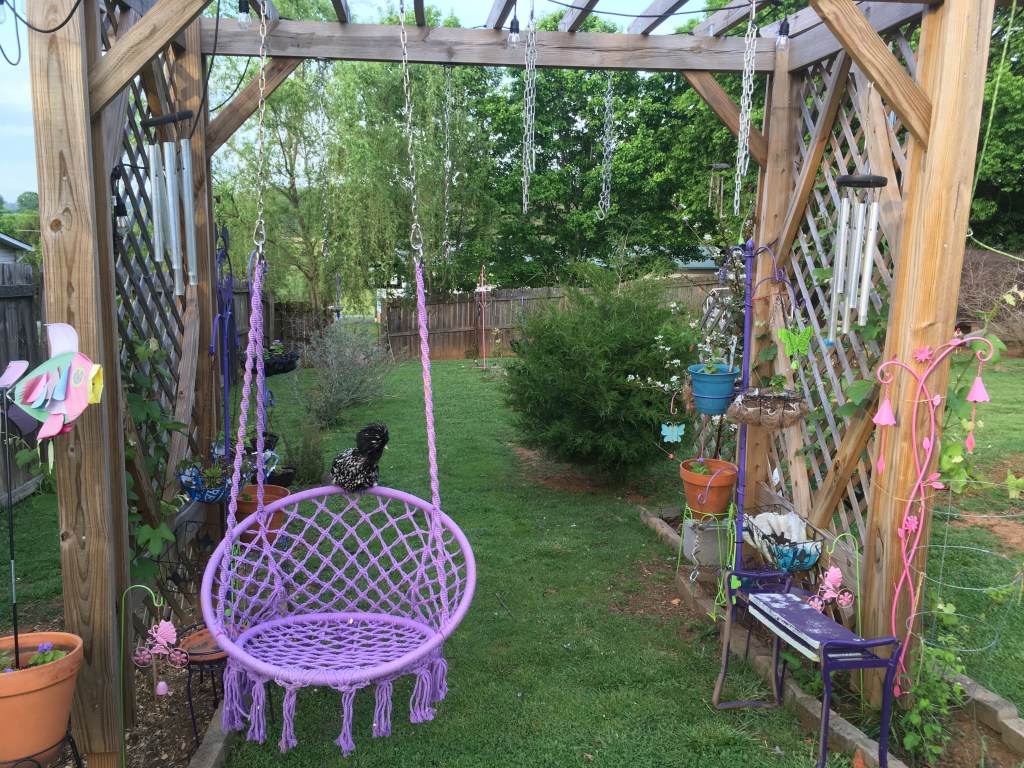
If you live in the county or country, livestock is most likely permitted. You still need to check your zoning laws to be sure of any and all restrictions. For example, I live in a rural county in East Tennessee. Although I am outside city limits, I have to abide by certain guidelines. For example, my coops need to be at least 250 feet away from my neighbor’s front door, my animals must be contained by either a fence or pen attached to their coop, and I need to have a good waste management routine implemented to reduce both varmints and odors that may bother my neighbors. I have met the requirements, stipulations and more. My girls’ coops are in our backyard, enclosed by a 6-foot wood privacy fence. Their coops and pens are cleaned and maintained daily, I practice good manure management, aiding in both good health and odor reduction.
Do your research..Breeds, temperament, disposition.
Ask yourself what kind of chickens you want? Do you want to keep a flock of chickens for eggs, or do you want them for meat?
Do you want to involve your kids in keeping backyard chickens? Do you want to keep them purely for the enjoyment and fun of owning backyard chickens? What temperament do you want in your backyard flock?
These are just a few of the questions to ask yourself. Of course, chickens can offer much more then eggs and meat, they can be pets, forms of entertainment and a companion like a family dog. The spectrum is so wide ranging when it comes to chickens, you can literally have your cake and eat it too.
Most people want to have a flock of chickens that are docile and friendly. If children will be involved with caring for the chickens, this is of upmost importance to beginning keepers. Luckily there are many breeds that would fit this need.
Below, I will list a few of the friendliest breeds. I have most of the breeds or have interacted with them and can vouch for calm and friendly behavior. As with people, chickens have personalities, some may not be as friendly as others. When viewed as a whole, these breeds are great choices for a beginning backyard setting. If roosters are a concern, I have much experience with roosters, I currently have 13 gents. I have examined the temperament and demeanor of various breeds. To read my research and experience with rooster, click here.
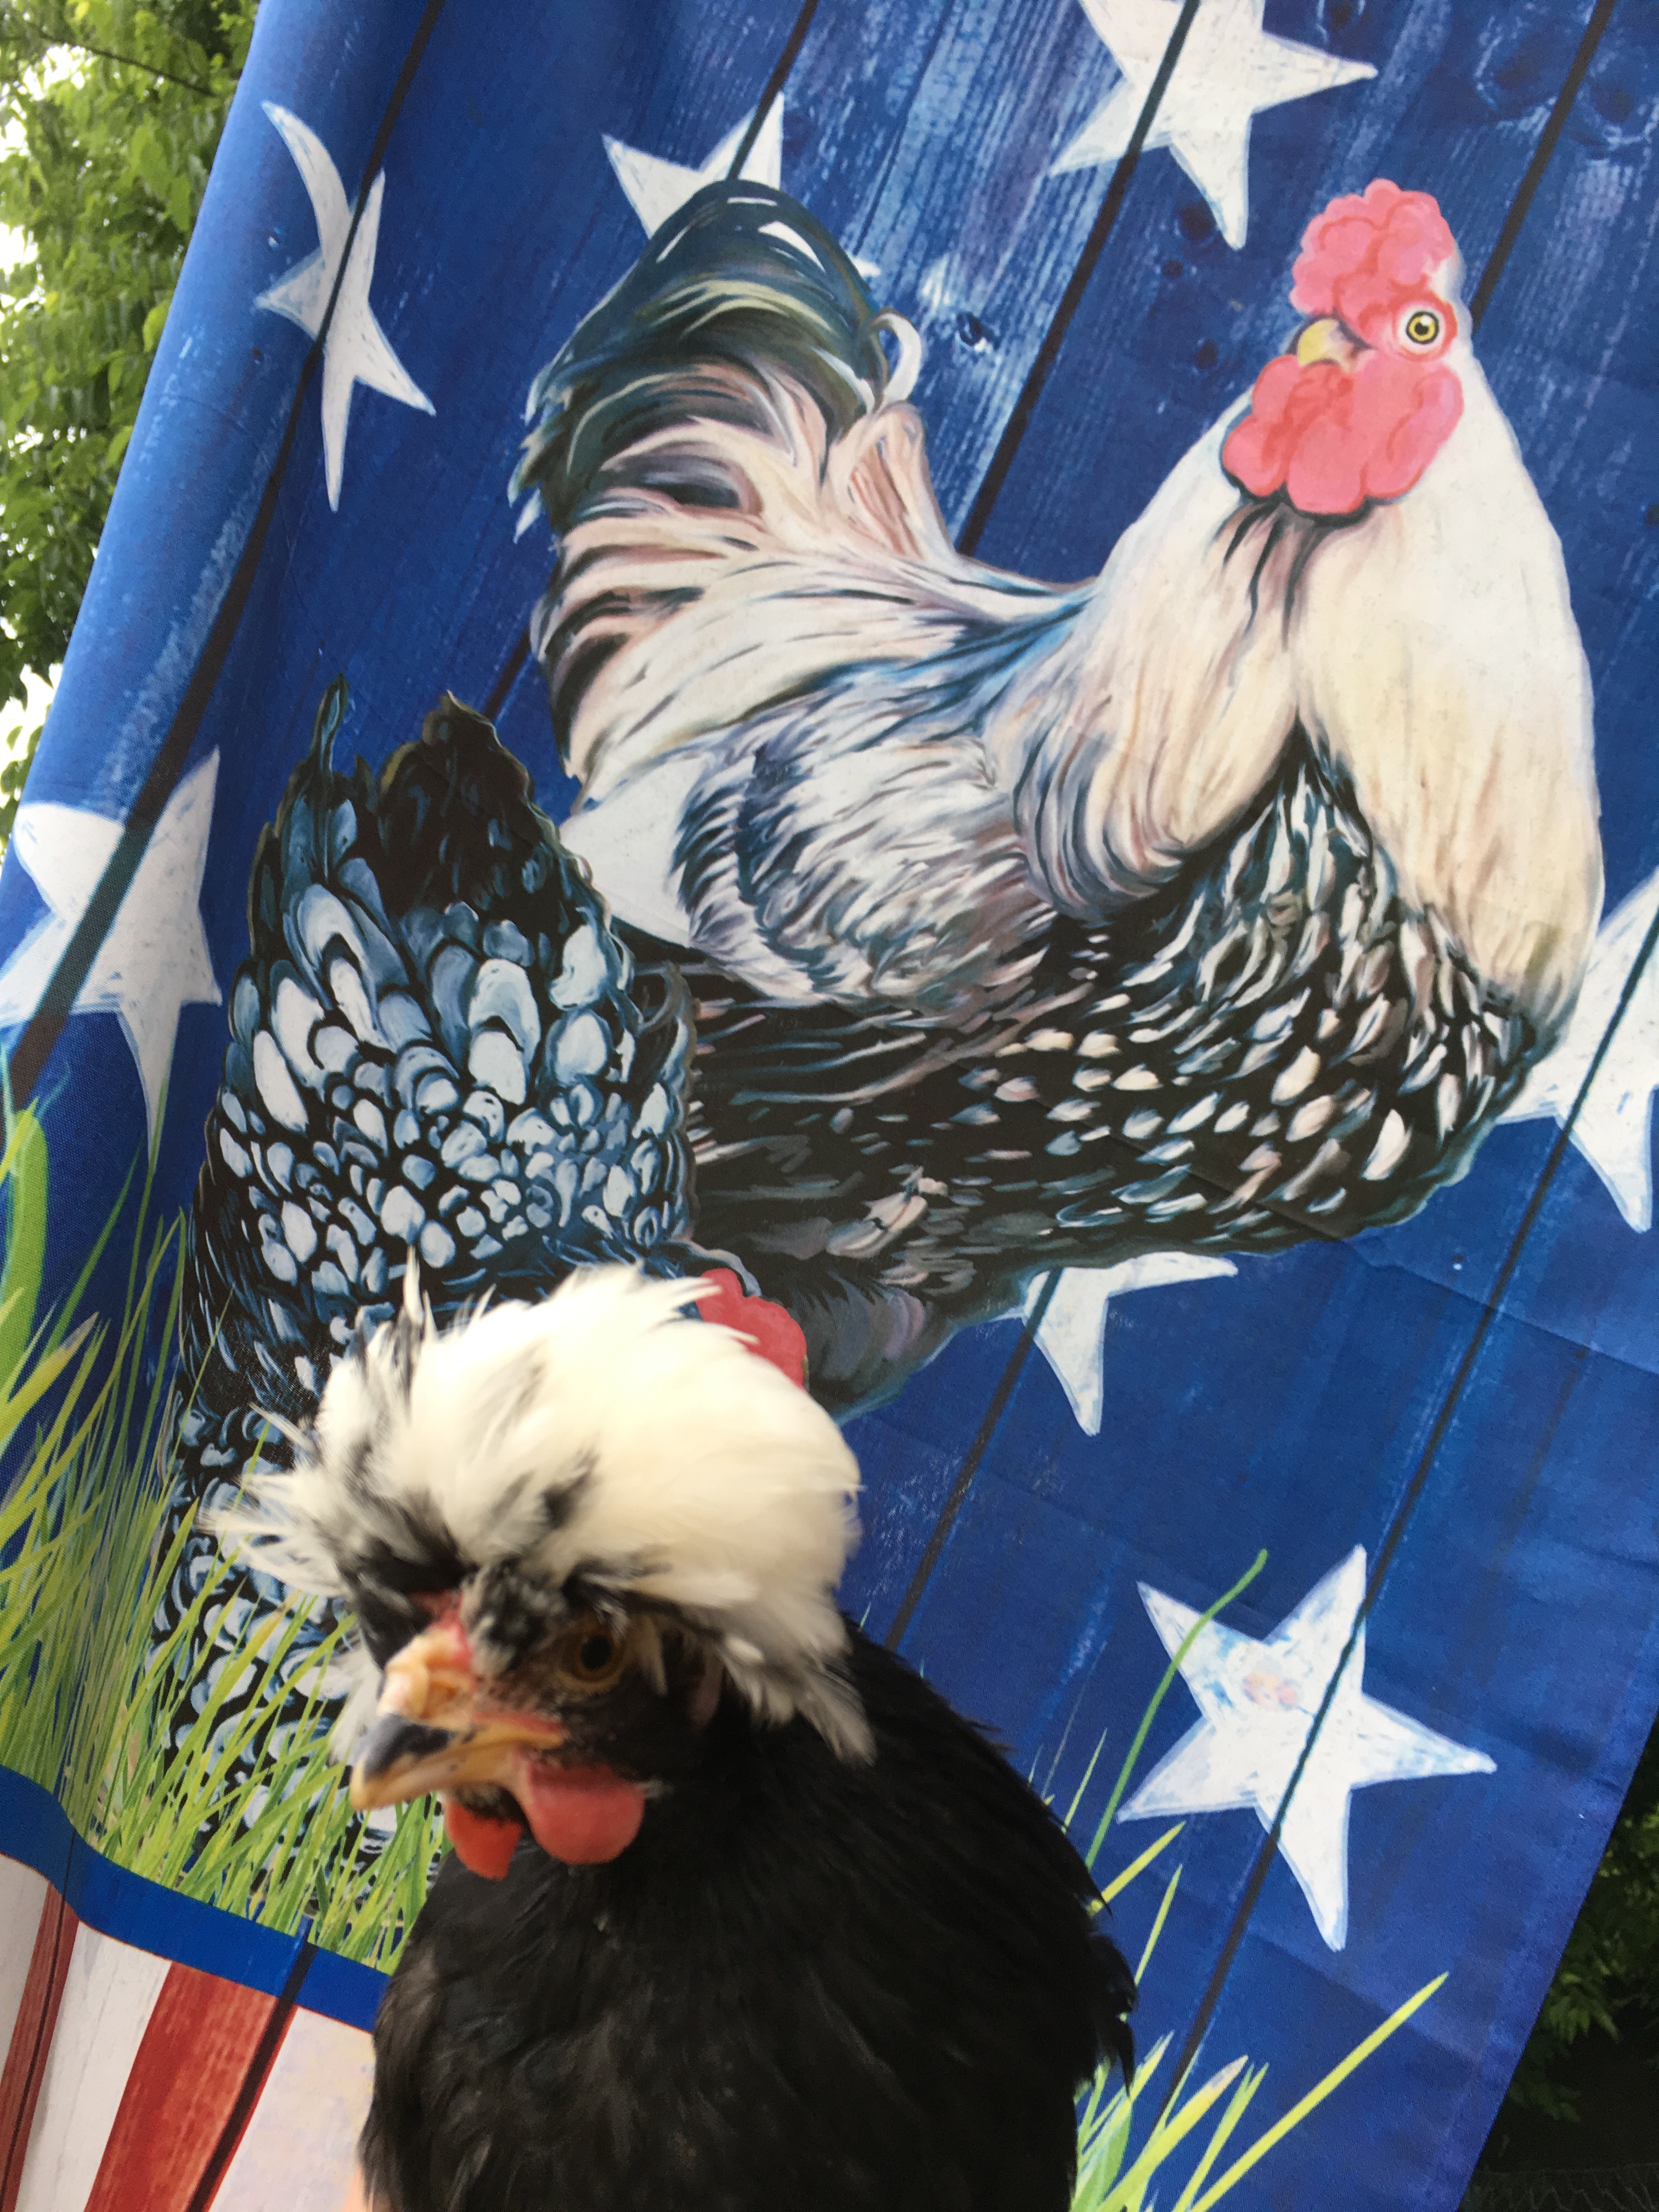
~ Silkie
~ Polish
~ Cochin
~ Brahma
~ Sussex
~ Leghorns
For egg potential, the best layer breeds are Orpingtons, Australorps, Easter Eggers, Rhode Island Reds, Production Reds, Leghorns and Plymouth Rocks.
As for meat chickens, typically any standard or large dual-purpose bird will do. However, Cornish Crosses are typically chosen to meet this need. I do not raise chickens for meat; thus, I am I am not able to speak into this. There are many YouTube and other sources on the net to help you get started on this path.
Where to get your chicks? Hatcheries or Feed Store.

After you have decided what purpose, you want your chickens to fill, you need to decide where to purchase chicks. I have purchased chicks from both feed stores and from hatcheries. There are pros and cons to both. I will list them below for your consideration.
Feed store chicks
~ pros: cheap, no waiting time, you can hand pick your chicks, usually older chicks typically a week old or more, don’t need to be picked up early in the morning at the post office.
~ Cons: usually only basic breeds, depending on store the care of the chicks can be poor, easy to purchase too many (I struggle with this one, I want them all), typically sold as straight runs (not sexed, you WILL get both hens and roosters), chicks tend to be more high strung and flighty due to feed store environment, sold during the spring months only (February thru April) although some locations may have chicks in the fall.
Hatchery
~ Pros: Chicks are sexed (you can purchase only pullets or hens, omitting roosters), chicks are usually in better health, can purchase rare breeds, chicks are typically of better quality, can order your chicks to be shipped any month (except winter months).
~ Cons: more expensive (you will need to pay shipping which can be as much as $45 depending on location), you will need to schedule a time to be home to receive your chicks ( you will need to clear two days from your calendar to pick up your chicks at the post office, they can be delayed in the mail), chicks will arrive at your post office (you will be called early usually between 5-7am to pick up your chicks when the overnight truck arrives), some chicks may die in transportation (be prepared to open your box and find dead chicks, this has only happened to me once in 10 years), orders typically need to be placed in November around Thanksgiving for spring chicks.
Given both methods of acquiring chicks, I prefer to work through hatcheries. Yes, it is a bit more expensive, I have several reasons for this preference. I will list them below.
1.) I like knowing I am the only one to care for them from the moment they arrive. Such things as the feed to the quality of the water and vitamins I administer in their water.
2.) I like the wider selection that hatcheries offer. I tend to gravitate towards more rare breeds not offered in the feed stores.
3.) I find that they are healthier and less traumatized than those purchased at the feed store.
4.) I have found that they are less flighty. Chicks sold in feed stores constantly have hands grabbing for them, causing them to be flightier and higher strung. The chicks that I purchased from the hatchery, despite traveling are much calmer and easier to hand raise. Chicks bought from the feed store are very skittish and harder to hand raise. Due to their exposure to the feed store setting, they are often terrified of hands.
If you decide that chicks from the feed store meet your needs, visit your local Tractor Supply or equivalent in your area and begin your backyard chicken adventure.
For those who decide after careful consideration that hatcheries are a better route for you, do your research before you order. There are many hatcheries out there to choose from. Who you order from will have a lot to do with what breeds you want. Some hatcheries specialize in heritage breeds, others offer rare breeds.
I have ordered from several hatcheries, all with good experiences. Below I will list the hatcheries I have done business with. I can vouch for their service and quality of chicks.
Cackle Hatchery – I ordered my first clutch of chicks from Cackle. 9 years later, I still have 5 of the original 17 Buff Orpingtons I ordered.
My Pet Chicken – I order all my Silkies and White Crested Polish Chickens from MPC. They are great outfit and offer some of the rarer breeds of chickens. Their customer service is top notch. If any chicks pass during shipping, they will reimburse you for the loss of chicks.
McMurray Hatchery – I have ordered some of my very rare Polish breeds through McMurray. They also stock some extremely rare breeds. If you are interested in something a little bit different for your backyard flock, they are the best place to go.
Preparing The Brooder.
Now that you have ordered or plan to pick up your chicks at your local feed store or co-op, it’s time to set up the brooder. A brooder is basically a heated home for your newly hatched chicks. In nature, the mother hen would be the brooder. She would keep them warm, teach them how to drink and what to eat. Since you picked up or ordered your chicks, essentially you have to be the mother hen to these little ones. Don’t worry, it’s not complicated. There are just a few very important steps that need to be taken to insure the successful transition of your chicks.
what you will need:
1. Enclosed container with sides and a top.
2. Heat source
3. Feeder and Feed
4. Waterer and vitamins to put in the water
5. Pine Shavings
6. Other accessories such as perches or toys to keep them occupied.
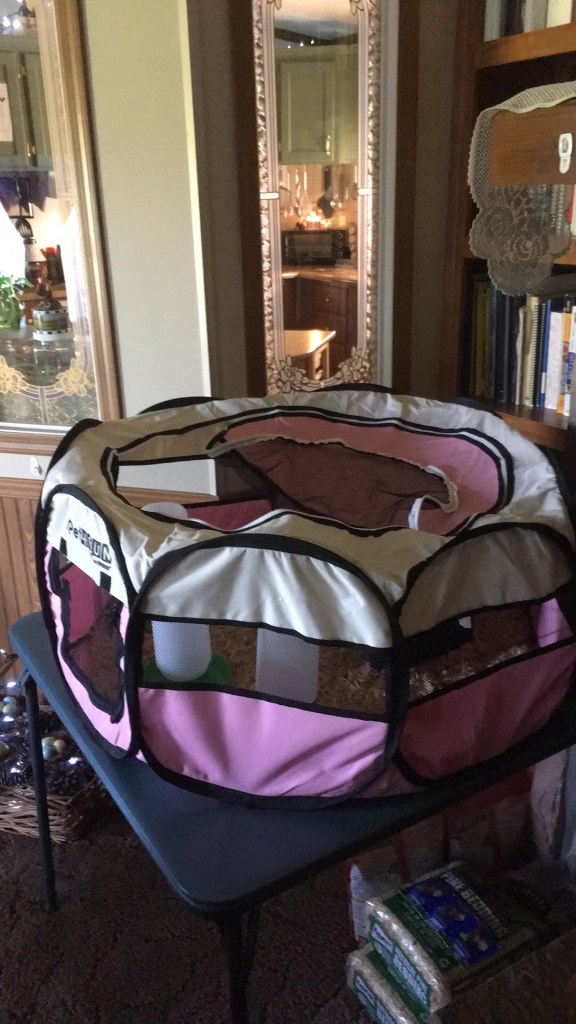
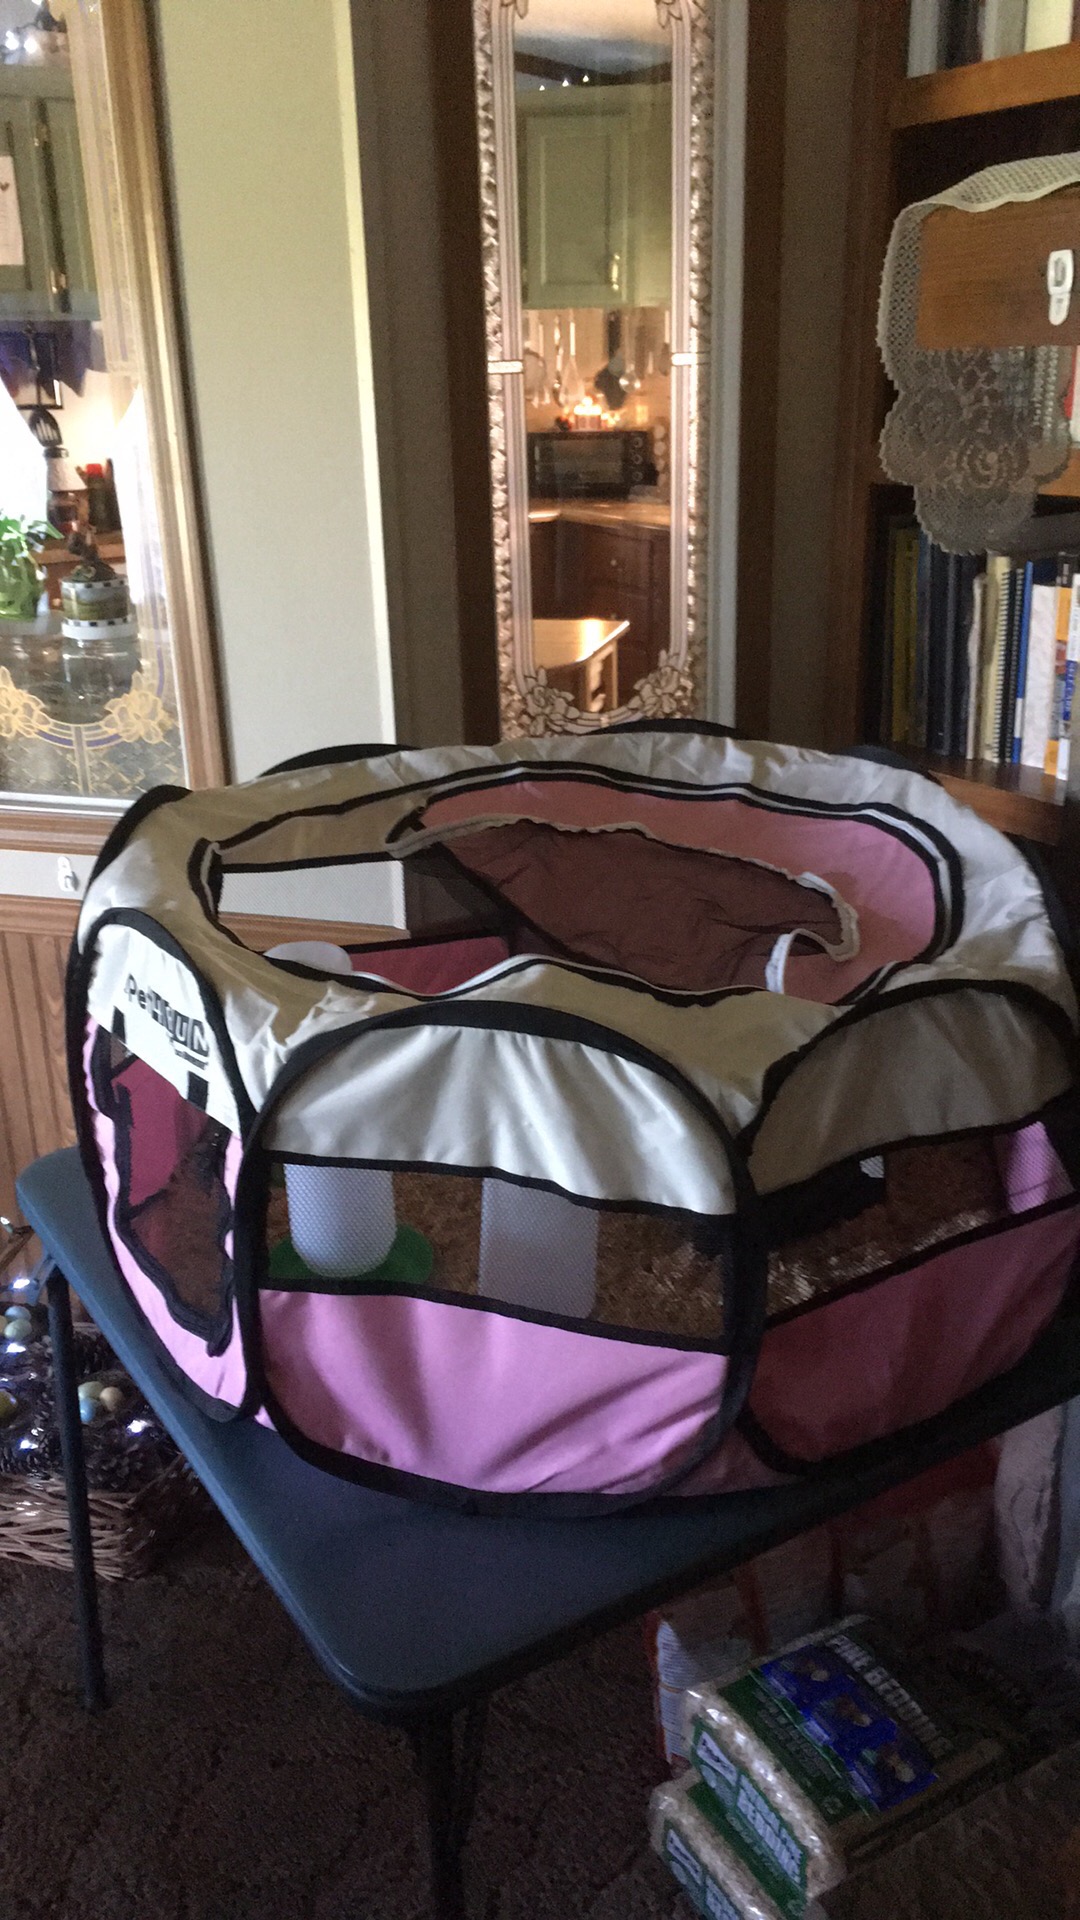
For my brooder set up I use a Puppy Play Pen these can be found on Amazon and most pet stores. I like to use these for brooders for several reasons.
~ 1. They are completely enclosed, this means that all the shaving stays in the brooder, reducing much of the mess. The screened sides allow for air flow and visual access to your chicks. Due to the fact that the chicks can see and observe their world outside of the brooder, they are more laid back and less flighty.
~ 2. They have a top. This will become important when the chicks get to the flying phase of their development.
~ 3. They are easy to clean, fold up, and store easily.
Heat:
As for the heat source, I discourage the use of heat lamps. Most people associate brooding chicks with the big red 500-watt bulbs blasting the chicks with intense heat and light. This was the common way of brooding chicks during our grandparent’s day. As for today’s chicks, brooding has taken on a better much safer route to supplying heat to your chicks. Brooder lamps as they are known are very dangerous. There is no way to safely mount a heat lamp around shaving (kindling wood) and flying animals. I cannot recount how many times I have heard, or I see coop, barn, and house fires caused by the humble heat lamp.

In lieu of a hazardous heat lamp I use a Brinsea Ecoglow Radiant Heat Plate. These radiant heat plates mimic the heat from a mother hen, rather than blasting the chicks with unnatural light 24/7. These are a much safer option for heating and do not carry the risk of fires, injury, and death as the heat lamp of yesteryear.
Feeders:
Next, you will need chick feed and a feeder. When it comes to chick feed there are two school of thought. Medicated or unmedicated. Medicated chick feed has a medicine in the feed to prevent or give the chicks an immunity to coccidiosis. Coccidiosis is a disease of the intestinal track; chicks are very susceptible to this condition. Coccidiosis contributes to a large percentage of high mortality rates in young chicks. The medicated feed prevents this condition, giving them a much healthier start in life.
Unmedicated feed is also a good choice, used mainly by people who choose to give their chicks a more organic start to life. Either is fine, you as the caretaker need to decide which route is best for you. As for me, I am pro medicated chick feed. Since I switched to medicated feed, I find that I lose less chicks and that they are healthier from the beginning. As for the feeder, feed stores have a wide variety of feeders to choose from. Just pick the one that fits your brooder set up the best.
Waterers and vitamins:
The type of waterer you have is very important. The goal of the waterer is to give your chicks access to clean fresh water, taking great care that they do not get wet. Once again when it comes to waterers there are two schools of thought, traditional waterers or poultry nipple drinkers.
The traditional waterers are widely available at feed stores, just make sure that you get a small one to prevent the chicks from getting wet. The poultry nipples can be found at some feed stores, but most of them have to be ordered. I do not use the nipple drinkers, I cannot into how to train your chicks to use them. I know that others use them with much success. I find that the traditional waterers work best for me.
Like people, vitamins are very important to young growing chicks. I put vitamins in my chick’s water daily for the first several months. The vitamins ensure that the chicks are getting all the nutrients that they need to get a good start in life. Some vitamins have probiotics in them which gives them an additional boost in the right direction. Most feed stores have poultry vitamins available; I typically pick them up at Tractor Supply.
Shavings or bedding:
Brooder bedding serves the purpose of absorbing moisture, keeping your chicks healthy and happy. The safest bedding to use around chicks is pine shaving. Most feed stores stock pine shavings, they can also be found at Walmart and pet stores. An important note about shavings, cedar is toxic to chicks, take care to make sure that you use pine shavings in your brooder set up.
The pine shaving should be cleaned out once a week and replaced with fresh. More often if you have a quite a few chicks in your brooder.
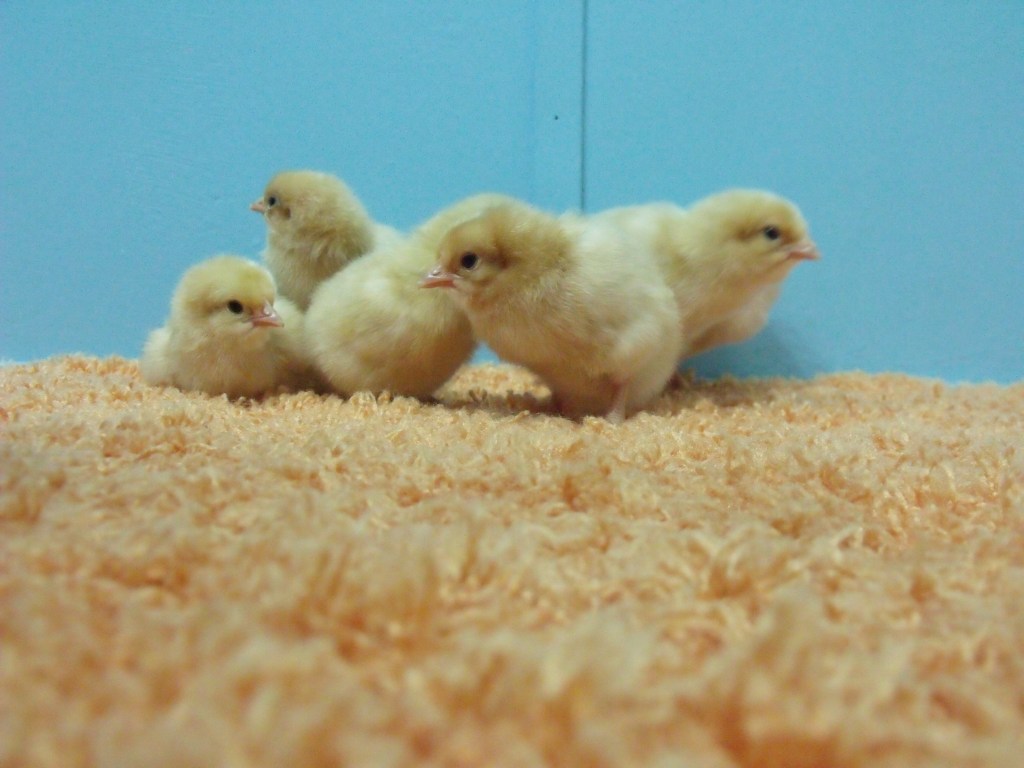
How to Introduce your new chicks to the brooder and teach them to eat and drink.

When you first arrive home with your new chicks, the first thing you want to do is teach them what water is and where to find it. After traveling for several days, they will be thirsty. To relay this important survival information to your chicks, dip their beaks in the water. As you remove them from their shipping container and place them in the brooder, dip their beaks in the water. Do this for every one of the chicks. You may need to dip their beaks in the water more than once for them to make the connection. You will know that the connection has been made when they drink from the waterer on their own. They will be thirsty; it will not take them long to appreciate the water.

Chicks naturally have a pecking instinct; this means that they will peck at anything that is in front of them. It is your job as a caretaker to teach them what is food. The best way to do this is to line the bottom of your brooder with paper towels for the first few days. On top of the paper towels, scatter some chick feed. The chicks will instinctively peck at the feed, teaching them that “this is food”. If you put new chicks on the shavings, they may eat the shavings mistaking them for food. After they learn to identify their food, the source by eating from feeder, you can remove the paper towels and expose the shavings. They will enjoy scratching in the shavings looking for food, much like adult hens do when looking for bugs in the grass.
Once everyone is eating and drinking on their own, you can take a sigh of relief. From this point on they are able to take care of their needs, regulating their food as water intake as needed. The first week they will spend a lot of time under the heater and sleep a lot. Beginning in the second week, they will be a lot more active and enjoy interacting with their caretaker.
Once the young brood is completely feathered, they can move into their outdoor digs. The time of year you acquire your brood will make a huge difference on when they can be moved outside to their coop. If you get them during the colder months (February – April) depending on your location, you may have to keep them inside a bit longer. To get around this, I typically request my hatch dates to be in May and June. During these months, the temps are warmer especially at night. I do this so that I can get them outside a lot sooner. During these summer months, I can even brood my chicks outdoors in a protected coop. I often resort to this method of brooding. I find that the chicks do much better early on if raised outdoors. Additionally, it frees me from the shaving mess and dust that chicks produce, giving our allergies a much-needed break.
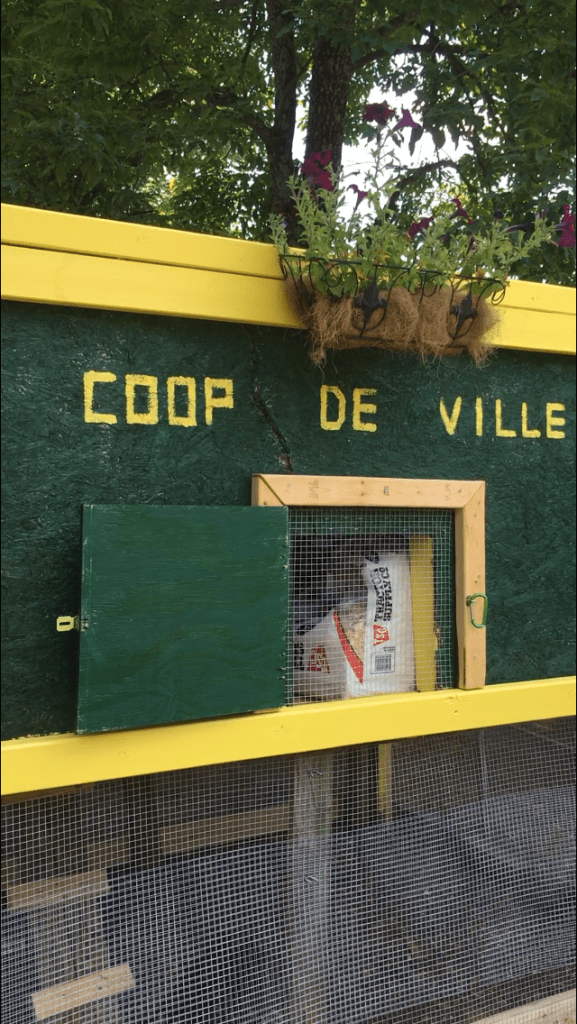
I set up a brooder outside just the same as I would set up one indoors. I provide the essentials food, water, and heat. I simply purchase an industrial outdoor extension cord, run it to the coop and hook the power up. I am currently brooding a clutch of 6 White Crested Polish Bantam chicks in The Coop De Ville. All are doing well and are enjoying the coop life.
Getting the Coop purchased and constructed
Now that that you have your new additions home and brooding, if you have not already, it’s time to get their outdoor digs ready.
Once again, when it comes to coops there are two schools of thought, hand-built or prefab. I have done both and will link the blog post where I discuss this in detail here. Whichever method you choose is up to you. I really don’t think one is necessary better than the other, its whatever works for you and your family.
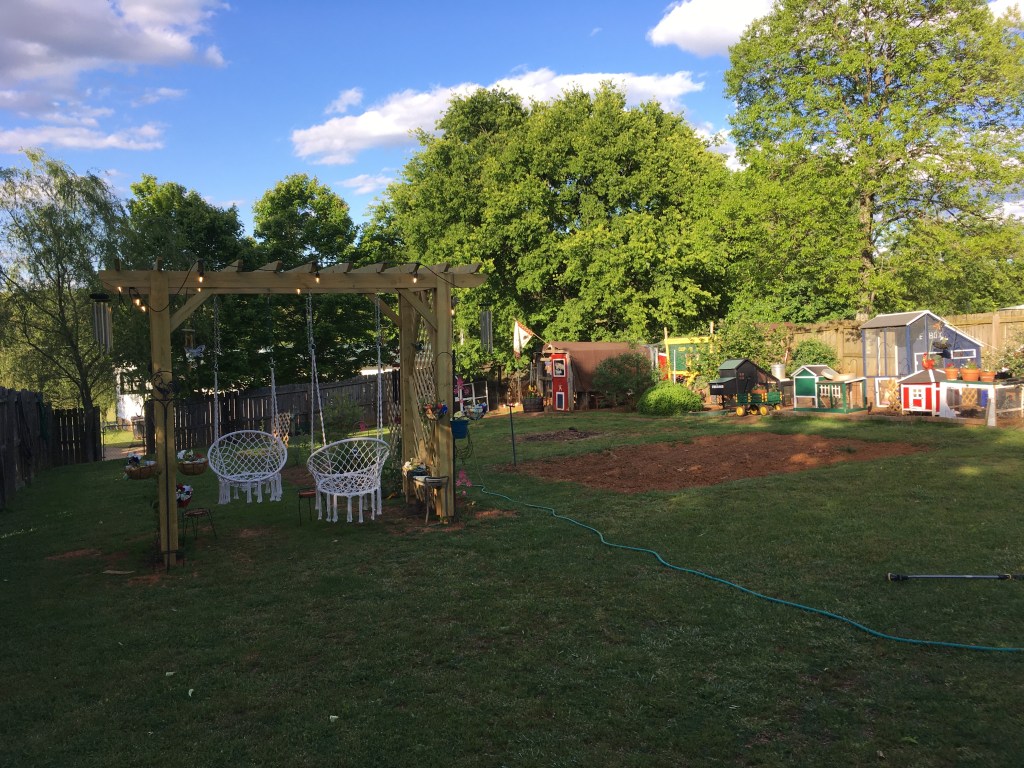
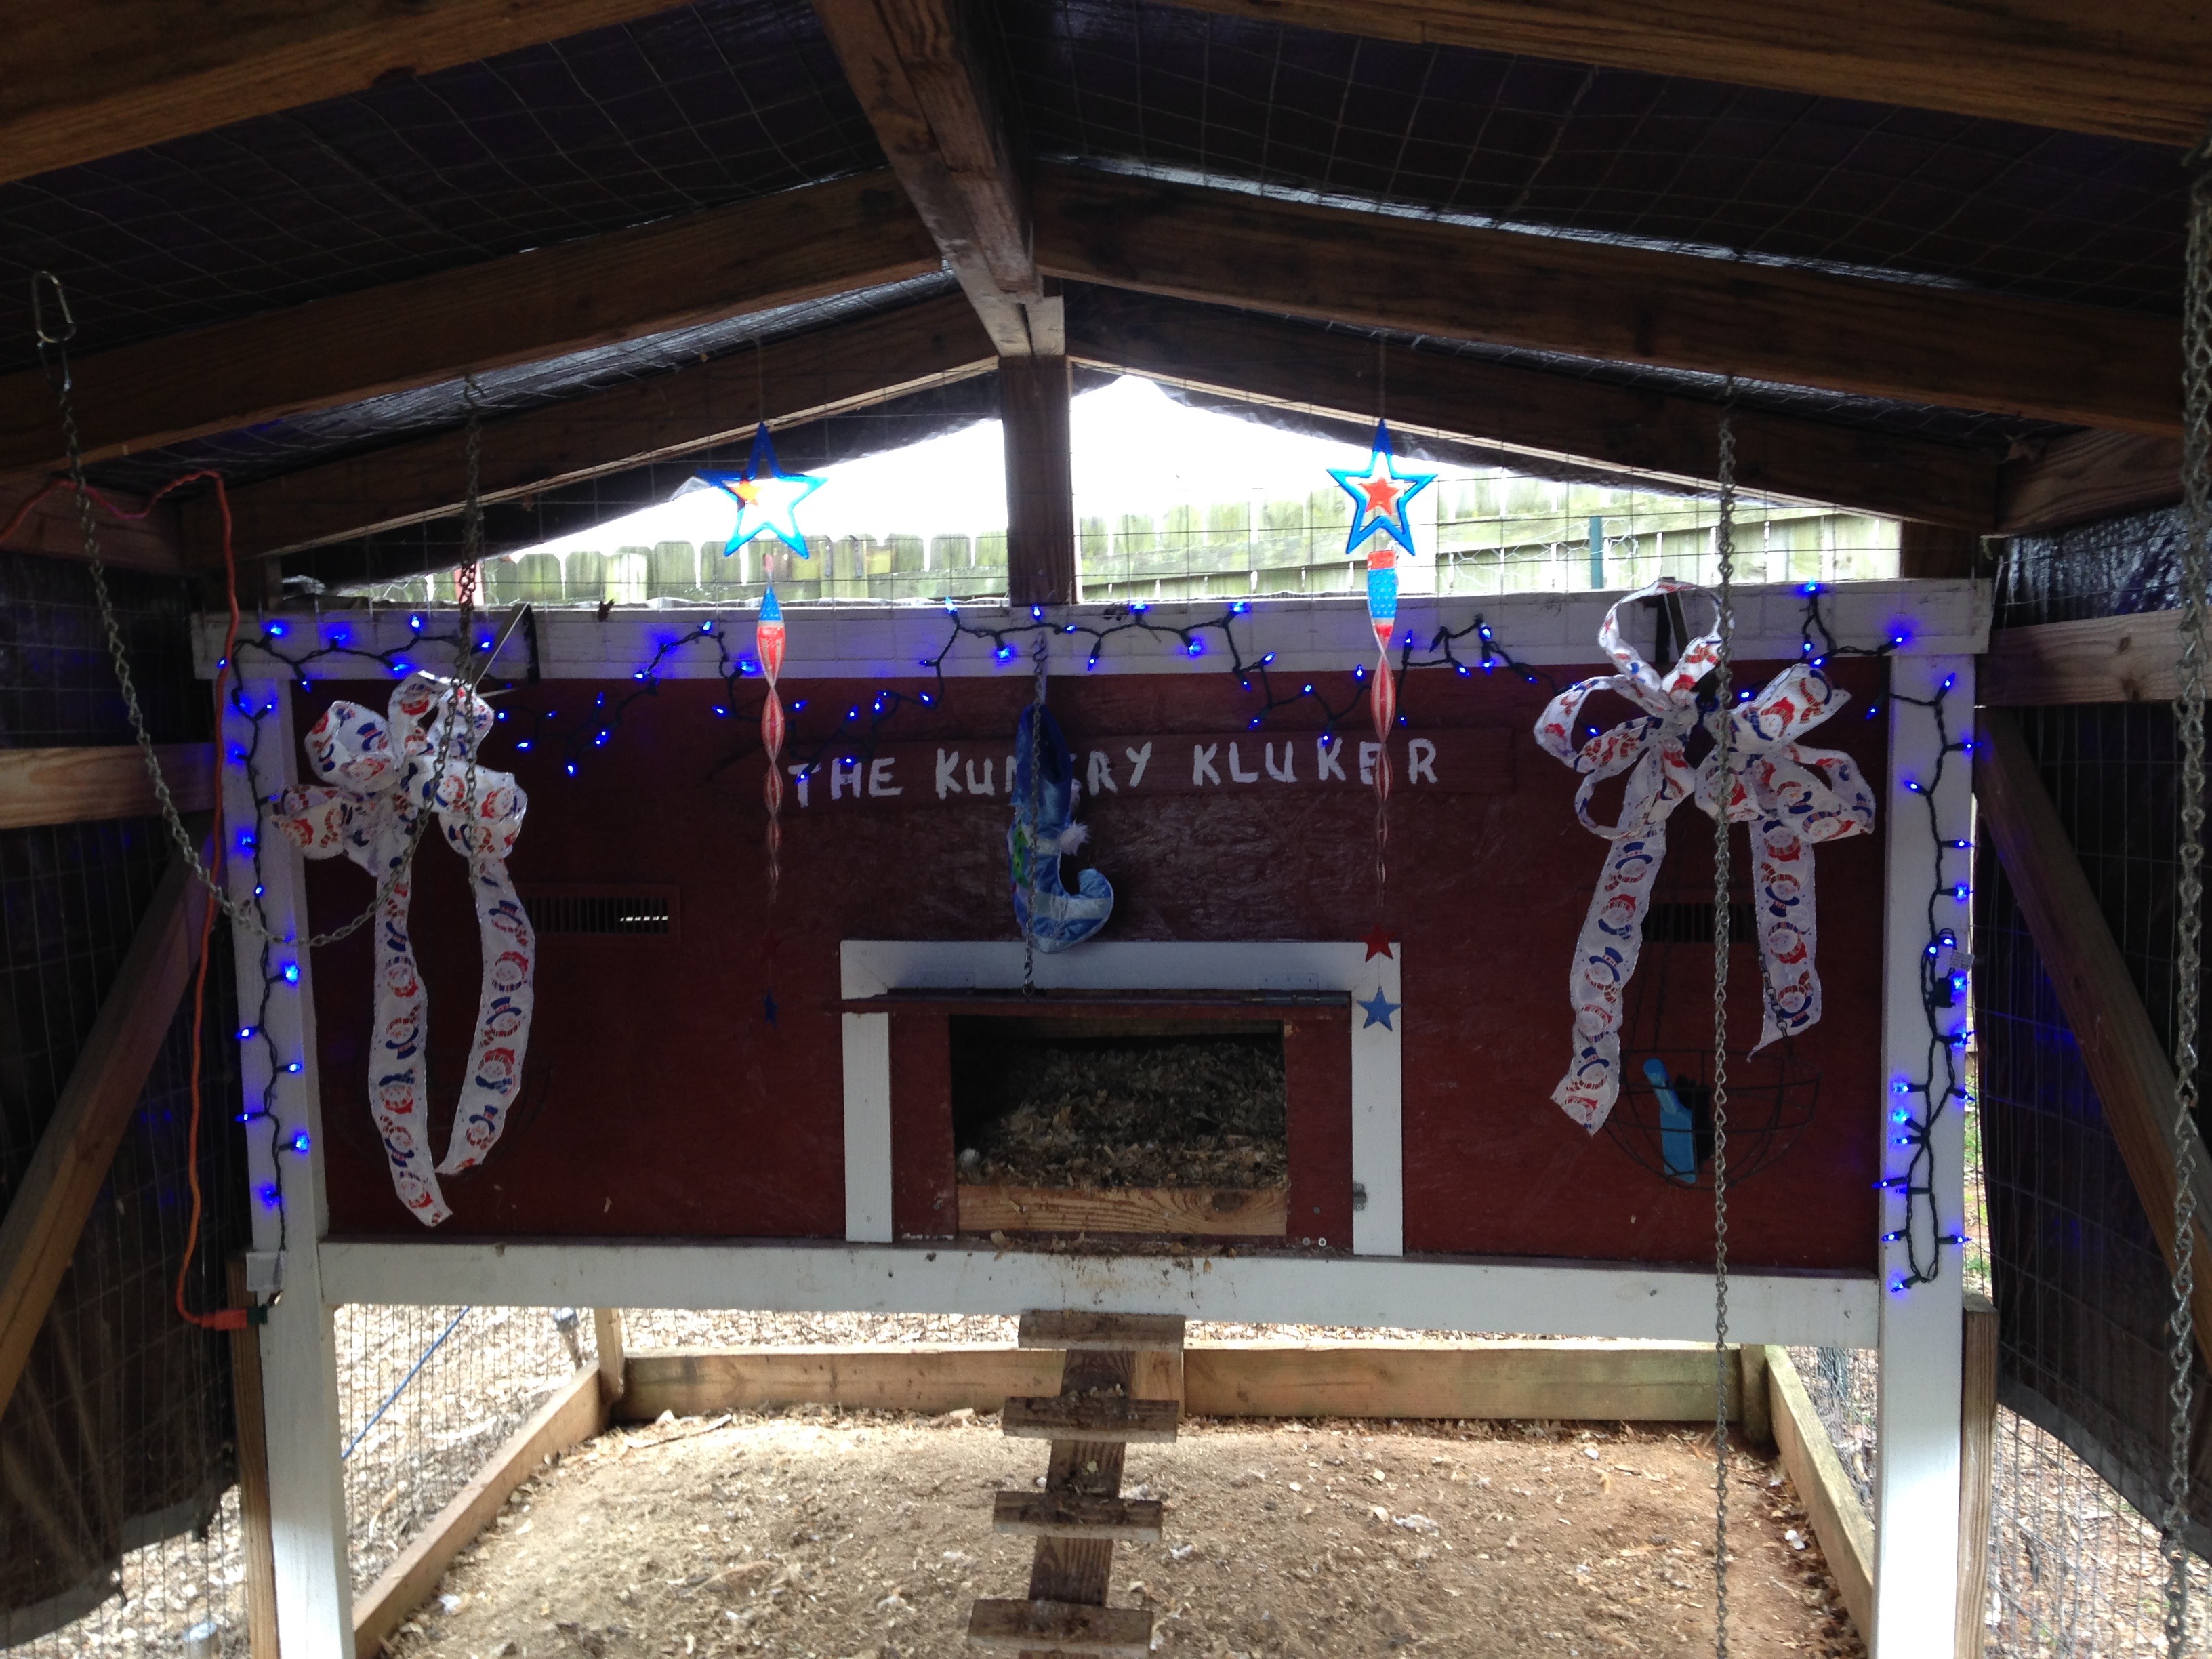
I have 5 prefab coops; with proper care they last a long time. I also have 2 hand-built coops also with proper care are long lasting. Both prefab and hand-built coops will require care and Maintenace. My oldest prefab coop is 5 years old. My first coop, The Kuntry Klucker I built 10 years ago. It comes down to your budget, skills in wood working, and time. It takes longer to build a coop, more money and the skills needed to conceptualize and execute.

If building a coop is not in your wheelhouse that’s ok. Tractor Supply and other co-ops have a great selection of coops in stores as well as online. I own three Tractor Supply prefab coops; I am pleased with all of them. They are holding up very well and make excellent homes for all my girls.

I hope that is you have found this post helpful in staring your own flock. It may seem daunting at first, especially if you were not raised around livestock. It takes a bit of time and research. Once you get rolling, you will find that chickens are simple creatures. They require little but give back a lot in return. Aside from the small amount of time they require, chickens really are lot of fun and are very rewarding.
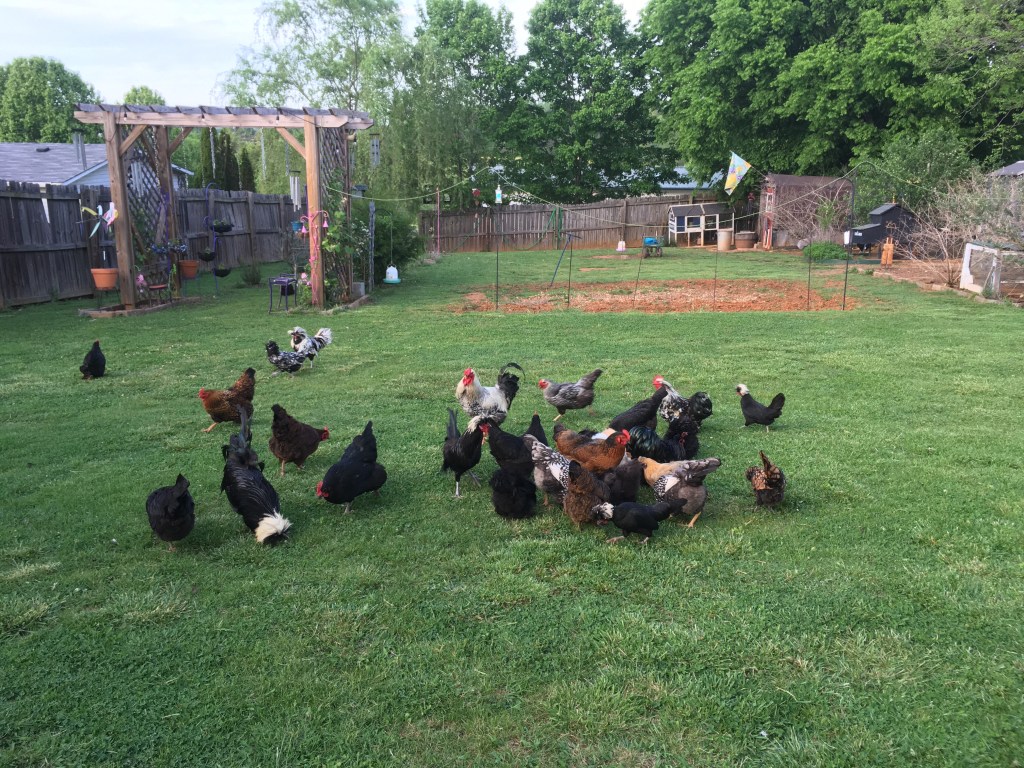
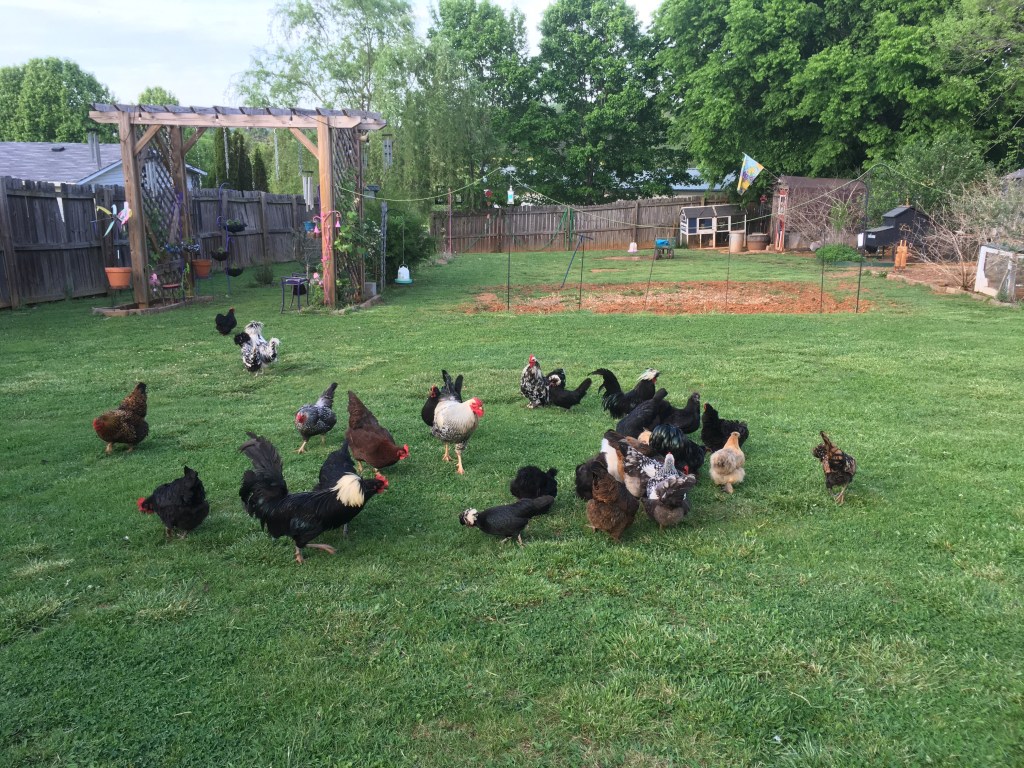
Here is a short video of my chicken yard. As you can see, I have both prefab and hand-built coops. Both make excellent homes for your ladies and gent.
Link to my blog post entitled Bachelor Pens for Roosters, mentioned in the above video. If you need a solution for extra roosters, a bachelor pen is a great option.
If you have any questions, feel free to post in the comments. You can also drop me a line at kuntryklucker@gmail.com.
I am a published author, multi-disciplinary writer and blog contributor. If you like this blog, please visit some of my other sites.
Knowledge of the Spheres – Exploring the Celestial Spheres!
Coffee and Coelophysis – A blog about Dinosaurs!
Chicken Math University – Adventures in Homeschooling.
If you liked this post, peck the subscribe button. As always, thanks for reading. Till next time, keep on crowing!
~ The Kuntry Klucker Crew ~