Is it hard to raise Backyard Chickens?

Raising chickens is a fun and affordable hobby. Its called backyard chickens for a reason, this implies that one wants to raise a mini flock of chickens rather than a large operation. Now, don’t get me wrong, chicken math is a force of nature not to be taken lightly. But for the average backyard chicken enthusiast, keeping your flock at a manageable number is relatively easy. Its just takes the persistent enforcement of chicken birth control (aka. collecting eggs) and obtaining only a few number of chicks from reliable hatcheries. You can also ask one of your backyard chicken friends to hatch  you off a small starter flock. Other than that, keeping a small flock of backyard chickens is not inherently difficult.

dscf5543

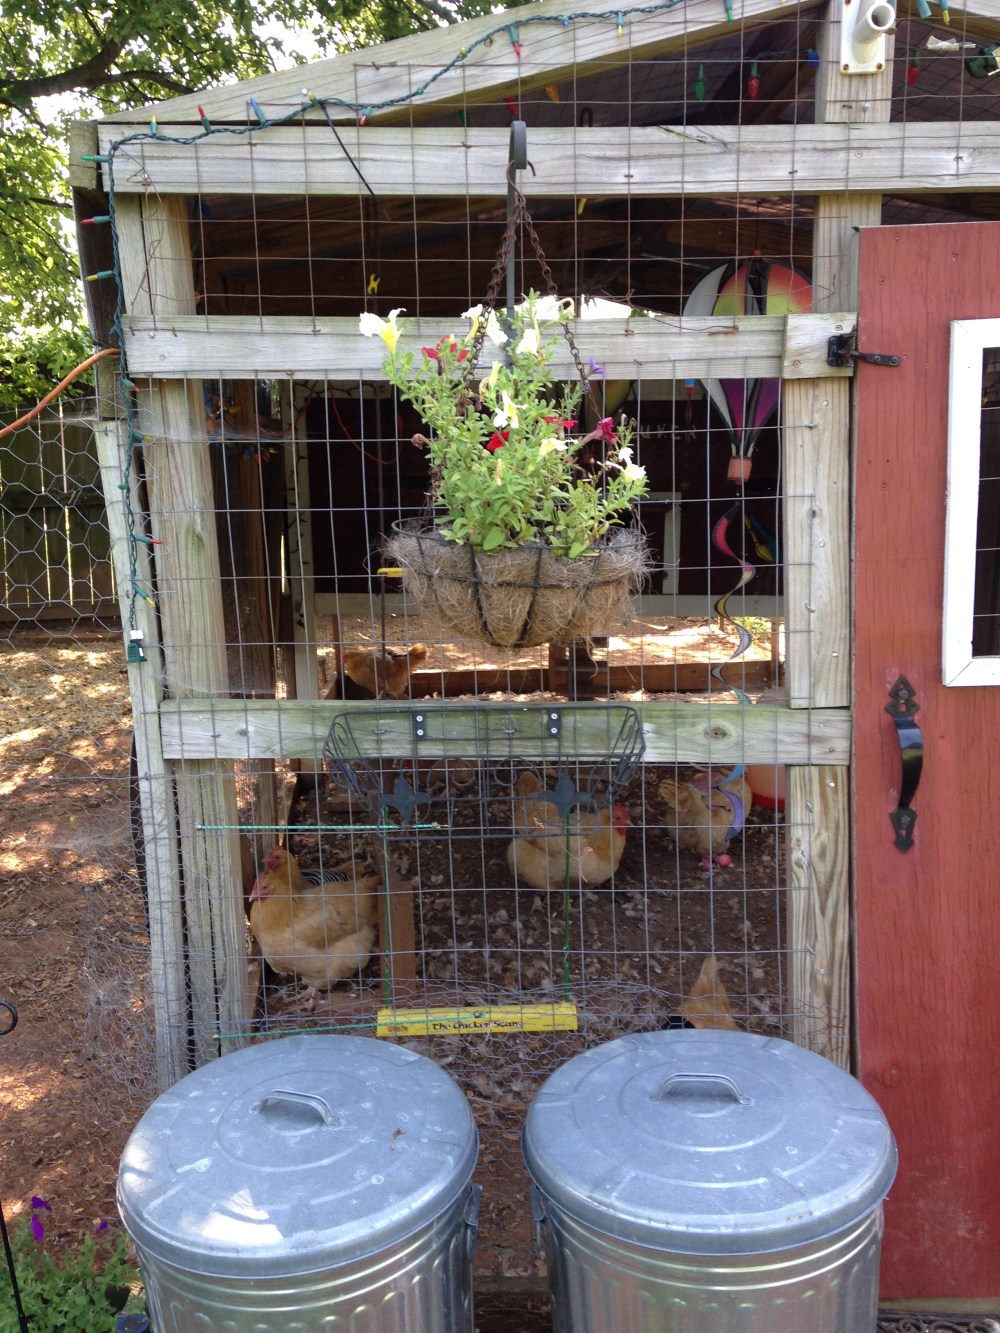
Chickens are very simple creatures, they do not demand a lot from their owners. Since chickens are very social animals they have plenty of company among their flock members. The needs of a chicken are simple. They need clean, fresh water daily. It does not need to be filtered or bottled but it does need to be fresh and clean daily. Simply filling up a clean water container every morning when letting the flock out of the coop is all this entails. They also need fresh and dry feed daily. It is always best to keep your feed in galvanized trash cans if you plan on keeping it outside. Not only will this keep your feed uncontaminated (from rats, coons and other wildlife) it will ensure that the feed will remain dry and thus not spoil. Chicken feed comes in large 25 to 50 pound bags, you will have enough feed to last a while depending on the size of your flock.  As you can see in the image below, I keep two galvanized trash cans outside of the pen, this is were I store the feed for the girls. Be warned, your chickens will very quickly  learn to associate the sound of the lids being removed from the cans as a makeshift dinner bell. My girls get very excited when they hear the all too familiar”clank” of the trash cans lids. I am suddenly surrounded by a group of girls eagerly anticipating its contents.

img_1013

Next, you will need a habitat. This is where a lot of chicken owners can be creative and inventive. You can do whatever you want to make your backyard chickens home personable to you, just make sure that is has a few very important qualities.

  1. Your chickens home needs to be large enough to accommodate the size of your birds as well as your flock.  A lot of coop descriptions will say that “this coop will fit 2-4 standard size birds”. What does that mean? Well chickens come in two sizes, standard or large fowl and bantam or miniature chickens. If you have 6 standard size birds you need to make sure that you choose a coop that can fit 6-8 standard size birds. Choosing a coop that fits less than that will cause stress in the flock. If the birds do not have ample room and feel over crowded many problems can result. Over mating of the hens by the rooster, cannabolism caused by pecking of flock mates, and of course illness due to the birds being under stress. So when choosing a coop, first know the size of your birds and based on the dimensions of the coop how many can fit comfortably.
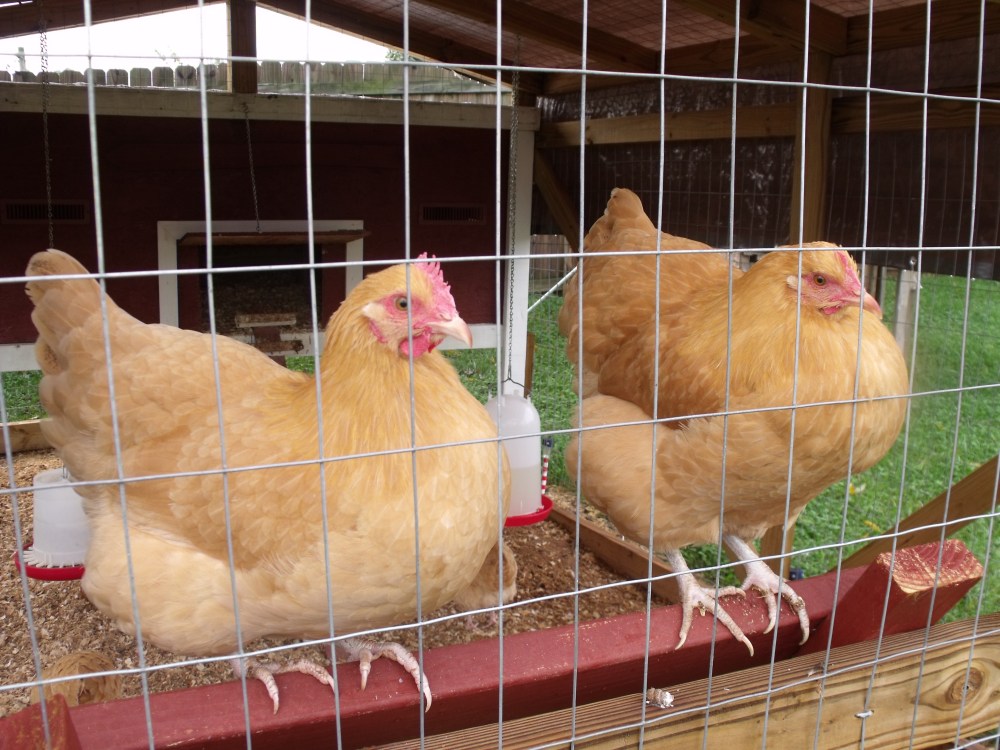
  2. Your chickens home needs to be secure. This means not only does it need latches on the door to keep predators out, the coop also needs to have a pen if you choose to keep your girls in a pen vs free ranging. Most if not all coops bought in the stores usually come with an attached pen in its design. Make sure that the pen is enclosed with wire mesh that is galvanized with holes small enough to keep even the peskiest mouse out of your girls home.
  3. Your coop must be easy to clean. Most coops are designed with a drawer that can be pulled out from under the roosts to clean the dropping off from the previous night. Many chicken owner put pine shaving on this drawer to absorb moisture from the dropping and simply with gloves or a small hand shovel remove the dropping like you would clean a litter box. Either method is fine, just make sure the you clean the dropping out daily to keep flies and illness at bay.
  4. your coop must be draft free. When looking for or constructing a coop make sure that the coop has both ample ventilation while at the same time being draft free. It sounds like a double edged sword, I know. What this basically means is leave room at the top for air to escape while also protecting the birds from fridgid winter wind, rains, and other elements. Your coop does not need to be warm or heated. In fact, heat lamps are the number one cause of coop fires. Not only will a heat lamp fire kill your birds, coop fires can also damage other structures on your property including your home. Never use Heat lamps in coops, they are just too dangerous. Instead focus on keeping your chicken coop clean and dry. Chickens do not need heat, they come with down jackets factory installed and are well able to regulate their own body temperature given the right conditions, that being a coop that is clean, dry, and draft free. As long as your birds remain dry and protected from the wind and rain they will do just fine when it comes to surviving winter.
  5. The design of the coop. The design of chicken coops are endless. I have seen everything from little cottages to barn style chicken coops. Quite honestly, I think that picking out the perfect chicken coop is almost as fun as picking out what breed or breeds you want to raise. You don’t have to buy your coop prefab you can get plans off the internet and make your own from raw materials. Either way its up to you. We have done both. We made our first coop and pen from scratch. It was fun and we really enjoyed the process. The additional coops I bought as prefab kits that I put together.Both have advantages and disadvantages. The advantage of making your own coop is that you can make it as big as you want, the disadvantage is that it takes a while to construct and can be expensive. The advantage of prefab kit coops is that they come already made all you have to do is screw them together and you have a coop in about 45 minutes. The disadvantage is that you are limited by the designs that are available. Personally I like the prefab coops better. They are made with quality materials and are easy to maintain and clean. I cannot keep large numbers of birds in them so I usually have to get several but I don’t mind having to take care of more than one coop. Coop chores are so simple, more than one coop really does not make that much more work.

Here are a few pics of my coops. I currently have three and have plans to purchase one more. The first one is The Kuntry Klucker, this is the coop that hubby and I made from scratch. It took about 4 months and roughly $1000 from start to finish. This will house up to 20 standard size birds. The most I have ever had in this coop is 17. Even then they still had plenty of room.

coop-cadi-corner

Next is Roy’s Roost, it is a prefab coop. It will house two standard size birds or 3 bantom size birds. I bough it for Roy as his hospital coop when he was sick. Since his passing its purpose still remains as my hospital coop. When I have a girl that needs separated from the flock due to injury or illness I place her in this coop. I can better monitor her eating and drinking habits as well as administer medication if needed. The patient will remain here till she can be returned to the flock.

IMG_0796

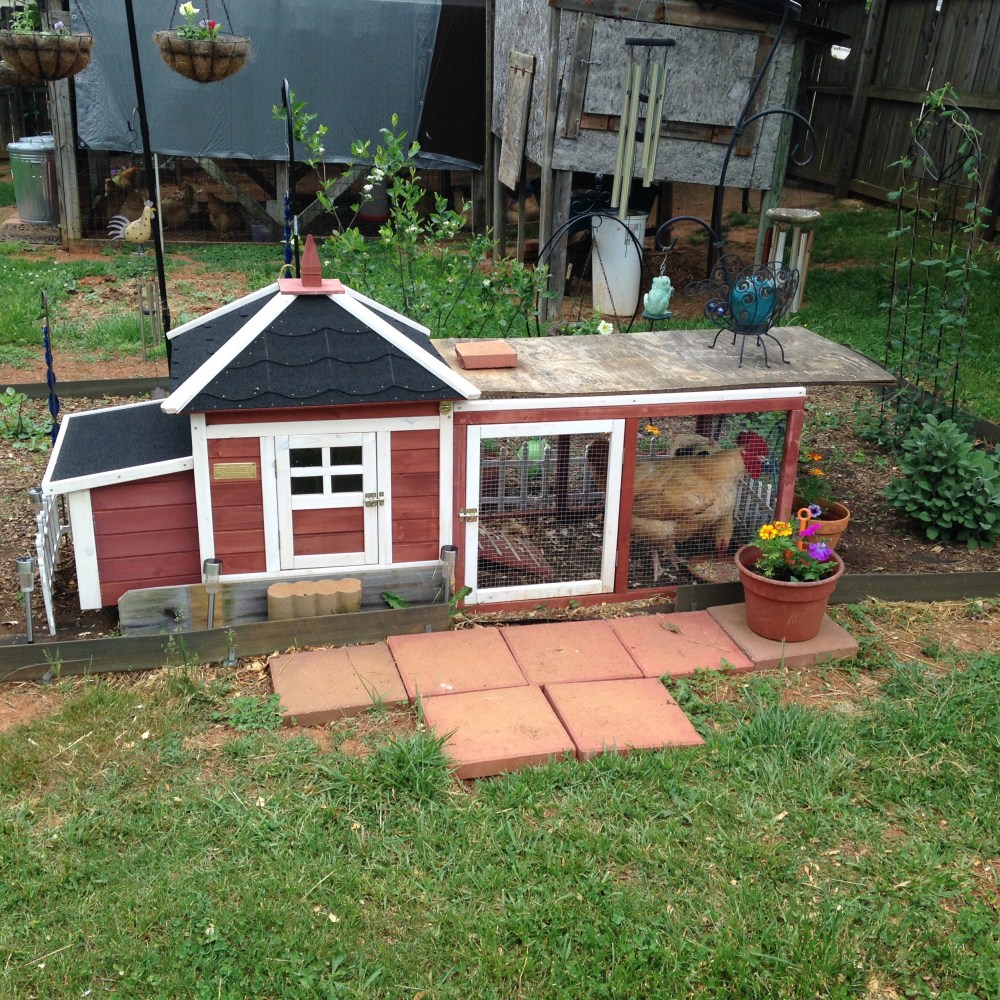
This last coop is Betsy’s Bliss. I bought this coop to serve as a broody coop. This is where I will house a broody momma as she sits on her nest. This allows the mamma hen some privacy while still allowing her to eat, drink, and dust bathe normally. When the chicks hatch both mamma and chicks are protected from predators and curious flock mates. It will house one standard size bird and a few chicks or two bantam size chickens.

IMG_0964

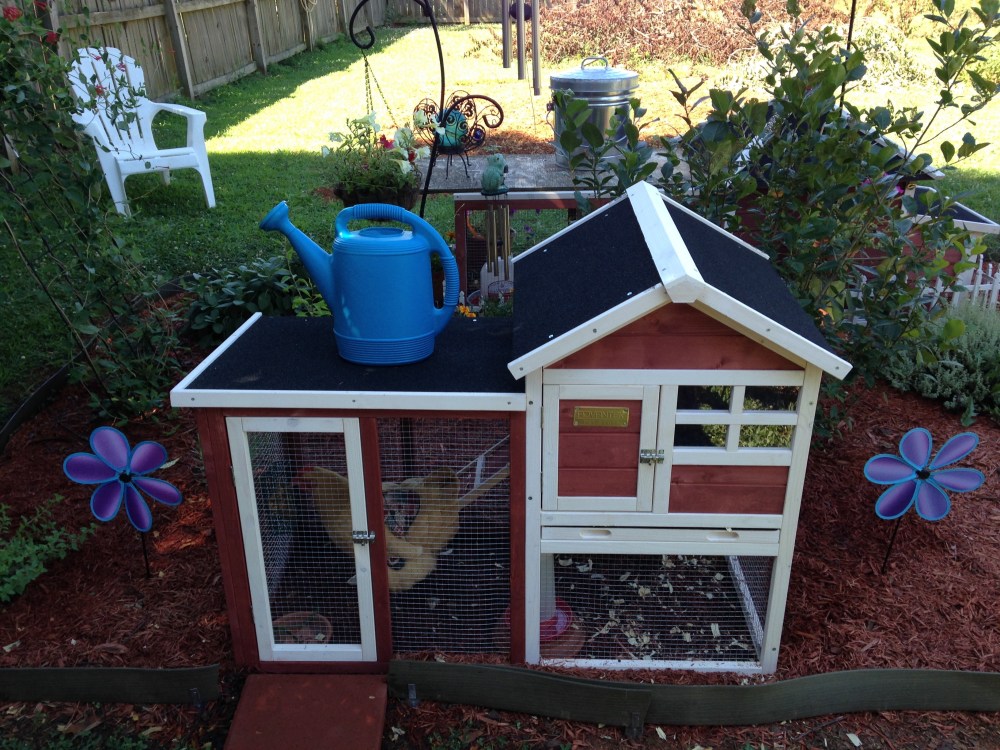
I have placed these two smaller kit coops in my spice garden. When not in use they serve a decorative accents in my garden. I purchased these two coops about two years ago. They have survived the elements and mother nature very well. In the fall I put a coat of wood protectant on them to protect them from the harsh elements of winter. If we have heavy snow or ice in the forecast I will put 6×8 tarps over the top of them just to give them a bit of extra protection. Other than their size, I really do not experience any different in their function  or durability. I am very pleased with these kit coops and will plan on purchasing more as my needs arise.

IMG_0977

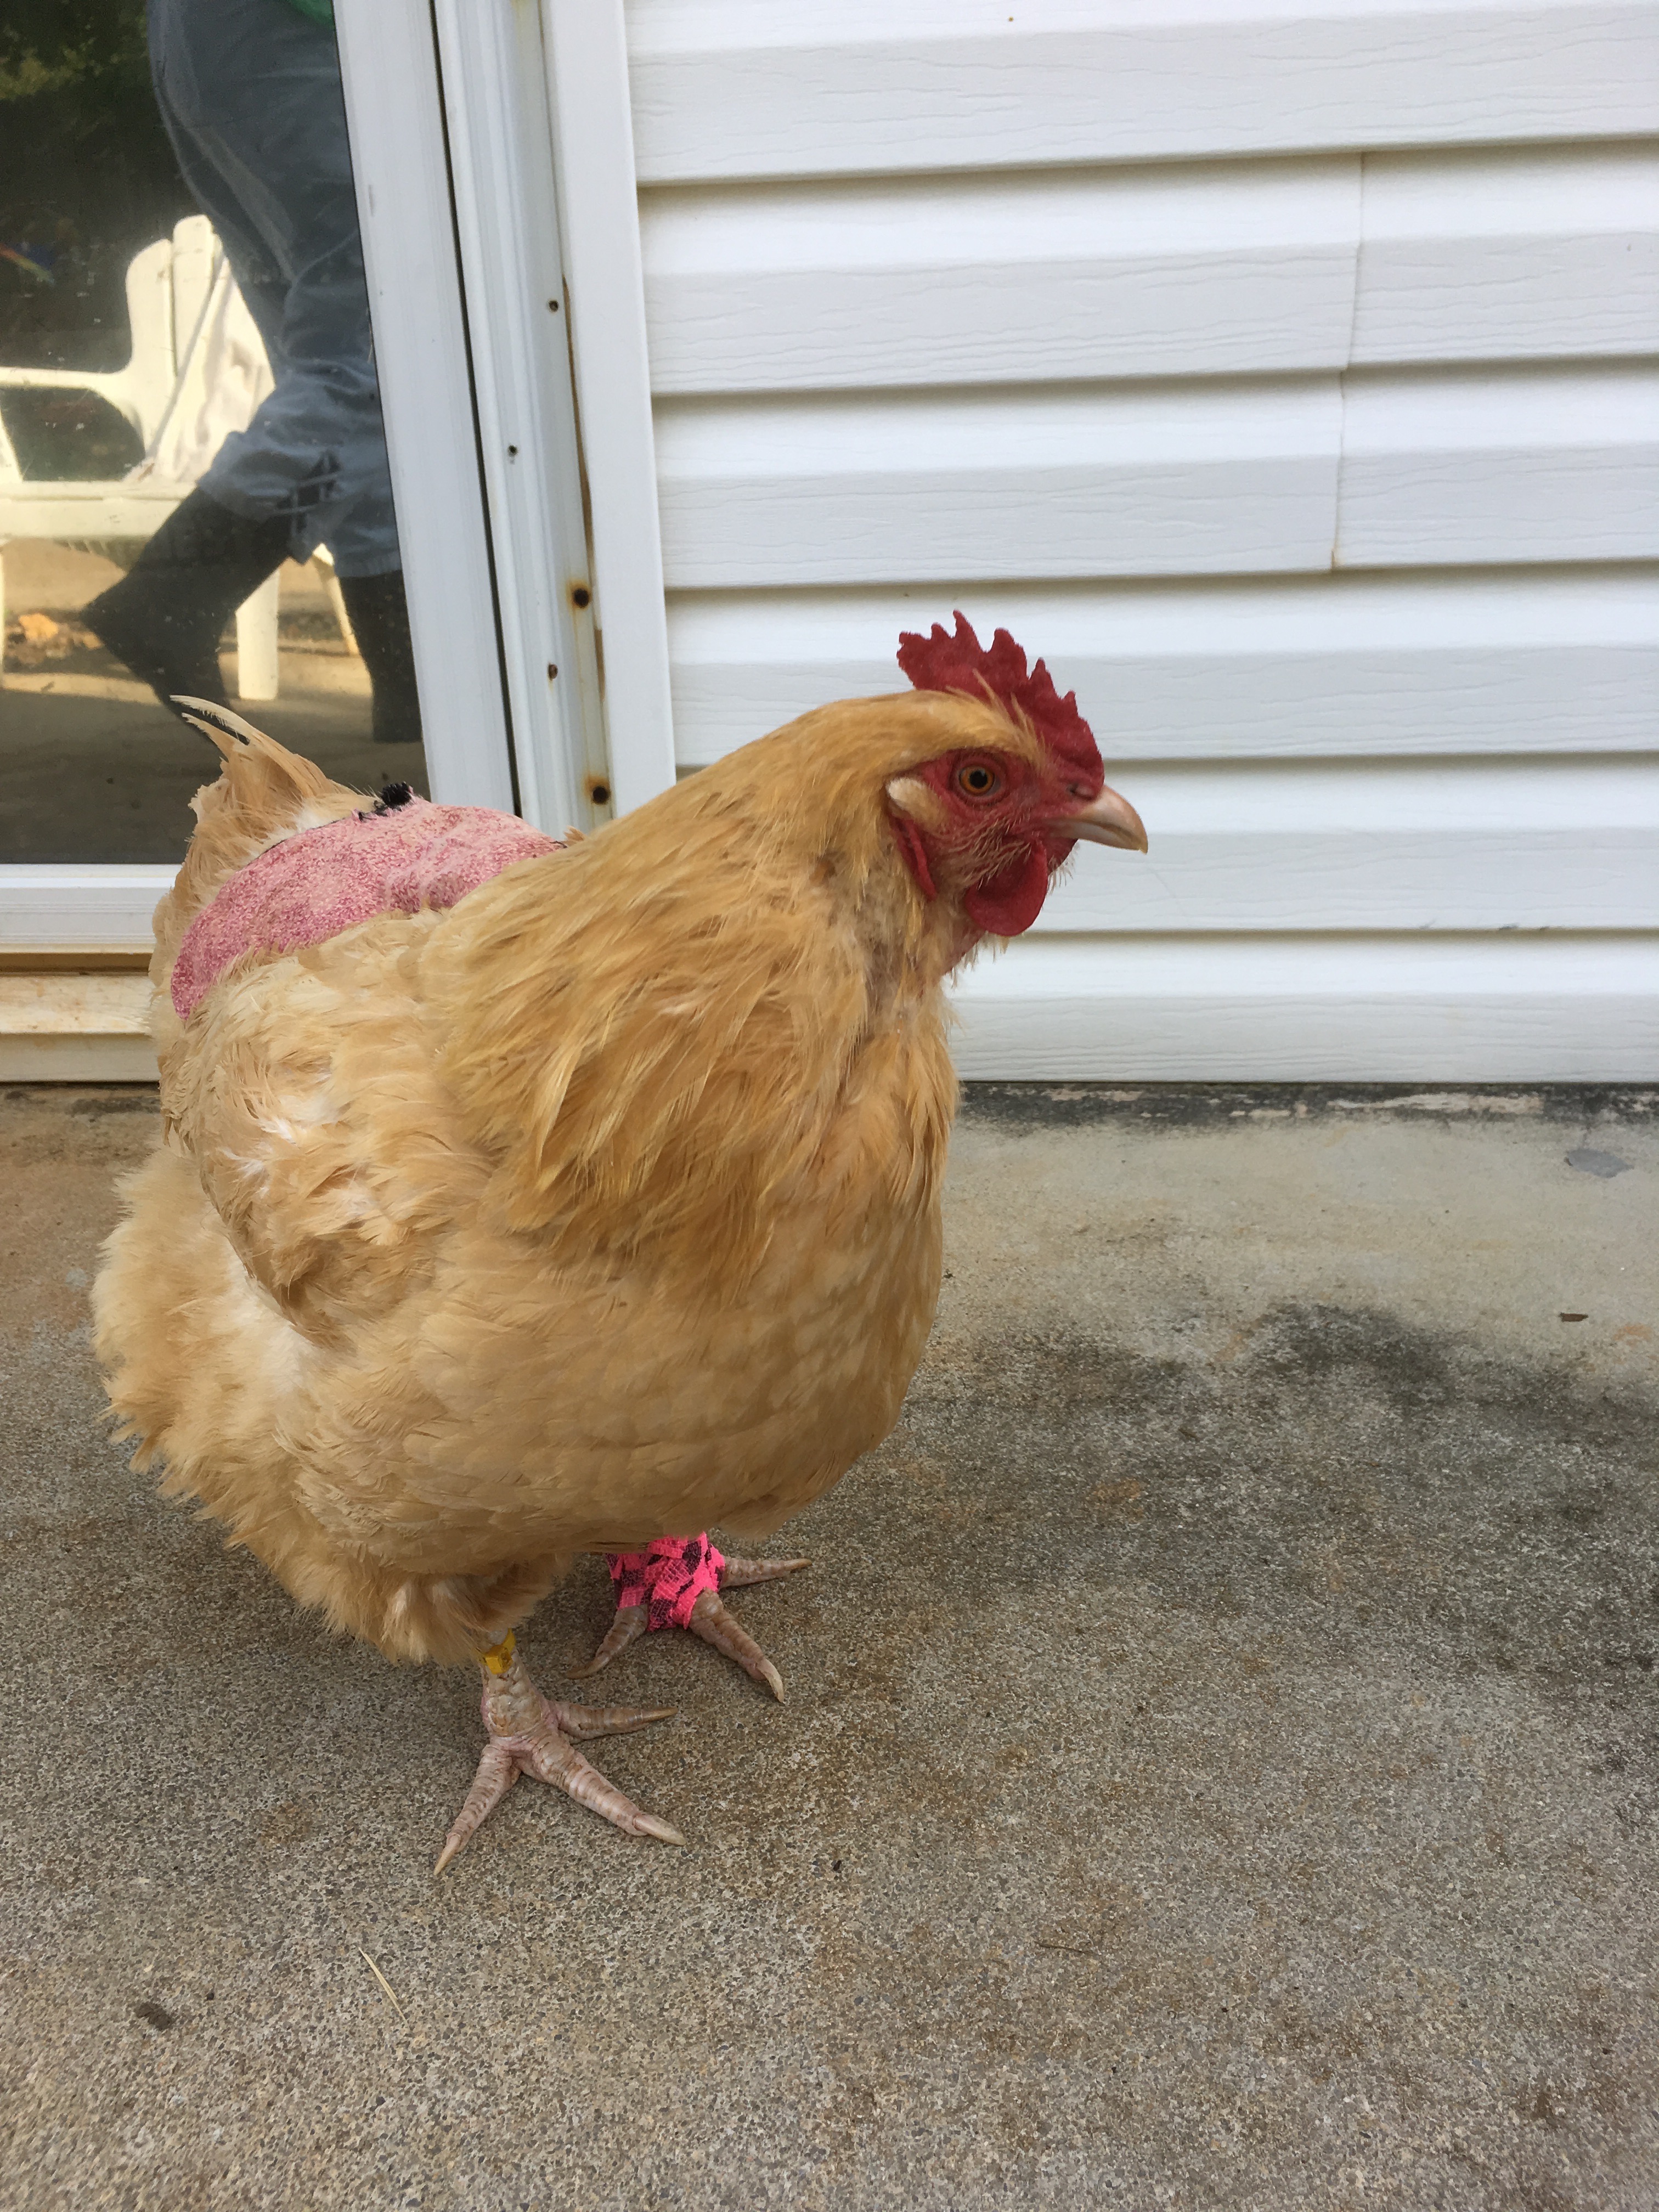
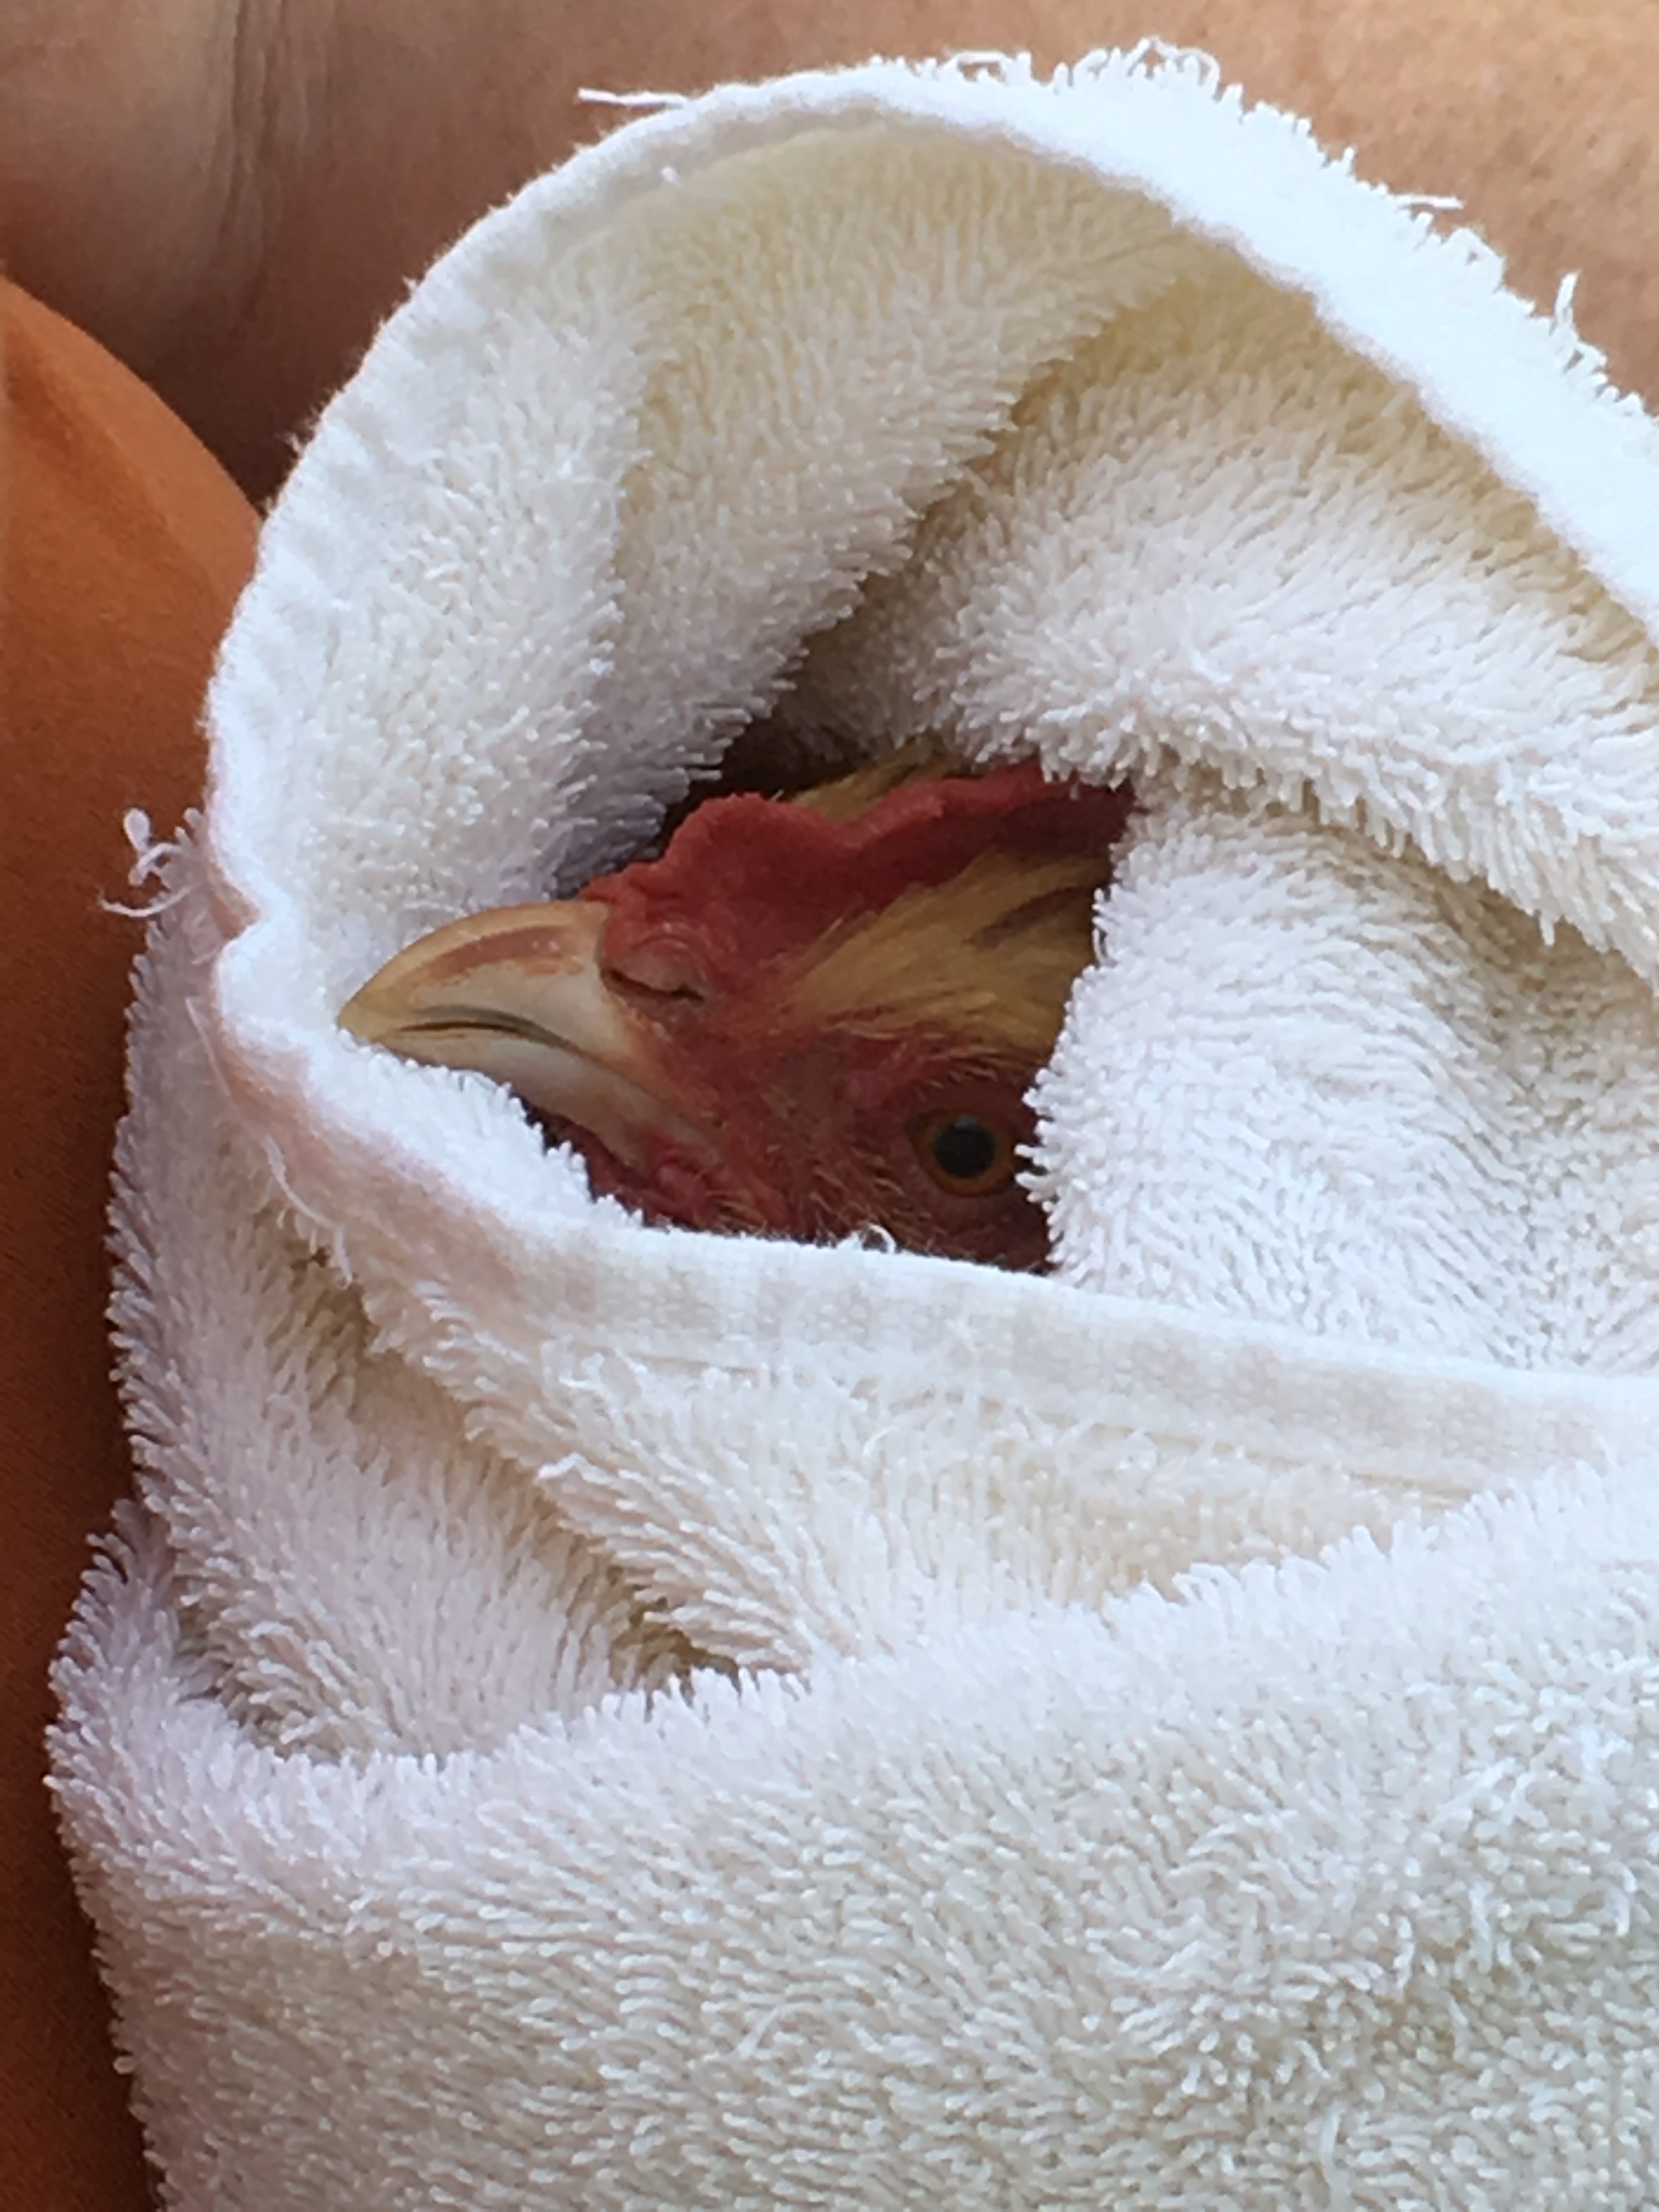
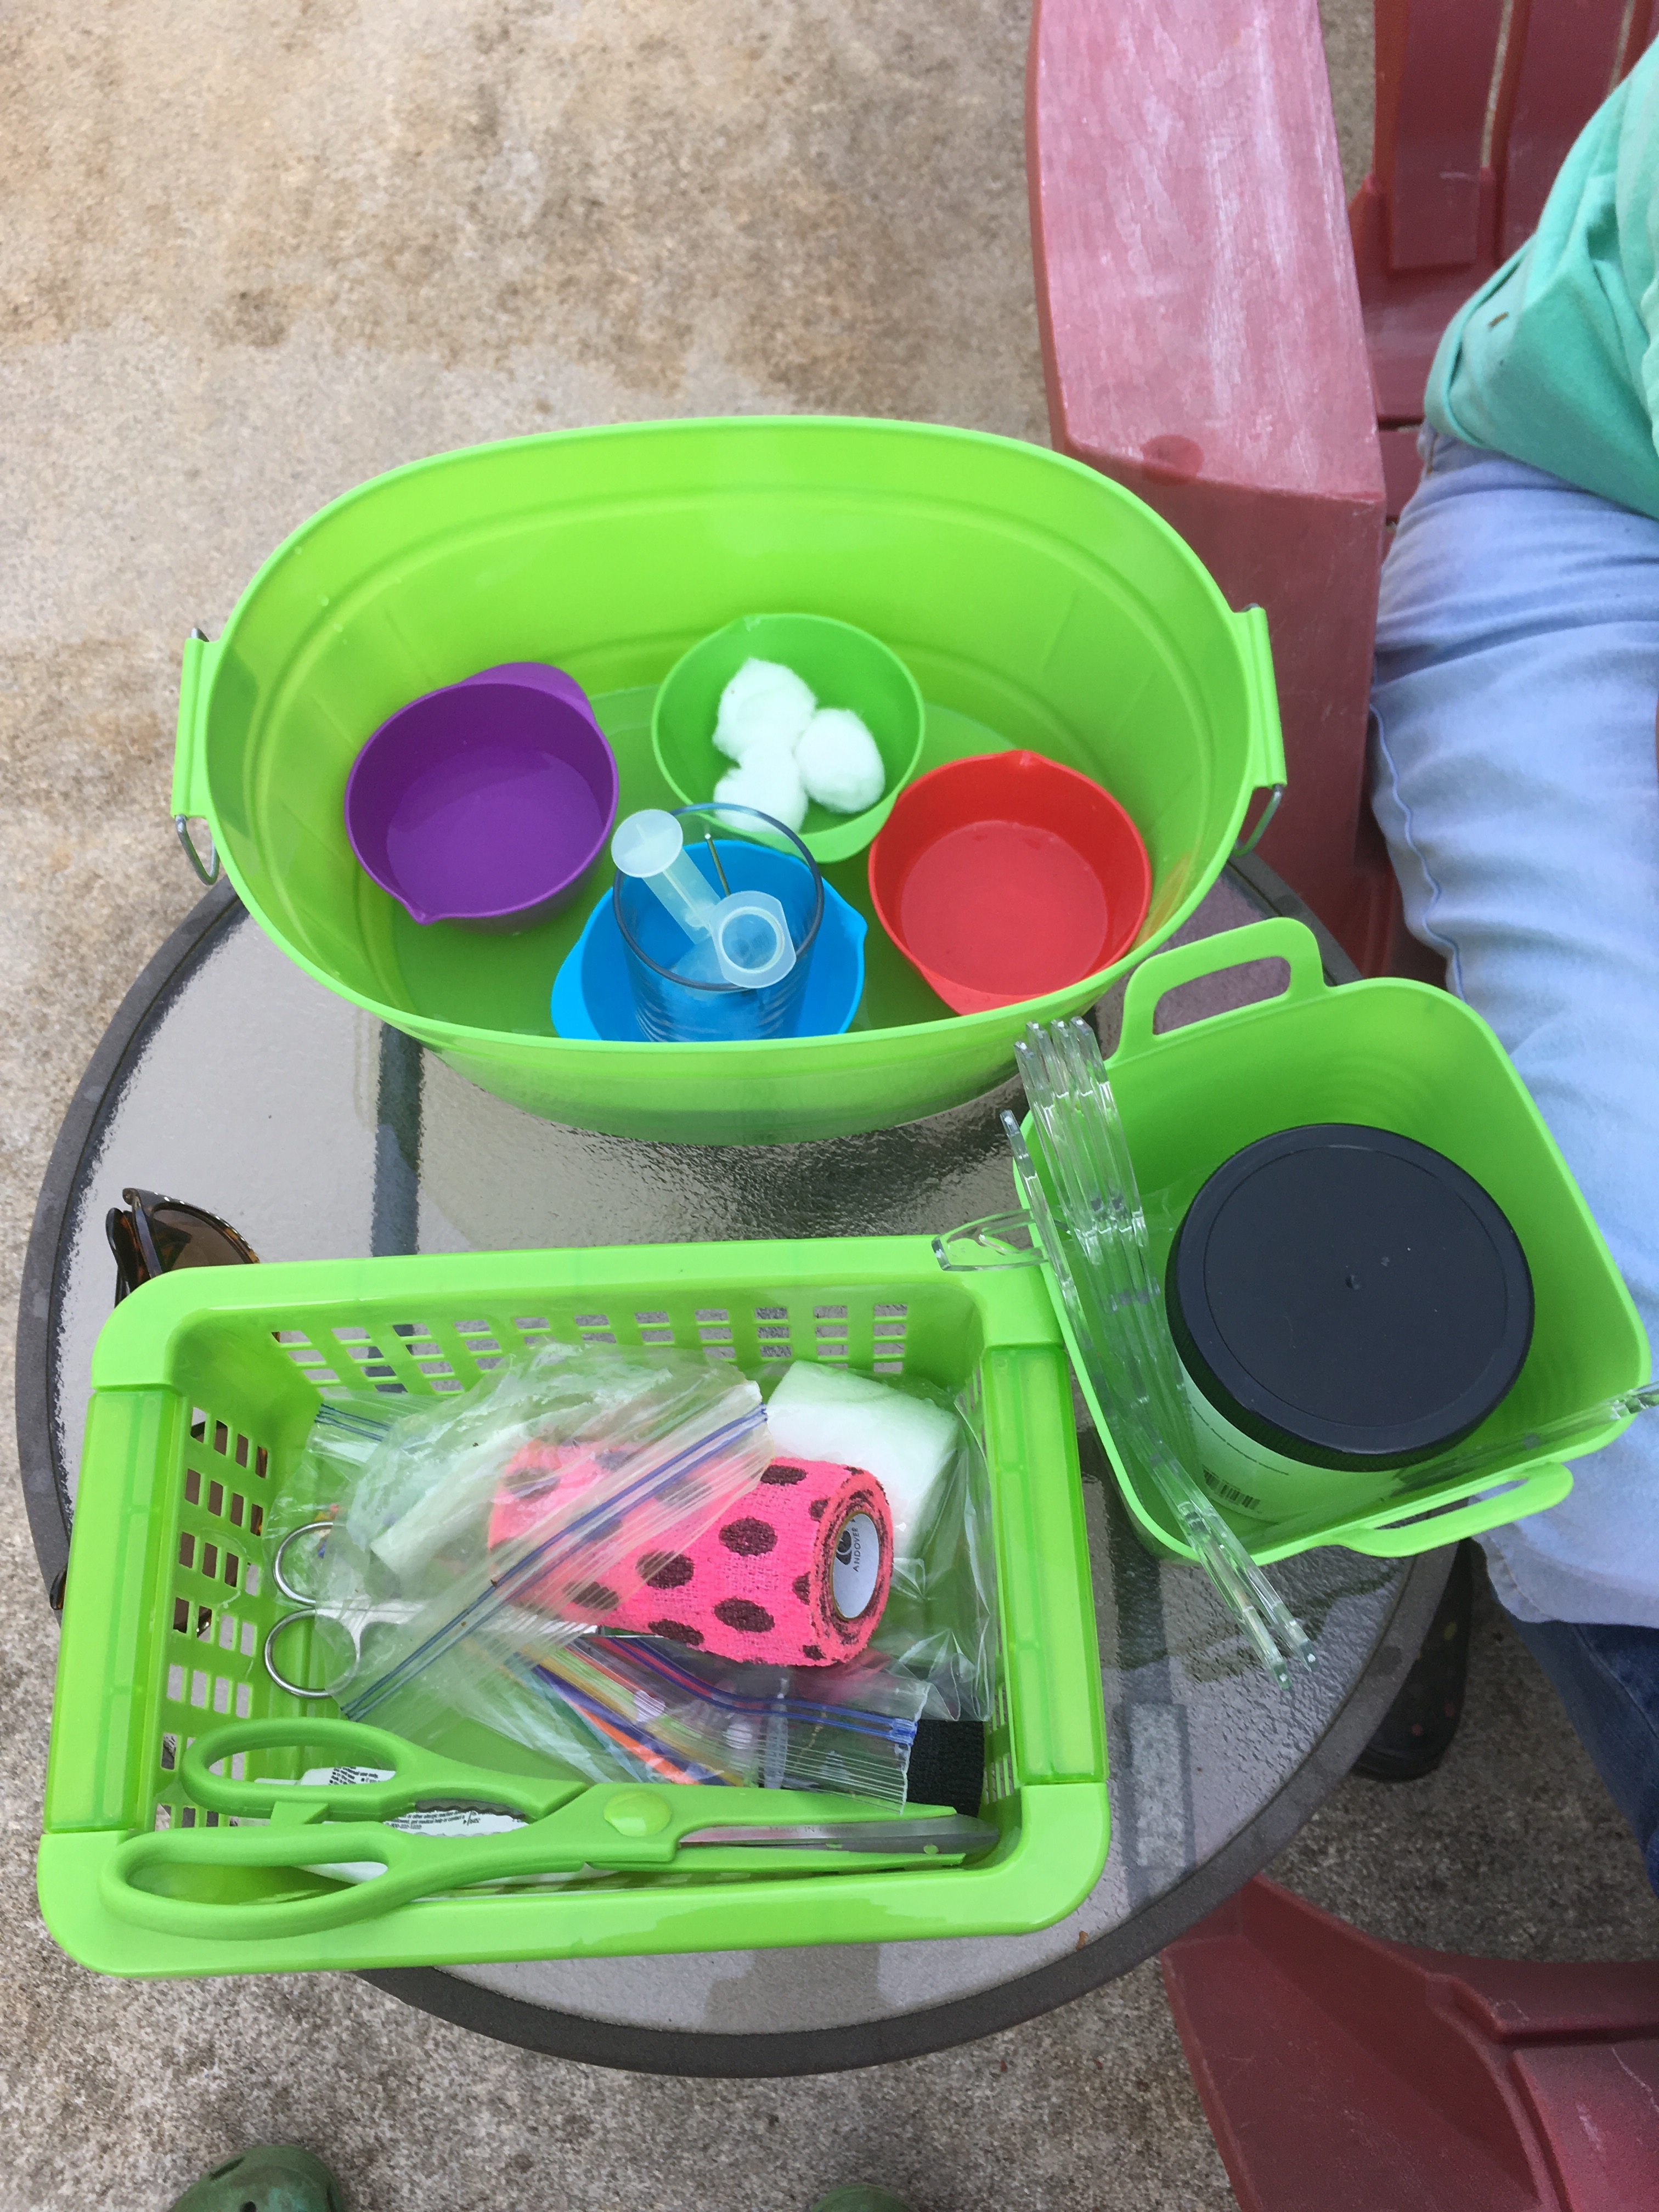
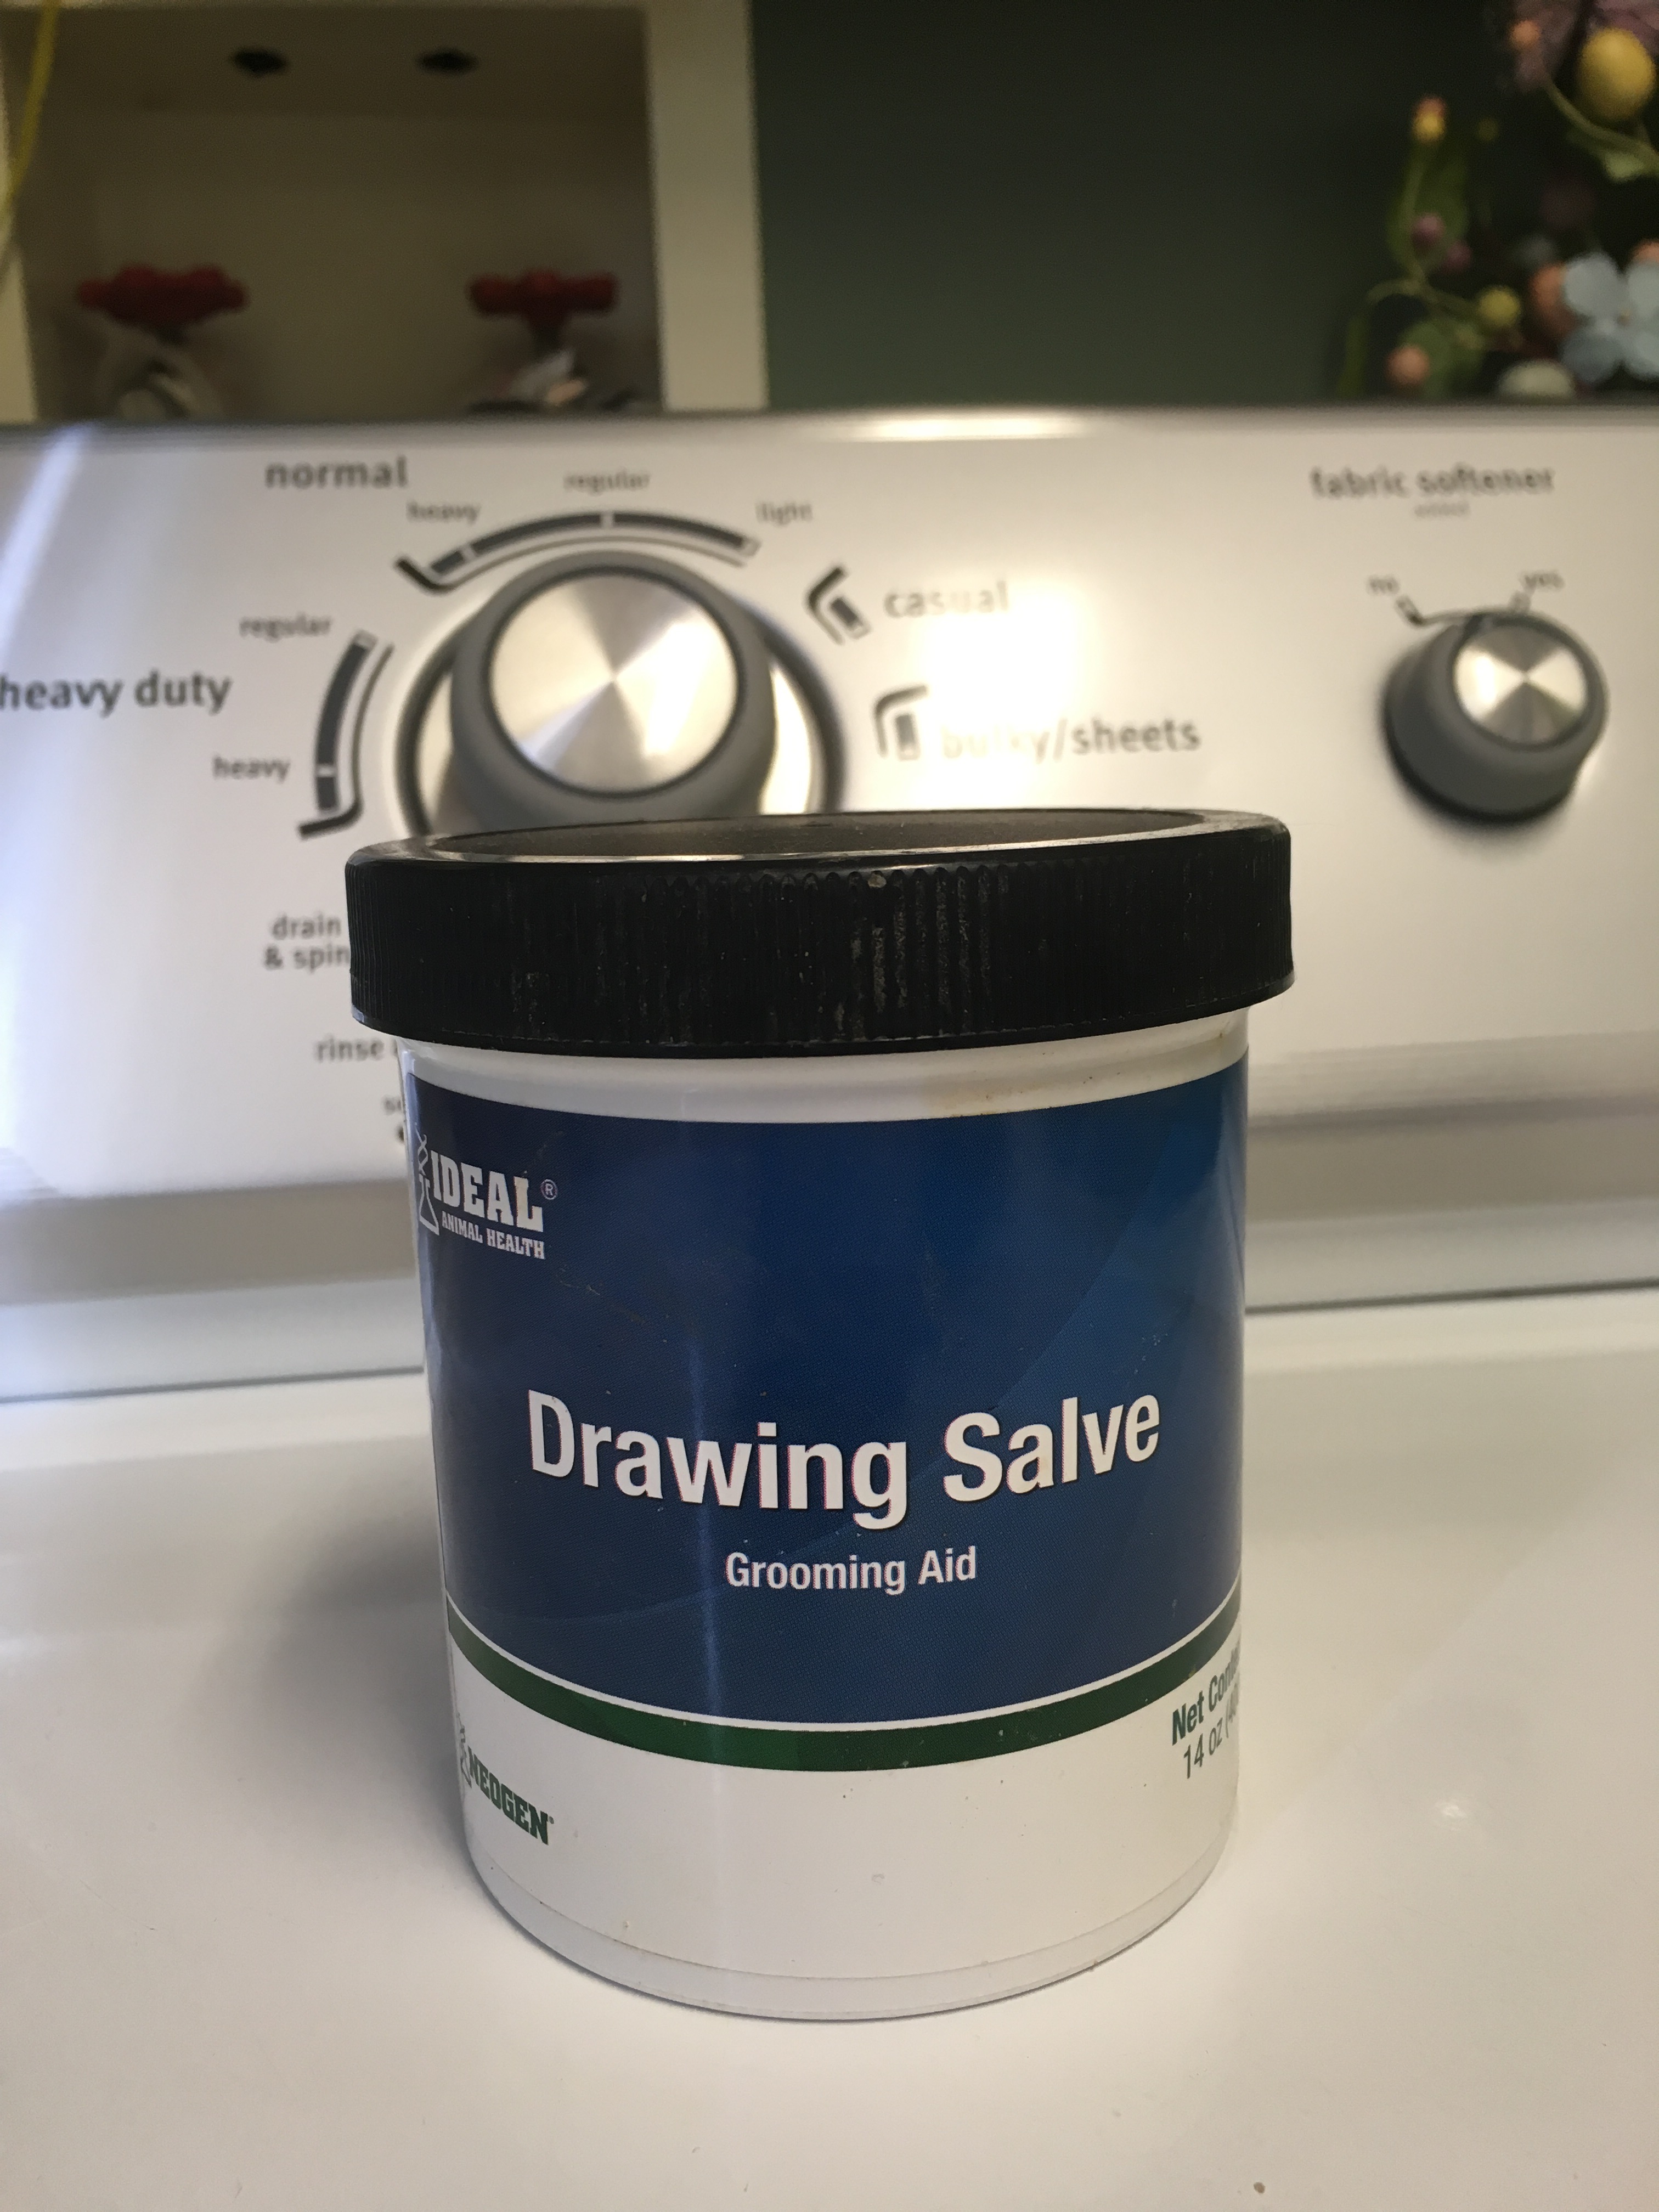
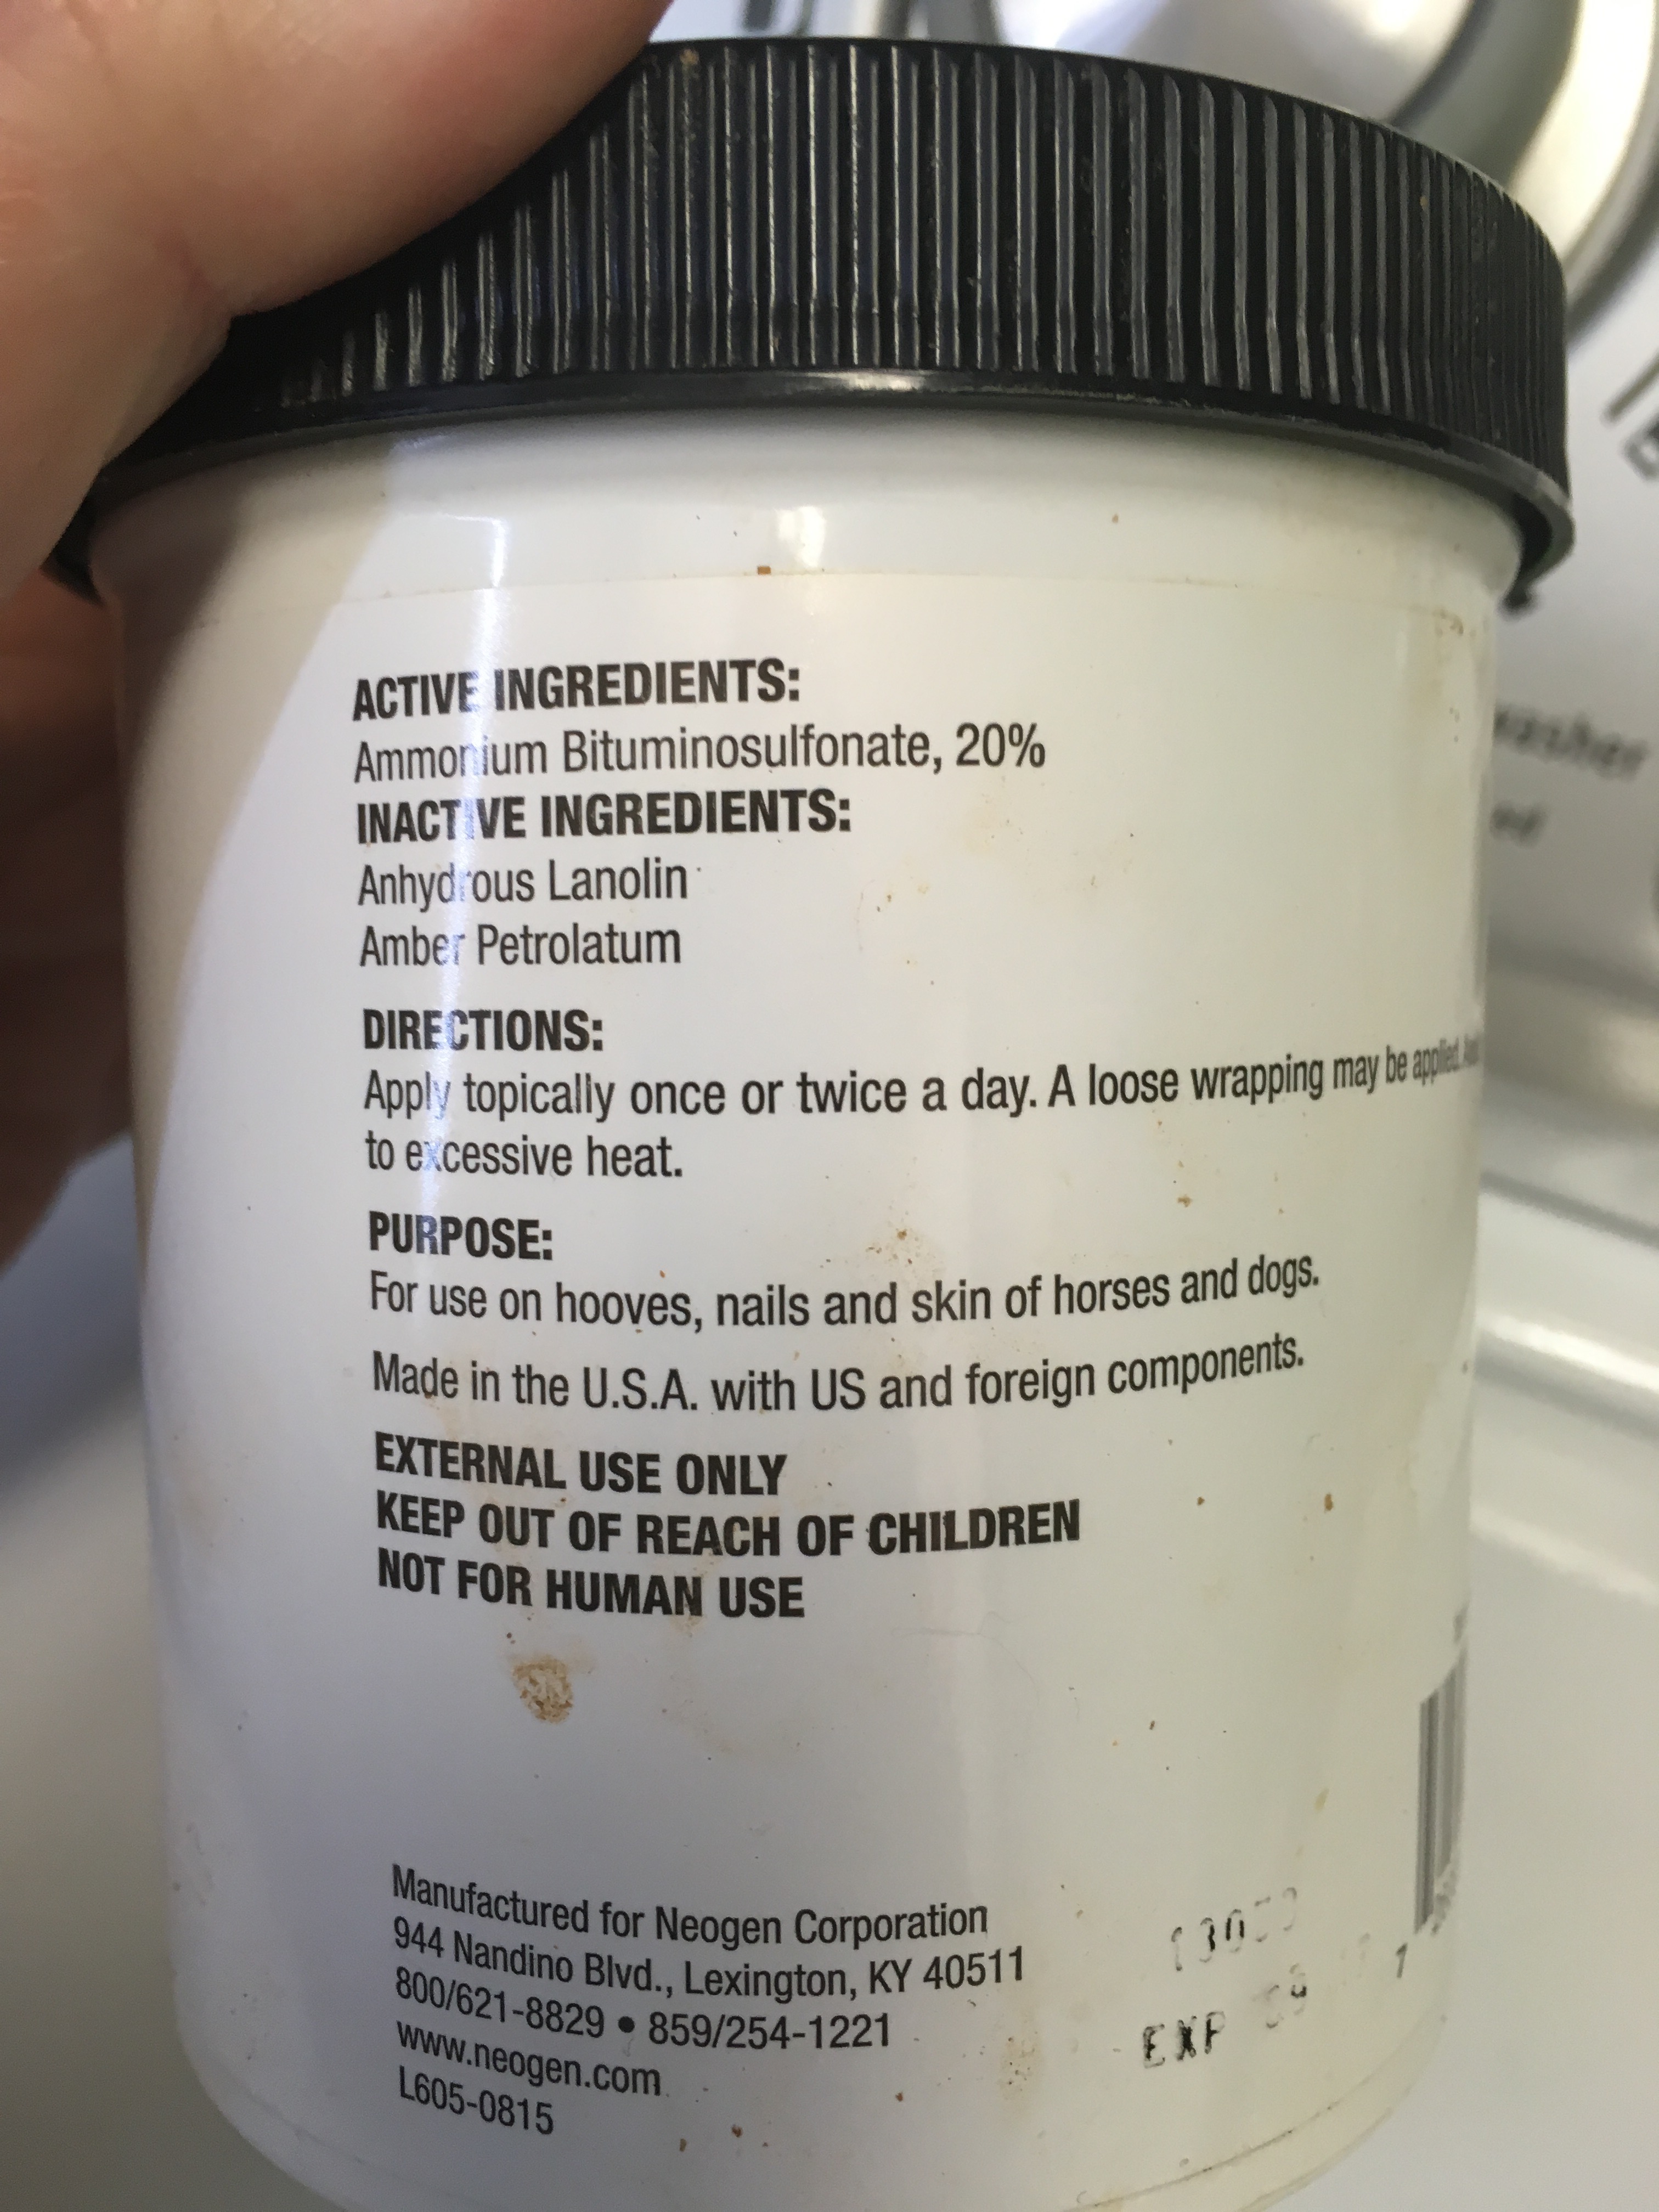
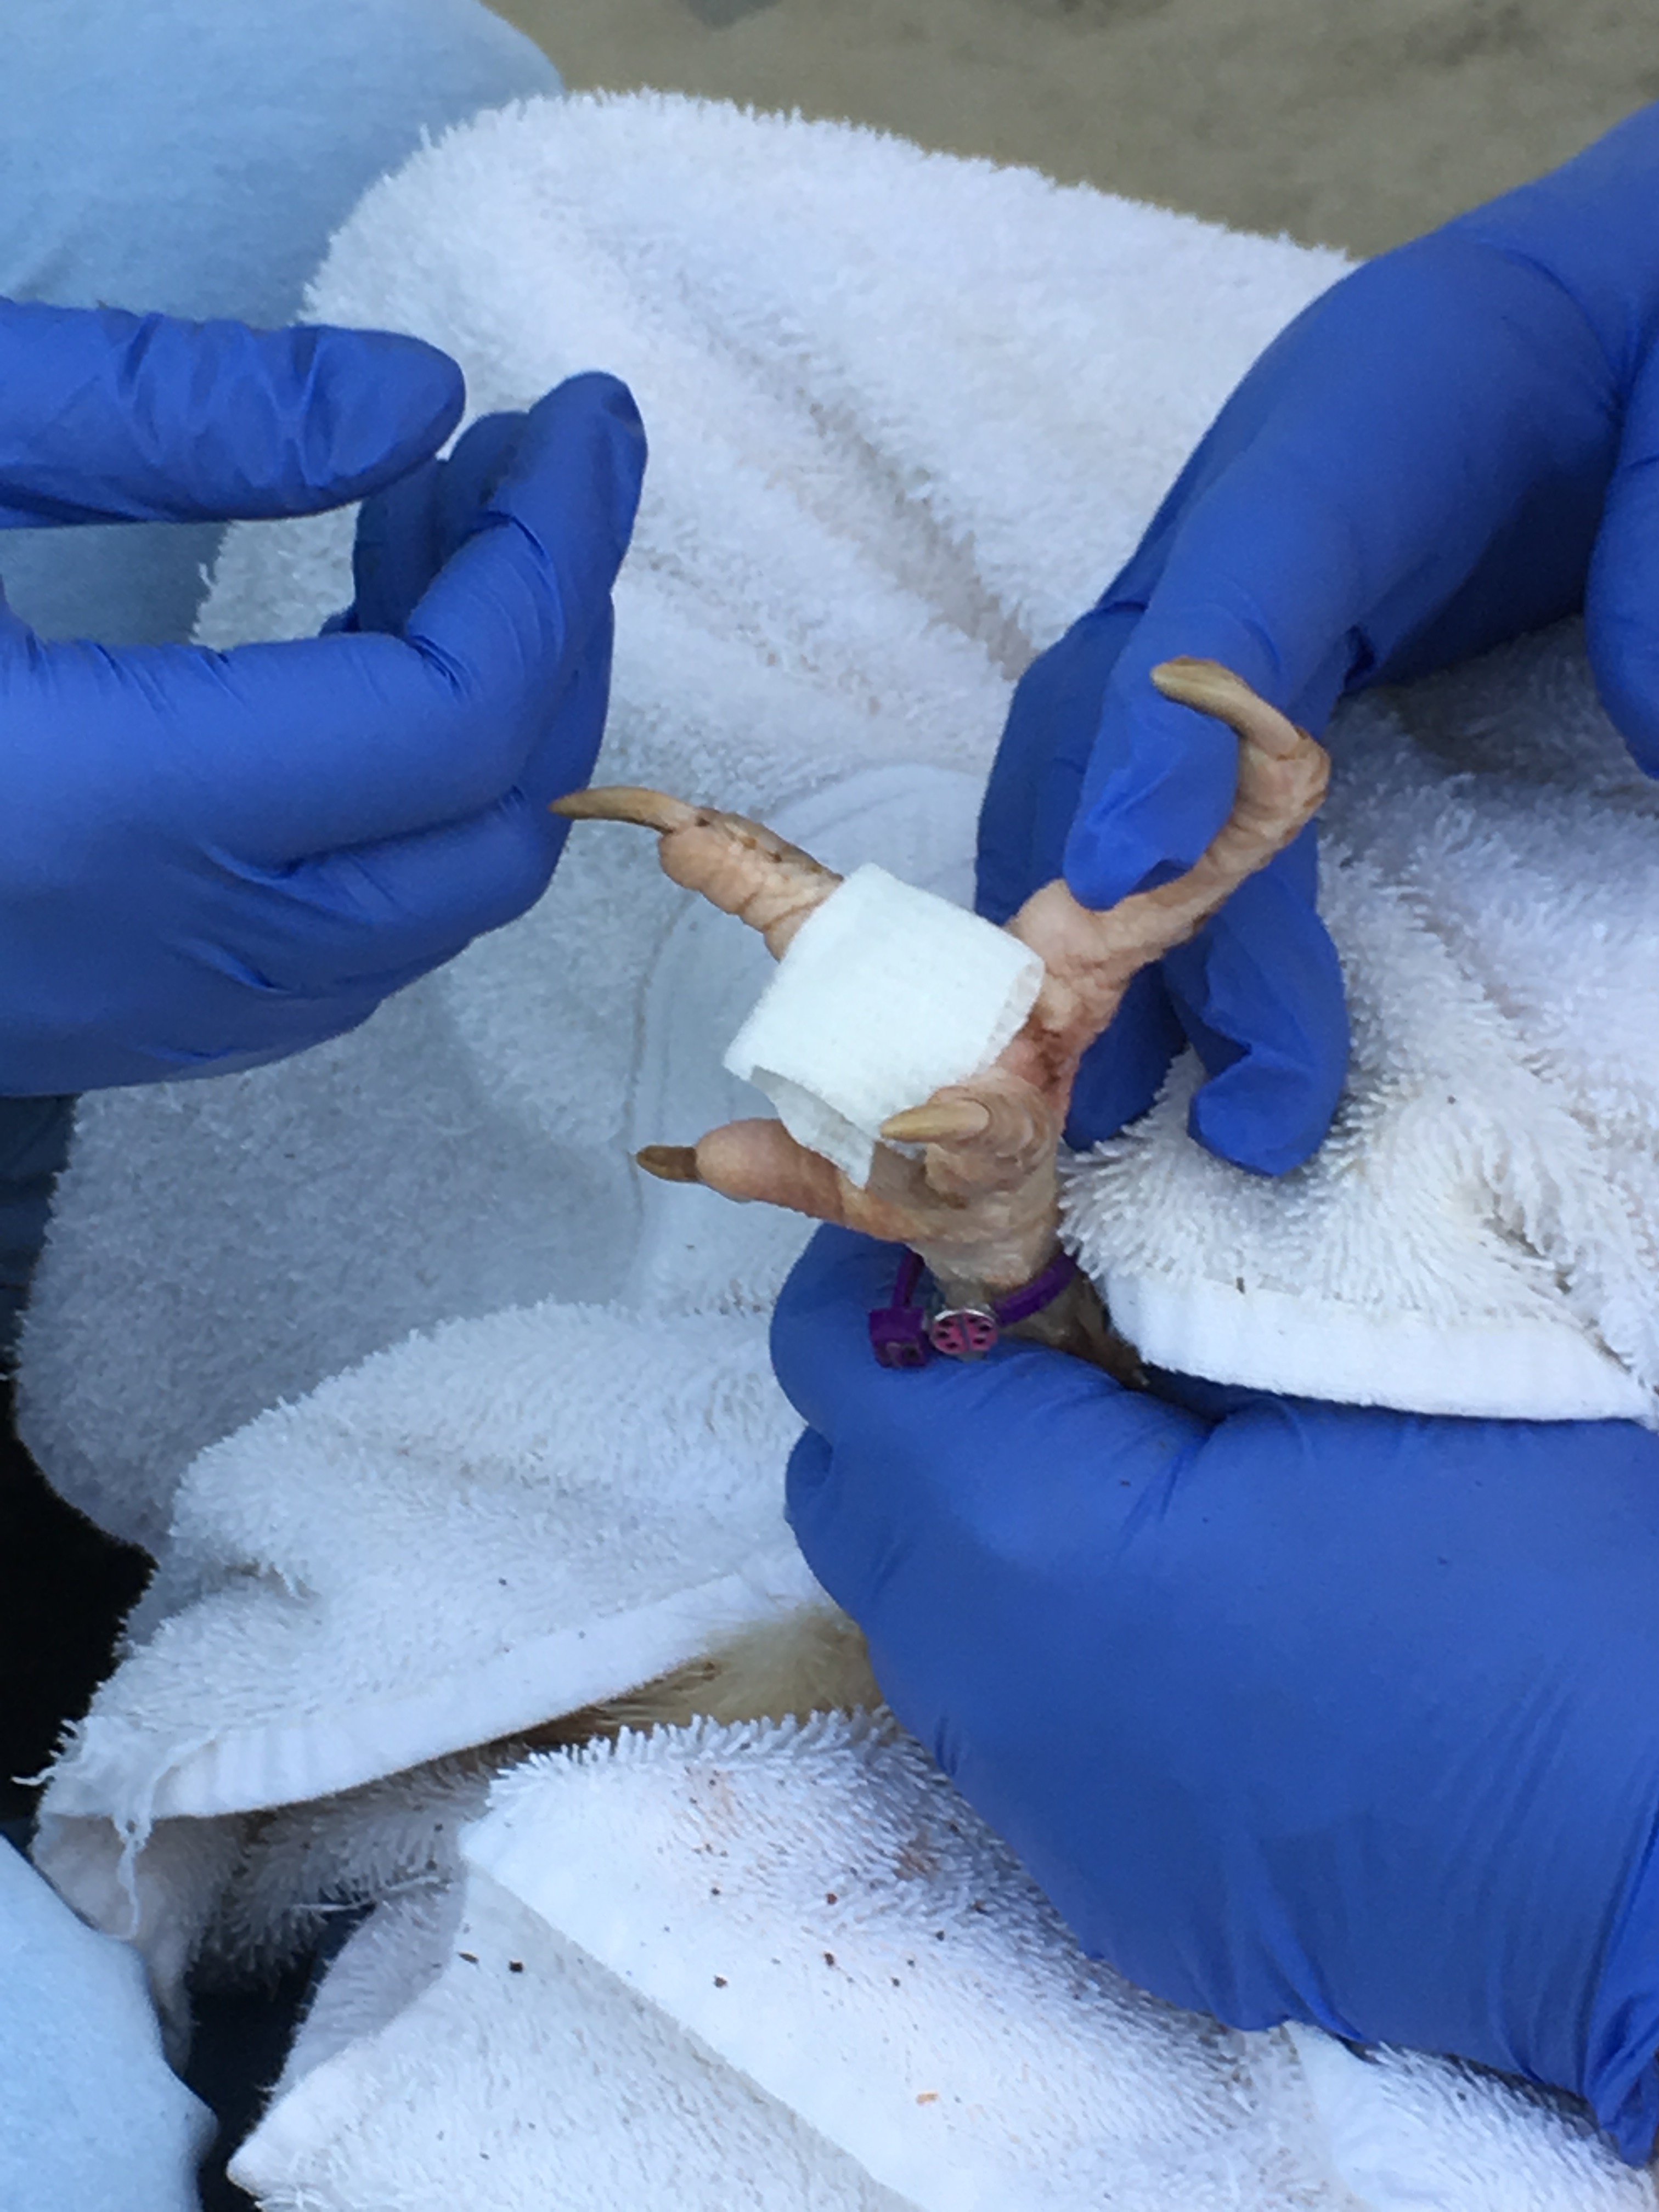
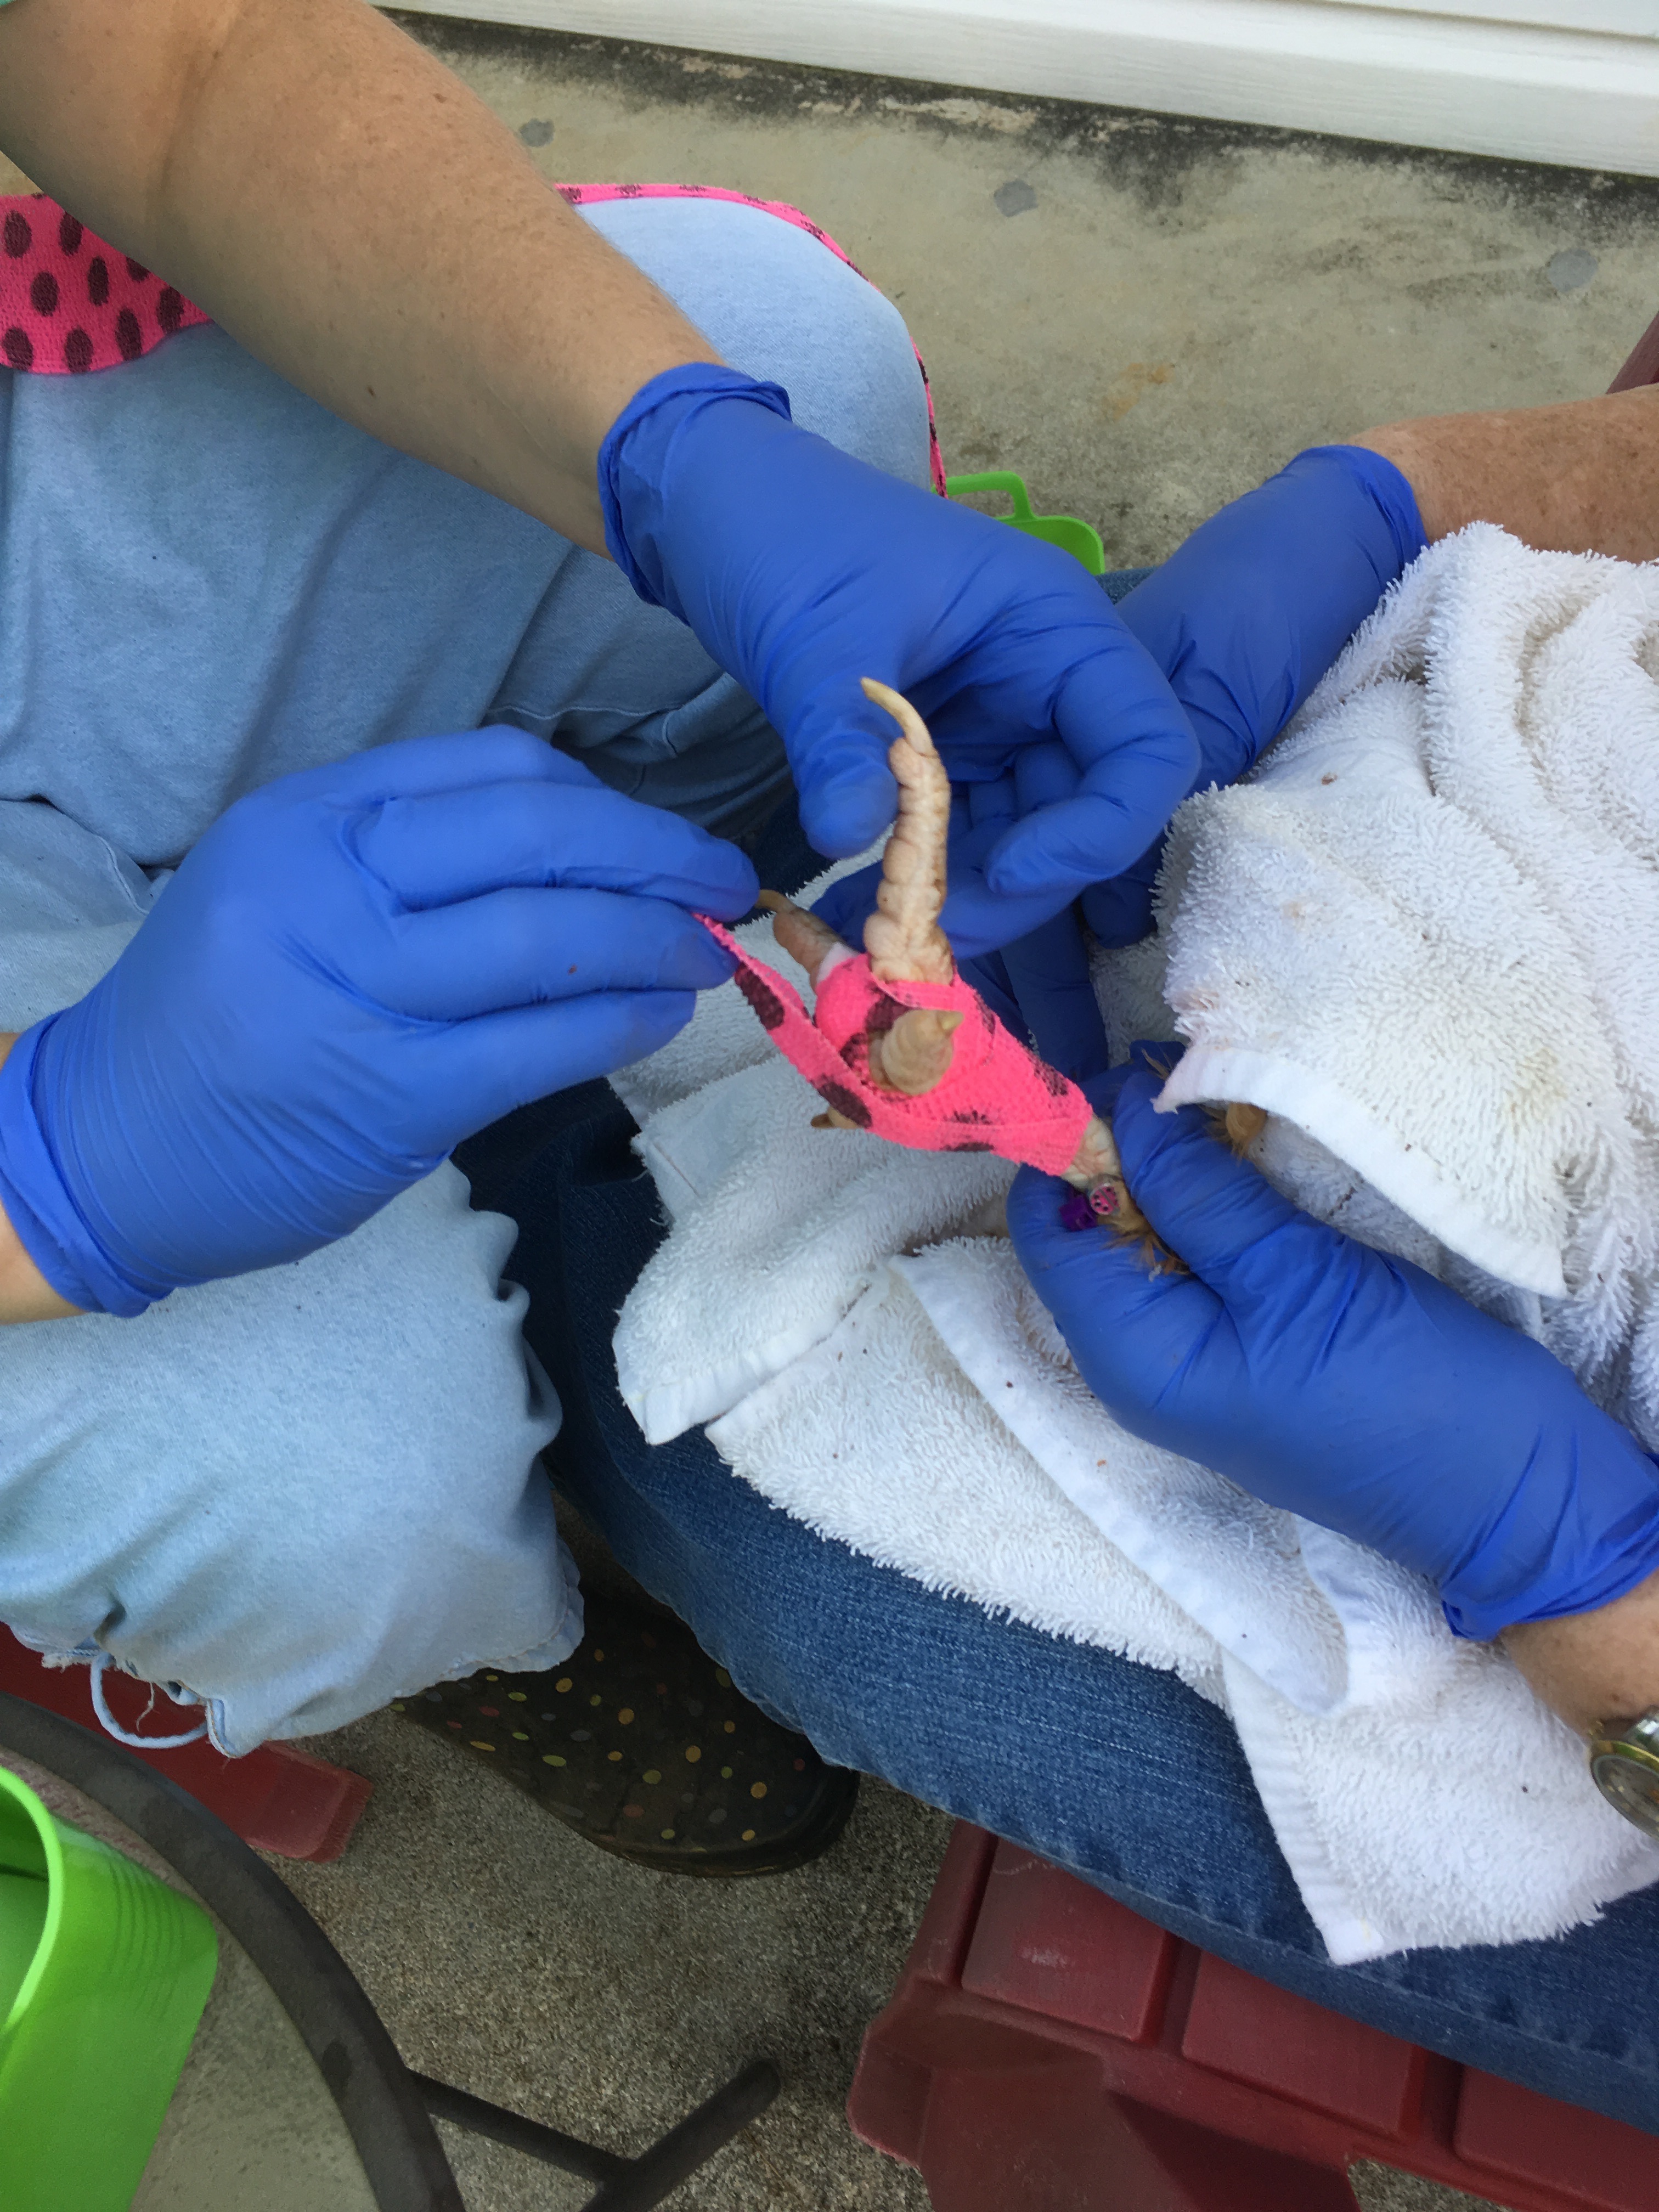
Other than the basic needs of food, water, and housing chickens are very simple to raise. The only other thing I can suggest is to have a chicken first aid kit on hand. I have built up my first aid kit slowly over the years. Basically you will need items to treat a chicken that may have injuries or illness. When taken care of properly chickens do not encounter much illness. The most complicated condition I have ever had to deal with was when several of my girls coming down with Bumble foot. I have a blog post on Bumble foot for those who wish to learn how to affectively and simply treat this condition.

Your first aid kit should include basic items such as: epsom salts, rubbing alcohol, peroxide, cotton balls, triple antibiotic cream, salve, and vet wrap. Vet wrap is very handy because unlike a band-aid it will stick to itself making it ideal for animal use. I cannot tell you how many feet of vet wrap I have used throughout my years as a backyard chicken keeper.

My girls have never needed any antibiotic treatment. I am usually able to treat minor ailment with natural methods such as apple cider vinegar in the water, electrolytes, and chicken rx herbal drops. Should my girls ever develop an infection that needs antibiotic I would consult a vet to assist me. In my experience, given proper care my girls have never developed any conditions that I could not treat at home.

As for the cost of keeping backyard chickens, once you have their habitat purchased or constructed they are very affordable to maintain. My 10 girls will go through a 50 pound of feed in about a month. I find compared to a medium size dog chickens are much cheaper to keep. Additionally, for all your work and dedication they will give you something in return, a beautiful farm fresh egg. In my book a pet that makes me breakfast is worth its weight in gold.

Thanks for stopping by and spending time with the girls and I. As always if you have any questions please feel free to post in the comments. I will do my best to get back to you as soon as I can.

Thanks for visiting, the girls and I will see you soon.

~ The Kuntry Klucker Crew~

DSCF4724

10 Things that I learned from My Hens

  1. Always greet the day with anticipation. Many great delicacies await.

2. Simplicity and a thankful heart are some of life’s greatest virtues.

hiding behind the water3. Bring up your young well. They are the next generation and the key to your legacy.

4. When getting into mischief always make sure you have a buddy. Partners in crime always have more fun.

5. Make sure that you leave a little something for those who care about you. Giving is always better than recieving.

6. Try to appreciate the season of winter. Although bleak, it prepares the ground for spring flowers and other delectables.

7. Tend your gardens well. A well groomed garden makes the heart sing.

8. Choose your flock wisely, they will be your groupies for life.


9. Make time for friends. Friends make the heart happy.

10. Above all, be like butterflies, they hold the key to true freedom.


Hens can teach you so much about the simple pleasures of life. They are simple creatures that require little. They are happiest when they are allowed to do what nature intended them to do. My girls are happy ladies and nothing delights me more than watching them do what bring delight to their hearts.

I hope you enjoyed this lesson on the simple pleasures of hens. They can teach us many things if we just take the time to watch and learn.

As always thanks for stopping by. Till next time, keep on crowing, see you soon!

~The Kuntry Klucker Crew~

cropped-dscf5185.jpg

How to Treat Bumble foot in Backyard Chickens.

IMG_0238.jpg

Along with the fun of raising backyard chickens, there are times when care needs to be taken to assure the well-being of our feathered friends. Last summer I had a few of my girls come down with a condition called bumble foot. I know it’s a funny sounding word, what it basically amounts to is an infection in the pad of their foot. Now, the chicken has an amazing ability to heal and recover from a variety of wounds and conditions. Often times I am most certain that an ailment will take the life of one of my girls and as it turns out they, make an amazing recovery.

So what is bumble foot exactly? Basically, it is caused by a very small puncture wound on the chicken’s foot. As the chicken’s body attempts to heal itself, a “corn” is formed in the soft tissue of the foot, creating a very painful condition called bumble foot. Although it is not inherently common in backyard flocks, it does happen from time to time.

My girls came down with the condition by injuring their feet by tree branches that fell into their outdoor run area after several severe spring storms ripped through our area. Some of the branches were sharp and a few of the girls obtained small wounds on their feet before I could get everything cleaned up. Even something as simple as digging in mulch can cause a splinter to get infected and cause bumble foot in a chicken. So, there are a variety of things that can cause bumble foot to grow in the soft tissue of even pampered backyard divas.

Although the condition sounds severe, it is actually rather simple to treat. All it takes is some time and attention. There are many ways to treat the infection. Some chicken owners will actually cut the infection out of the foot. I would only do this is only in extreme conditions. Although this would remove the infection from the bird very quickly, I would hate to cause this much pain to one of my girls. This procedure honestly is much better handled by a vet who has the proper pain management to perform this method of addressing bumble foot. I take a bit gentler approach, working with the chicken’s body to draw out the infection with as little pain as possible. I call it the salve method. I will detail below with pictures how to treat the infection using salve.

First, you will need to catch the patient that needs the bumble foot infection addressed. It is best to wrap the patient in a towel. This will keep the bird calm and make it easier for your assistant to hold. That is right, I forgot to mention that you will need a helper for this little project. My helper today is my mom, Mary. She loves my girls and enjoys holding and talking to our patient throughout the entire procedure.

img_0180

Our patient today is Miss Pea. She is one of the last remaining girls that is still recovering from a bumble foot infection. Her infection is slow to heal, mainly because she is the largest of all my hens. She puts a lot of weight on her feet which does tend to make the healing process slower. Nonetheless, she takes her Pedi days in stride.

Ok, now that you have your patient wrapped in a towel, give the patient to you assistant and let them hold the bird for you. This will make it easier for you to use both your hands to work on the bumble foot infection.

img_0175
img_0183

One very important note here: Make sure that you wear gloves!!! Bumble foot is a bacterial infection. Many bacteria live in the ground, it is possible that some bumble foot infection can actually contain the staph bacteria making them staph infections. So to protect yourself, make sure that you wear a good pair of quality medical exam gloves. Also, see that your assistant wears that same quality medical exam gloves.

Ok, now for the procedure, make sure that you have a stocked medical kit. You will need: Gloves, Peroxide, rubbing Alcohol, cotton balls, scissors, rolled gauze, antibacterial cream such as triple antibiotic cream, salve, and vet wrap. Here are my supplies laid out and ready to use.

img_0178

Ok, now that you have your patient and your assistant holding your patient, it’s time to begin. Isolate the foot that has the infection and secure the other foot under the towel. A chicken will have the natural reaction to kick with the other foot, so that foot need to be secured. You don’t want the claws from the other foot to put holes in your gloves.

img_0177

Take a cotton ball, dip it into some alcohol or peroxide and wipe the foot clean. Removing all debris and disinfecting the foot pad. Chickens’ feet can be very dirty. Sometimes it helps to soak the foot in a tub of warm Epsom salt water to further clean the feet and allow the skin to soften.

After you have cleaned the foot, inspect the wound. This is Miss Pea’s foot; she has a pretty large bumble foot infection. As you can see, they are usually circular in nature and can be very deep. After I cleaned her foot, I put a dab of Salve on her foot. Just enough to cover the wound, you don’t need to smear the whole foot in Salve.

img_0199

Now is a good time to talk about Salve. I swear by this product. The purpose of Salve is to soften the skin allowing the body to expel the infection. It is often used for horses to pull pebbles and other objects out of their hove’s. It is non-toxic and painless for the bird. It is a wonderful product. I would not keep chickens without this in my chicken first aid kit. It is found at Tractor Supply and costs about $20 a tub. It will last you literally forever. It is black, smells awful, looks like tar but will works miracles on bumble foot infection. I also use it on my kids when they get splinters or other cut wounds.

img_0939
img_0940

Once you put the Salve on the patients cleaned and disinfected foot, place some gauze on top of it. The gauze will keep the salve next to the skin and offer some protection for the wound.

img_0203

Now that you have the wound Salved and gauzed, it is time to wrap the foot. This keeps the gauze in place and prevents dirt and other things from contaminating the wound causing more infection to grow.

A chicken’s foot is a bit of a challenge to wrap, but once you get the hang of it its rather easy. First you will need to cut 2-3 strips of vet wrap about 10-12 inches long. Start several inches up the bird legs and wrap the vet wrap around her leg. Then, as you reach the toes just weave the vet wrap in-between the toes, making sure to cover the bottom of the foot completely. A note here, DO NOT make the vet wrap too tight. You are not trying to provide compression. You are simply holding the gauze in place and preventing dirt from infecting the wound further. Wrapping too tight will cut off circulation to the patient’s foot causing severe leg problems. Keep the wrap rather loose, vet wrap will stick to itself so there is no need to wrap the foot too tight. I would rather that you question whether it is too loose than too tight.

img_0212
img_0176

Once you have the patients foot wrapped. They are good to go, a free bird. You can allow your patient to roam with the rest of the flock. All I caution about is do not let their foot get wet. So, if you are expecting rain in the forecast, make sure that they do not step in mud or puddles. Secure your patient to the pen for the day if the weather is going to be bad. If the foot does gets wet, it could cause further infection and delay recovery. However, if their foot gets wet just remove the bandage, disinfect, apply more salve and rewrap. It’s not a big deal, it happened to me several times when we would get a freak shower. So, I just rewrapped her and called it a day.

img_0238

Once they have their foot fashions on, return the patient to the flock and check the wound in a few days. I go no longer than a week, every 2-3 days is ideal. The Salve will work to pull the infection from the body bring with its puss and the corn. Simply remove the gauze, disinfect the foot with either alcohol or peroxide apply more salve, and wrap.

The Salve method takes a while to completely clear the infection. A bad bumble foot infection can take several months to completely clear up. This is the disadvantage of using the Salve vs cutting the infection out. However, the Salve is painless and very effective. The surgical method requires an individual to have a tough stomach when it comes to blood and puss. Not only is it bloody but it is very painful unless numbing medication is properly administered. This procedure is best left to a vet. Additionally, when you cut into a bird you risk the very real possibility of severe life-threatening infection. This is because if the bacterium in foot gets into the blood stream it could be life threatening for the bird. I would much rather use a method that takes a bit longer but is painless and reduces the infection rather than possibly making it worse. The Salve will work, it is absolutely amazing, will save you hundreds on vet bills, and be painless for the patient.

Bumble foot, although sounding daunting is a very simple condition to treat. Using the right methods, it is painless for the bird and returns their quality of life once fully recovered.

I hope that this post has helped anyone who is struggling with how to address bumble foot in backyard chickens.

I am a published author, multi-disciplinary writer and blog contributor. If you like this blog, please visti some of my other sites.

Coffee and Coelophysis – A blog about dinosaurs!

Chicken Math University – Adventures in Homeschooling

Knowledge of the Spheres – Exploring the Celestial Spheres

If you liked this post, peck the subscribe button.

As always, the girls and I thank you for stopping by. Remember to keep on crowing and we will see you next time.

~The Kuntry Klucker Crew~

DSCF4984