Add a POP of Color to Your Gardenscape.

There is just something about color that brings happiness to our souls, whether it be the soothing color of flowers or the majestic masterworks of a sunset. As spring transitions to summer, Mother Nature’s paint brush explodes with colors that ignite our inner artist and imagination. Although this blog is primarily dedicated to raising backyard chickens and the backyard chicken enthusiast way of life, I like to mix in a few gardening hacks as I discover them. Today I will share with you a few very simple and inexpensive ways to add a pop of color to your backyard or garden. All that is needed is a can of spray paint and a bit of imagination.

Most gardeners are familiar with these iron stakes sold at garden or home improvement stores. They go by a myriad of names such as shepherd staffs, hanging basket stakes, garden stakes and so on. As a staple of any well-tended garden, they serve a multitude of functions. I have them all over my property and use them for a host of purposes. Plant stakes, tree stakes, chicken wire stakes, lattice board stakes, plant hangers, and so on. I lost count of how many I have years ago. As a decorative accent to any landscape, the uses are endless. But for the purposes of this post, I am going to show you how you can use these little wonders to add a pop of color to your Gardenscapes or backyard. Typically sold painted an iron black or dark charcoal, they can be painted to fit any preference.

Hot pink garden accent. This pop of color adds a bit of fun and personality to the garden or backyard setting.

My favorite colors are pink and purple. Armed with a can of hot pink spray paint, I formally endorse, adding a pop of color to this garden accent. Situated in my blueberry row adjacent to the Grape Arbor, it stands out against the backyard colors bringing a bit of personality to the berry row.

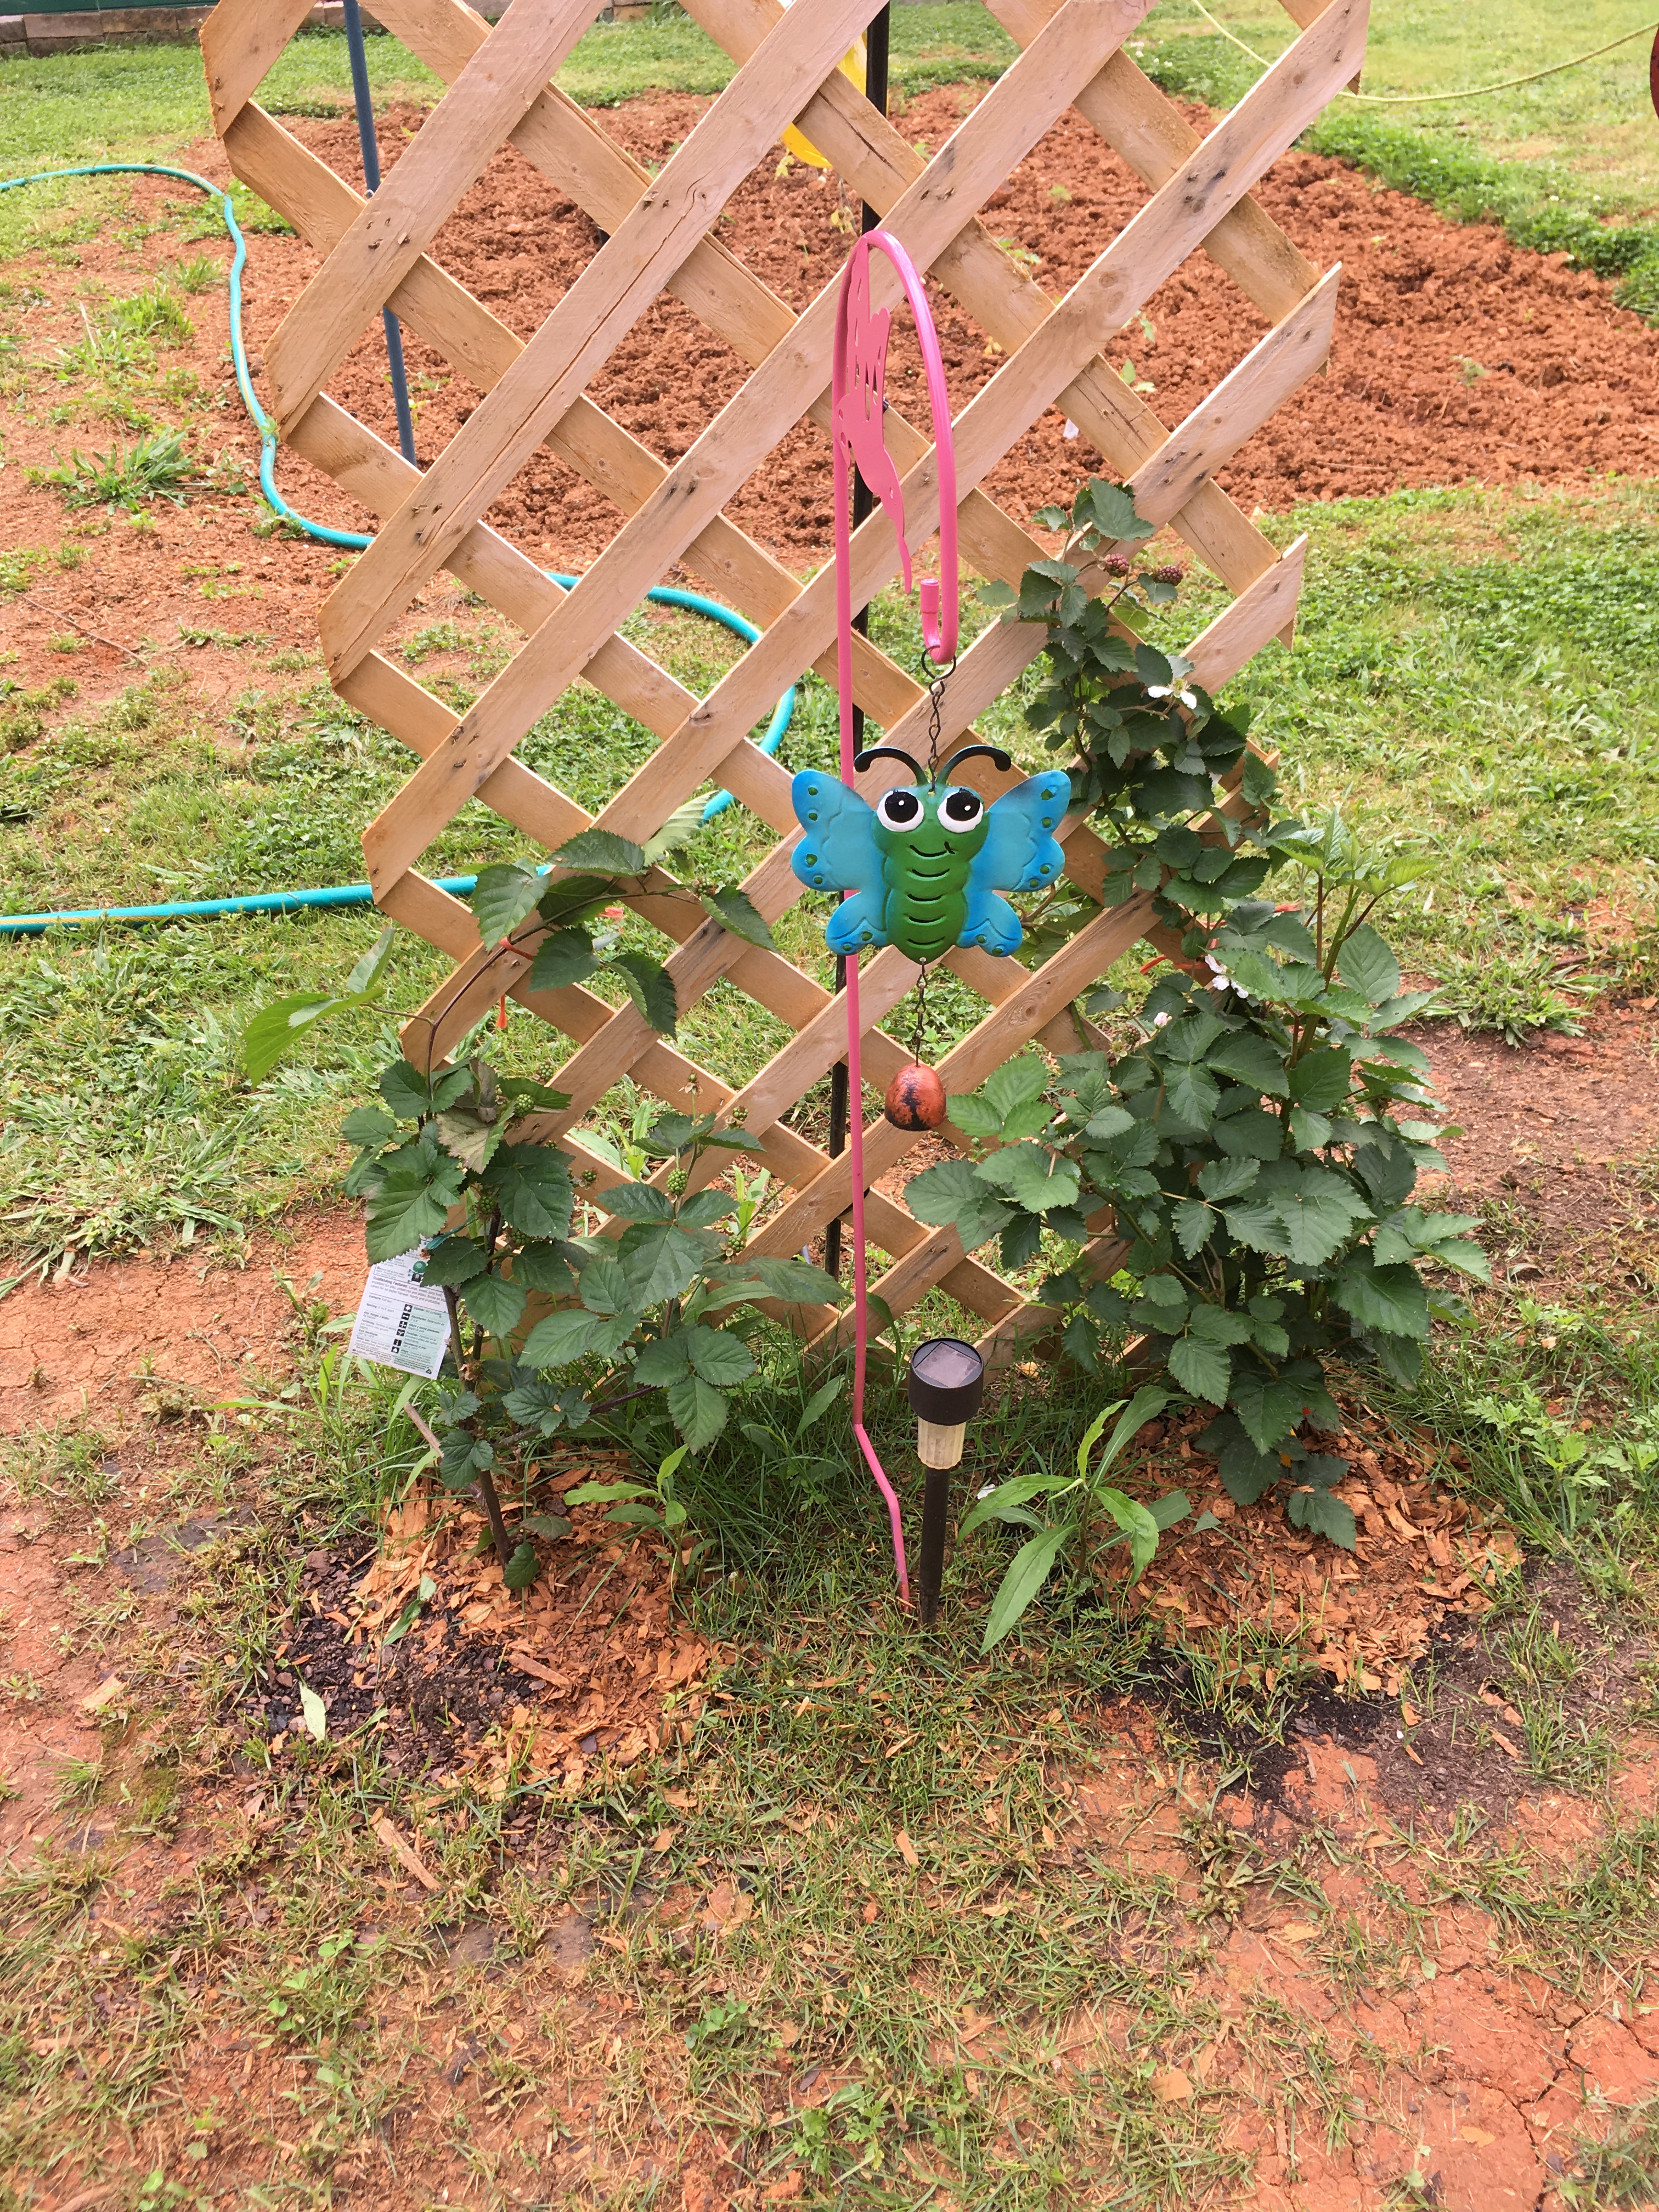
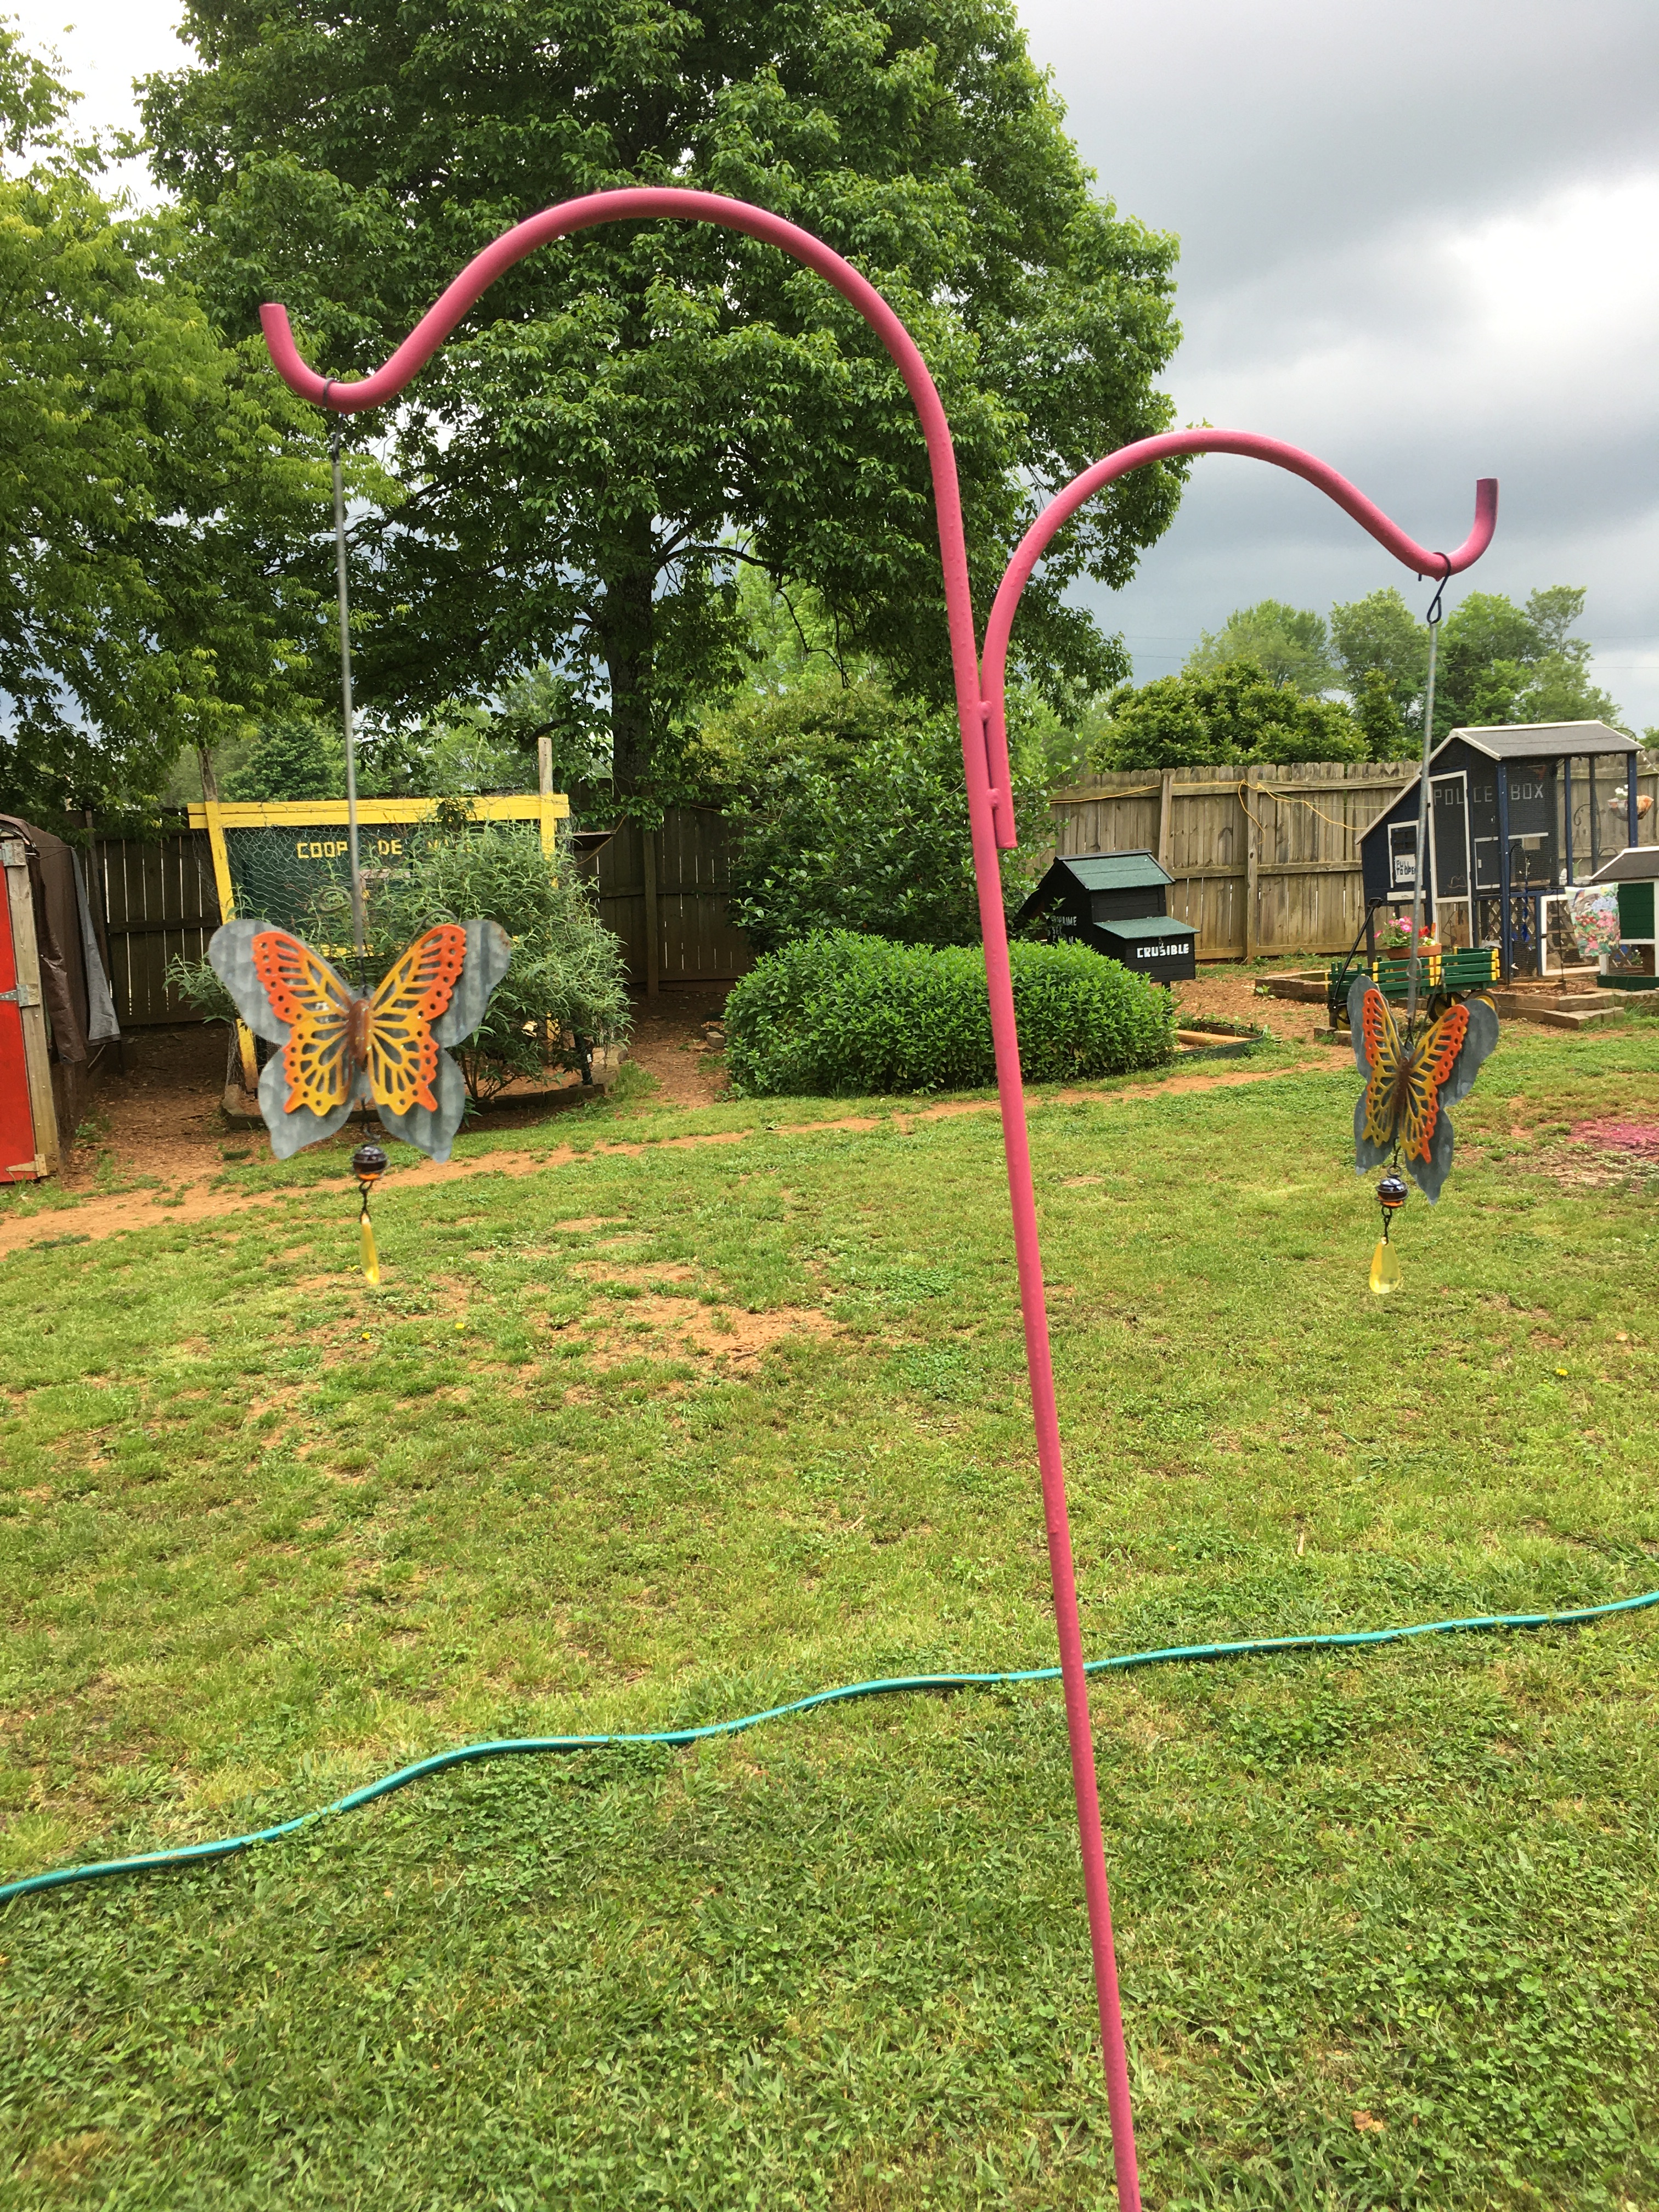
Again, with the same can of hot pink spray paint, I add a pop of color to this small shepherd’s staff situated between my Black Berry Bushes. These brightly colored garden accents and staffs offset the green of the surrounding vegetation, adding a bit of a boho vibe to the garden or backyard setting.

Berry row approaching the Grape Arbor.

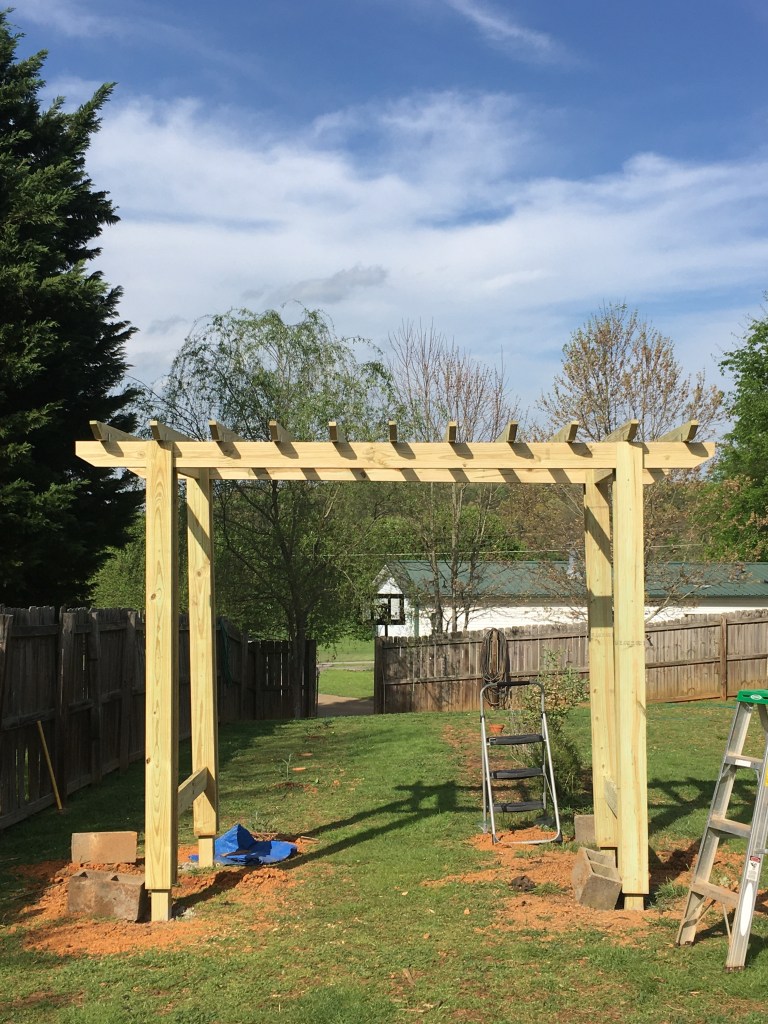
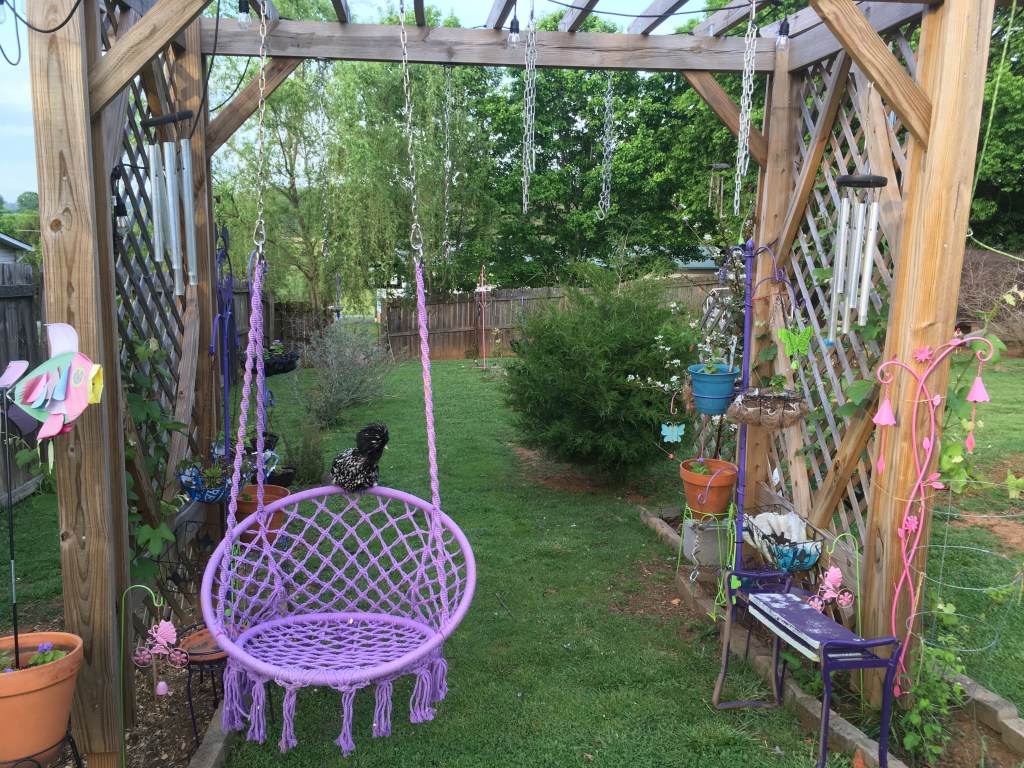
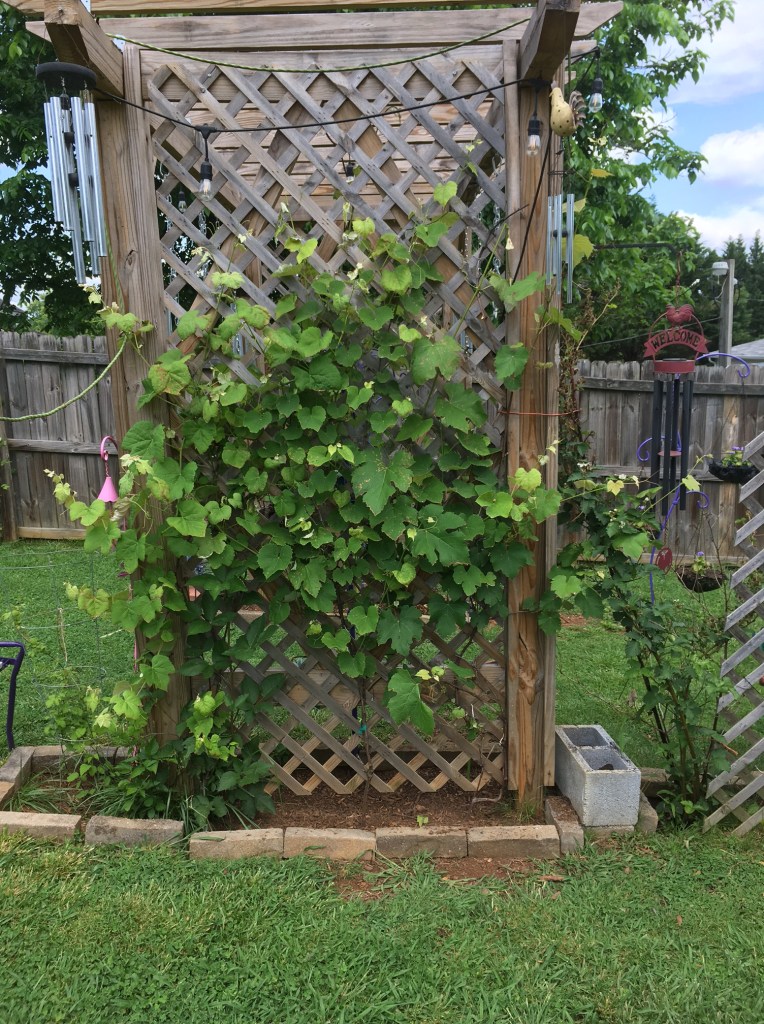
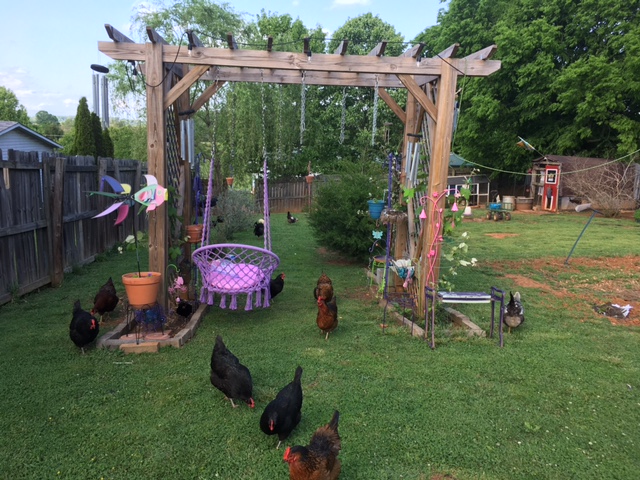
Approaching the Grape Arbor, I transition to another color to add a pop of personality to the Pergola. A fitting color for a Grape Arbor setting is a bright purple. Situated around my Pergola are numerous plant stands, garden accents and flower basket hanging staffs. Armed with a can of purple spray paint, I work my magic adding a pop of color to the Arbor setting.

Pergola Grape Arbor situated at the end of the Berry Row.
Purple hanging basket staff under the Grape Arbor.

A bright purple adds the perfect pop of color to the Pergola. Standing out against the surrounding greenery, purple hanging basket staffs provide a polished look.

Purple staff with chicken feed bags as liners for the hanging baskets.

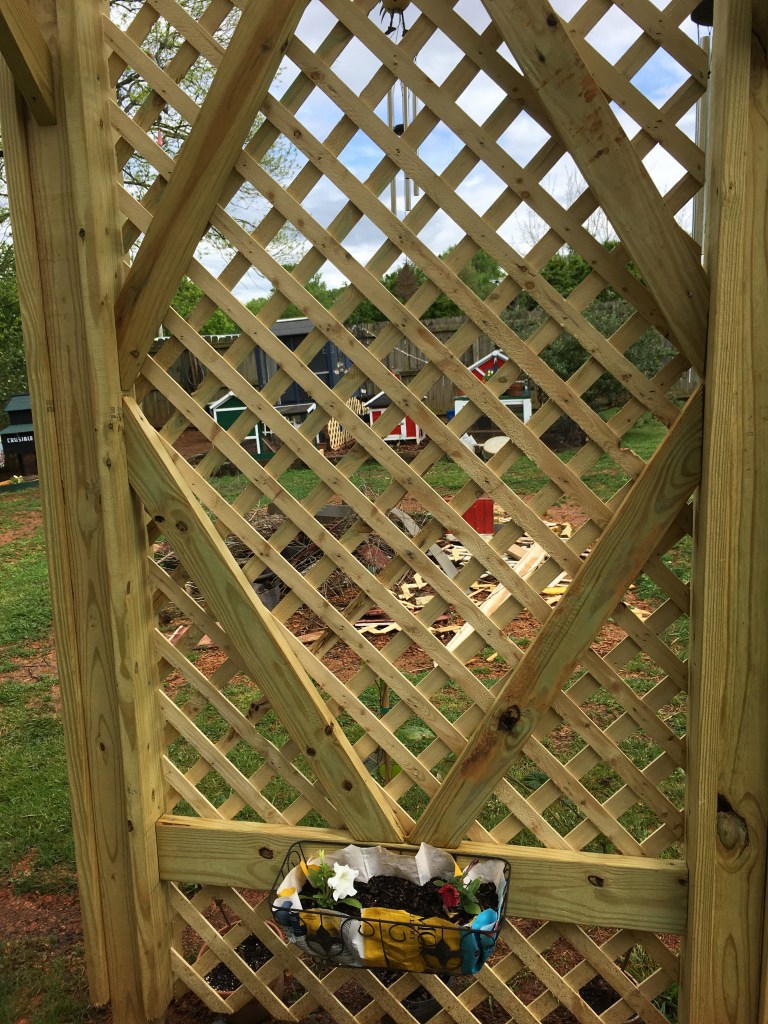
Another hack I have discovered, the repurposed use for chicken feed bags. Hanging plant baskets are usually displayed with coco basket liners. These coco basket liners are pricey and do not retain the essential water needed by the plants. Using empty chicken feed bags, I cut small drainage holes in the bottom, fill with soil and use as liners for the hanging baskets. Feed bags are tough, made of a thick material sufficient to contain 50 pounds of chicken feed or more. As hanging basket liners, they are perfect. They are tough, weather well and do not break down like the coco basket liners. Additionally, they retain the crucial moisture needed to adequately keep the plants hydrated. They add the perfect accent to a backyard farm setting.

Purple butterfly garden accent sitting on the ground under Pergola Grape Arbor.

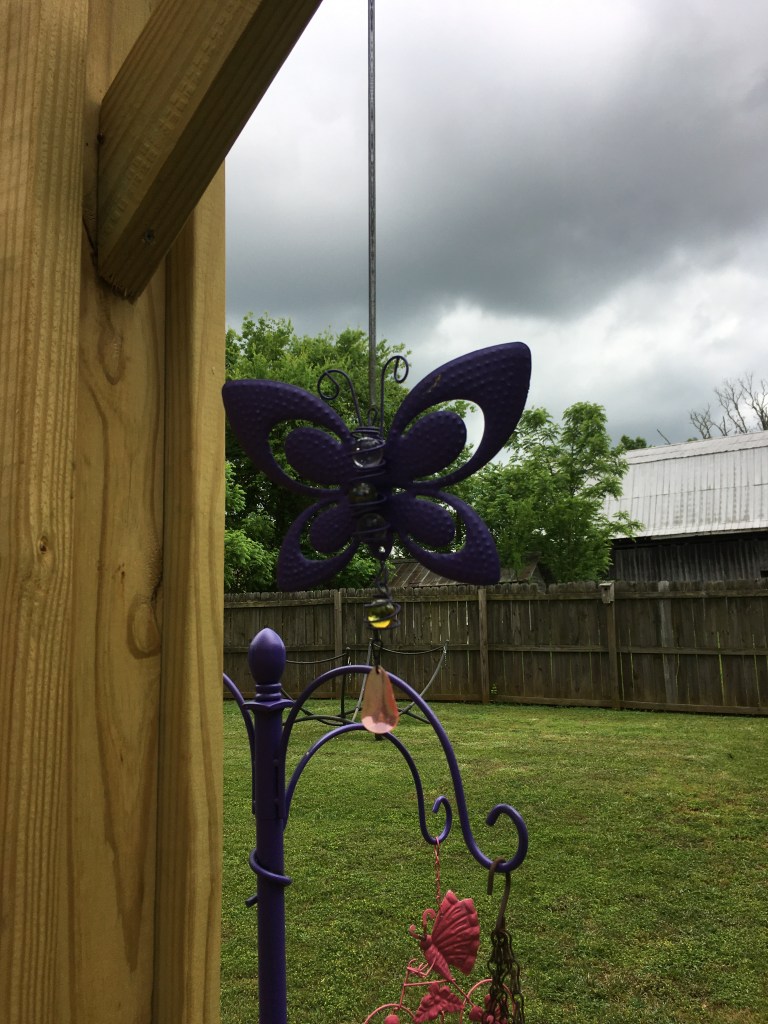
In addition to spray painting hanging basket staffs, I paint garden accents to add a pop of color to the surrounding area. This little detail adds a fun boho vibe of the garden or backyard setting.

Plant stands topped with a terra cotta pot saucer serve as great drink tables. Painted a darker color of purple for contrast, these plant stands add a bit of ease and laid-back vibe to the Pergola.

painted garden bench.

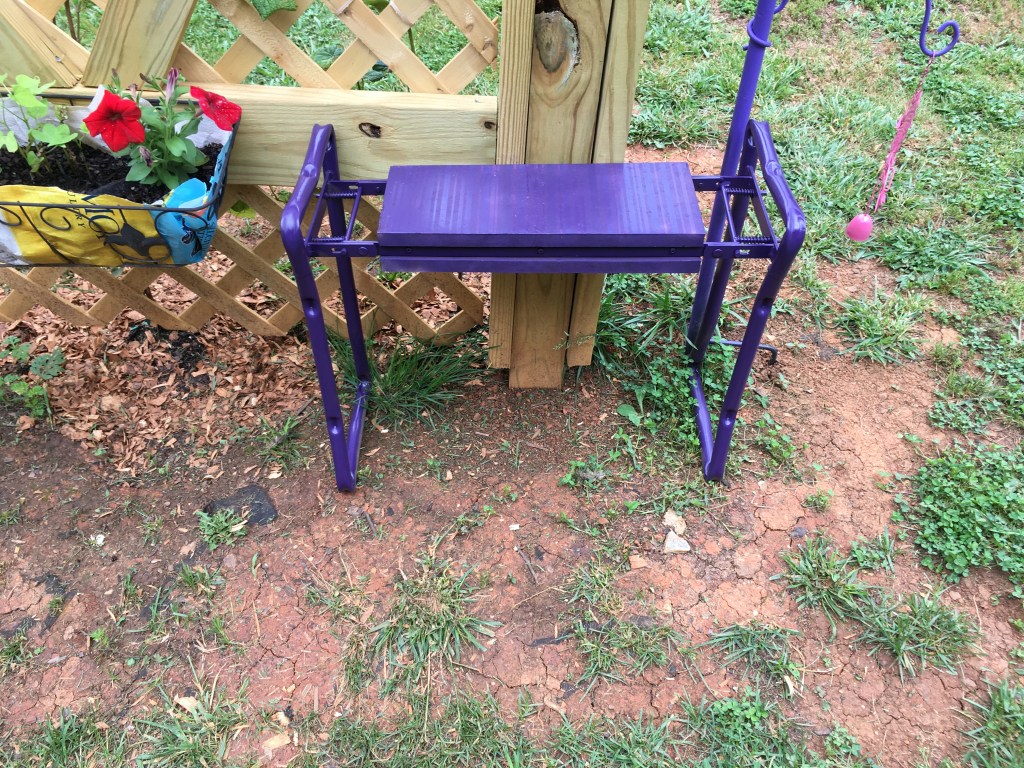
Even a garden bench when painted can be used as an outdoor dining tray. Painted the same dark purple as the repurposed plant stands, these accessories add to the overall fun atmosphere of a backyard garden.

Purple garden decor accent.

Got a beloved outdoor decor item that is looking a little bit rough around the edges. A can of spray paint to the rescue. Breathe new life and love into outdoor decor items while coordinating them with your garden setting.

The final look of the Pergola Grape Arbor is stunning!! With a can of spray paint and a bit of imagination, you can transform your garden or backyard setting into a lively atmosphere. In addition to adding a pop of color to your backyard garden, spray paint with added primer will protect your garden accents for years to come.

I hope that you have found some of these hacks useful and can implement them into your own Gardenscapes or backyard setting. Adding a pop of color to your garden adds a bit of fun and personality to your space. Have fun with it and remember, there is no limit to creativity.

Deaky, Fi, and Brian (Polish Hens) perching on a hammock swing under the Grape Arbor.

If you have any questions, feel free to post in the comments or drop me a line at kuntryklucker@gmail.com

I am a published author, multi-disciplinary writer and blog contributor. If you liked this blog, please visit some of my other sites.

Knowledge of the Spheres – Exploring the Celestial Spheres!

Coffee and Coelophysis – A blog about Dinosaurs!

Chicken Math University – Adventures in Homeschooling

If you liked this post, peck the subscribe button. As always, thanks for reading. Till next time, keep on crowing!

The Kuntry Klucker Crew enjoying an event treat.

~ The Kuntry Klucker Crew ~

Building a Grape Arbor in your own backyard.

Backyard Grape Arbor

Building a Grape Arbor is something that has been on my to do list for the past 10+ years. Grapes are a wonderful crop to grow on your own land as they grow very fast, are fairly pest resistant and easy to grow. They do require regular maintenance, pruning being the chief requirement.

As a child I remember visiting my grandparents farm during the summer and eating ripe grapes from their vine. It is a memory that I cherish and look forward to eating from my very own grape vines once more.

Building a Grape Arbor is a DIY project that you can tackle yourself. It takes some hard work, several partners, effort and time, but if you are diligent, you can build a Grape Arbor in a week.

Why I wanted to build a Grape Arbor?

Building a Grape Arbor has been a dream of mine for a very long time. Not only functional as a trellis for the grapes to grow on, Grape Arbors add a majestic presence to your backyard or garden. They command attention as you enter their sacred space. To make the most of your time and effort, you can attach a porch swing or hammock swings. Installing solar light to Arbor creates a romantic and relaxing seating area in your backyard.

Building a Grape Arbor.

We chose a traditional style Pergola for our Backyard Grape Arbor. I wanted something that would not only serve as a trellis for grape vines, but a place that I could hang some backyard Hammock Swings. Above is the final completed project of the Arbor in our backyard. It is 8 feet tall is roughly 12 feet long.

Shopping list for a backyard Grape Arbor.

Posts: (4) 4×4 @ 7’6.5” and (8) 2×6 @ 8”.

Beams: (2) 4×6 @ 12’

Braces: 2×4’s

Runner on to of Arbor: (11) 2×4’s @ 5’8”. For a decorative look, cut the ends of the 2×4’s at a 45-degree angle or bevel. This is optional.

1 box of 2” deck screws and 1 box of 4” deck screws.

After we unloaded the wood, we cut the 2×4’s and 4×6 beams to size and beveled the ends at a 45 degree angle.

Before building the Arbor, we prepared the ground by digging the footings. We dug 4 holes at the dept of 4 feet. To accomplish this, we rented an Agar to dig the depth of the holes.

After the footings were dug, we connected two 2×6’s to each of the 4×4’s then cemented them in place.

Next, we lifted the large 4×6 beams on center over the pair of 4×4 posts. These beams sit on top of the 4×4 posts. You can screw them into place if you wish, we decided to let gravity do the work for us.

Next, we attached the 4×4 pairs to each other using a 2×6 cut to length. We then toenailed them with 4” deck screws connecting them to the 4×4 posts.

Next, we attached the (11) 2×4’s to the top of the Arbor to form the canopy. Each 2×4 is held into place and connected to the 4×6’s using braces.

Nearing the end of our construction project, we cut the remaining 2×4’s to form diamond supports connecting the 4×4 beams to one another. These braces add beauty and strength to the Pergola. They are attached to the main support beams with pocket hole screws.

Finally, we added lattice boards to each side of the Arbor. This adds a touch of sophistication to the Arbor while giving the grape plants something to grasp onto as they climb to the canopy.

From start to finish, it took us 1 week to build this Pergola Grape Arbor. The finished product is stunning!! It brings a sense of completion to our backyard, complimenting the “coop-hood” (a.k.a. chicken coops) with an aura of dignity.

My favorite activity is to lay on my hammock under the Grape Arbor, read, listen to the chatter of my girls and watch the grapes grow.

I cannot wait for the grapes to grow and reach the Arbor canopy. Until then I will sit under my Arbor, read, sip on some wine and look forward to the day that I can eat fresh grapes from my very own grape vines.

I hope you enjoyed this post. Building this backyard Grape Arbor was a worthwhile endeavor, bringing a completion to our backyard homestead.

You too can build a Pergola Grape Arbor in your own backyard or garden and reap the benefits of growing your own grape vines.

Me, relaxing in a hammock swing below the Grape Arbor.
The girls working hard to keep the grape vines free of bugs and weeds.
My “hen-helping” crew, keeping the grape vines healthy, bug, and weed free.

Today May 2022

Three years after construction, the grape vines are prolific and rapidly climbing to the canopy. This year’s harvest (2022) will be the best yet! 🍇

Grape Vines loaded with tiny grapes.

I am a published author, multi-disciplinary writer and blog contributor. If you like this blog, please visit some of my other sites.

Knowledge of the Spheres – Exploring the Celestial spheres!

Coffee and Coelophysis – A blog about Dinosaurs!

Chicken Math Univeristy – Adventures in Homeschooling

If you liked this post, peck the subscribe button. As always, thanks for reading. Till next time, keep on crowing!

~ The Kuntry Klucker Crew ~