Overwintering Your Flock: Avoiding Dangerous Mistakes and Safer Methods

The red glow of a LED bulb in The Coop De Ville bachelor pen.

As fall transitions to winter and temperatures begin to plummet, many backyard chicken keepers are looking for ways to overwinter their flocks and prepare for the anticipated cold weather. While steps to winterize the coop and pen will yield positive impacts, there are potentially dangerous mistakes to avoid when overwintering your flock. The most destructive of these is heat lamps.

In this post, I will explore the dangers of heat lamps and new and safer methods to implement in overwintering backyard chickens. While it is good husbandry to see to the needs of your flock, the most dangerous mistake a chicken keeper can make is judging the flock’s comfort level by your own.

The Kuntry Klucker winterized to keep the coop and pen clean and dry.

Heat lamps-synonymous with chicken coops-began in our grandparents’ days. During the 1940s through the 1980s, heat lamps were used in brooders to keep chicks warm and then used in the coop during winter as a supplemental heat source. While the intentions of these generations of chicken keepers were good, many unfortunately suffered the consequences of using heat lamps in these settings.

During the early 2000s, better methods of providing heat to the brooder setting reduced the need for heat lamps and the associated unintended consequences. However, despite the development of safer products specifically designed for the needs of a backyard chicken keeper, the tradition of heat lamps has progressed through time.

Ganondorf (white crested polish rooster) peering out of the window in the Coop De Ville illuminated by the red glow of a LED light in the coop.

Large, inconstant bulbs, blasting long wavelength red light at an impressive 250 or 500 watts, may seem benign, harmless, or passive. However, the dangers of these bulbs when used in the coop environment are anything but innocuous. A chicken coop filled with dry wood shavings, dust, and feathers is prime kindling for a swift, vehement, and exhaustive fire.

The path of destruction set forth by these bulbs is possible in two primary ways. First, there is no assured way to mount heat lamps in a habitat where the residents can fly. Heat lamps, by the antics of the chickens, are easily knocked down. Once they fall, if the bulb does not bust, the radiating heat will quickly ignite the dry shavings, and a fire ensues.

Secondly, due to the incandescent nature of heat lamp bulbs – at the end of their lifespan – the filament within the bulb can burst, causing the bulb to explode. Releasing a burst of light, heat, and sparks, the instability of heat lamp bulbs when making contact with the kindling in the coop will result in a fatal fire.

Silkie flock roosting in the coop.

Despite best efforts to mount a heat lamp in a chicken coop, the flighty nature of the residents inside makes a coop fire an ever-present danger. Given the volatility of heat lamps in an enclosed environment, there are much safer ways to keep the flock comfortable as the winter weather rages.

To successfully overwinter a backyard flock, only two things are required – a clean and dry place to call home. Chickens are wearing down coats, factory installed. Artificially warming the coop can be life-threatening in severe winter weather. The loss of power is common in winter storms. We survive these events by wearing warmer clothes, huddling under thermal blankets, and consuming warm food and beverages. All of these creature comforts are unavailable to the freezing flock outside.

Miss Bossy (Buff Orpington Hen) trudging through the snow.

When faced with the same situation, a flock that has become dependent on supplemental heat can freeze to death. During the winter, I will receive several correspondences from other chicken keepers seeking help after a power outage that accompanied a winter storm resulted in death among their flock. In addition to sharing their sympathies, I will take the time to educate them on why this happened and how to avoid a reoccurrence in the future.

Chickens evolved to live outdoors and acclimate to the changing temperatures naturally. During molt, in addition to growing in new feathers, chickens will also grow in winter down to keep them warm during the winter. When the coop is artificially warm during this time, a variable that will cause a flock to be ill-equipped for the coming cold weather is introduced. With the added consequences of power loss during winter storms, flock’s dependent on artificial heat sources suffer when factors outside their control ensue.

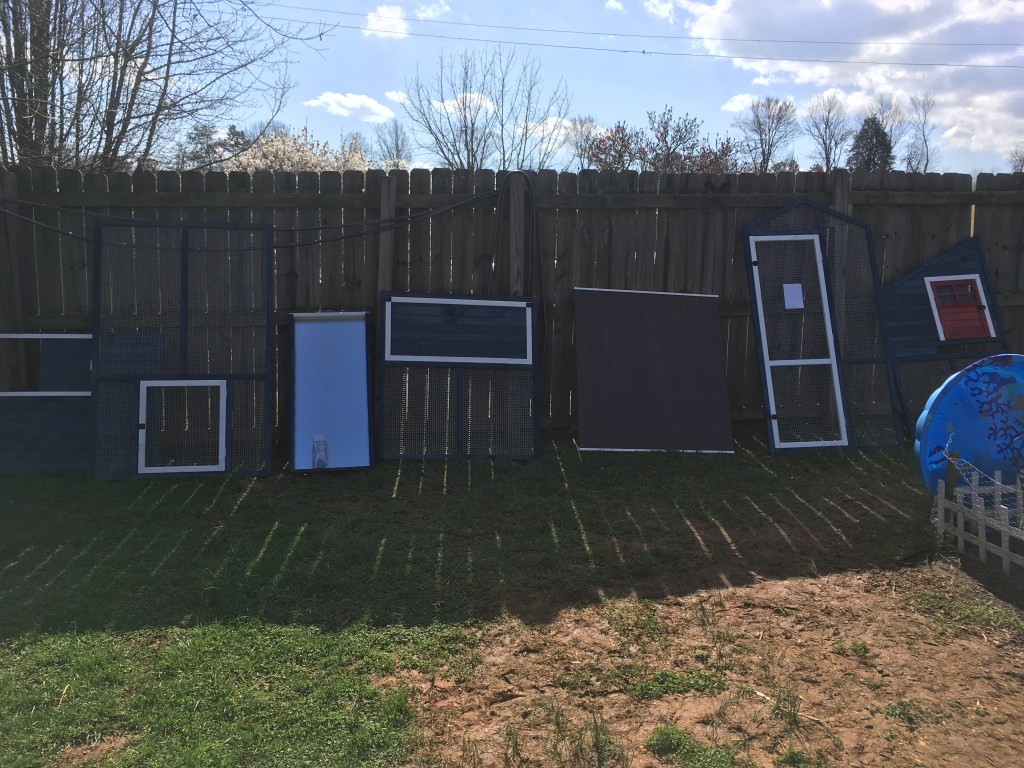
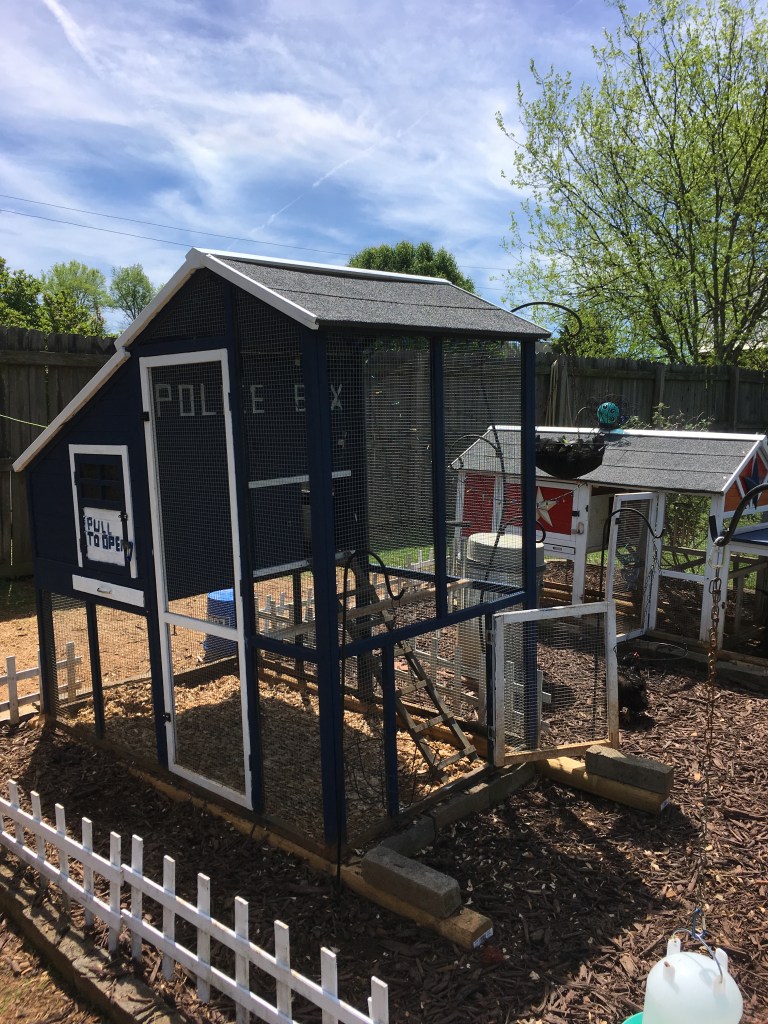
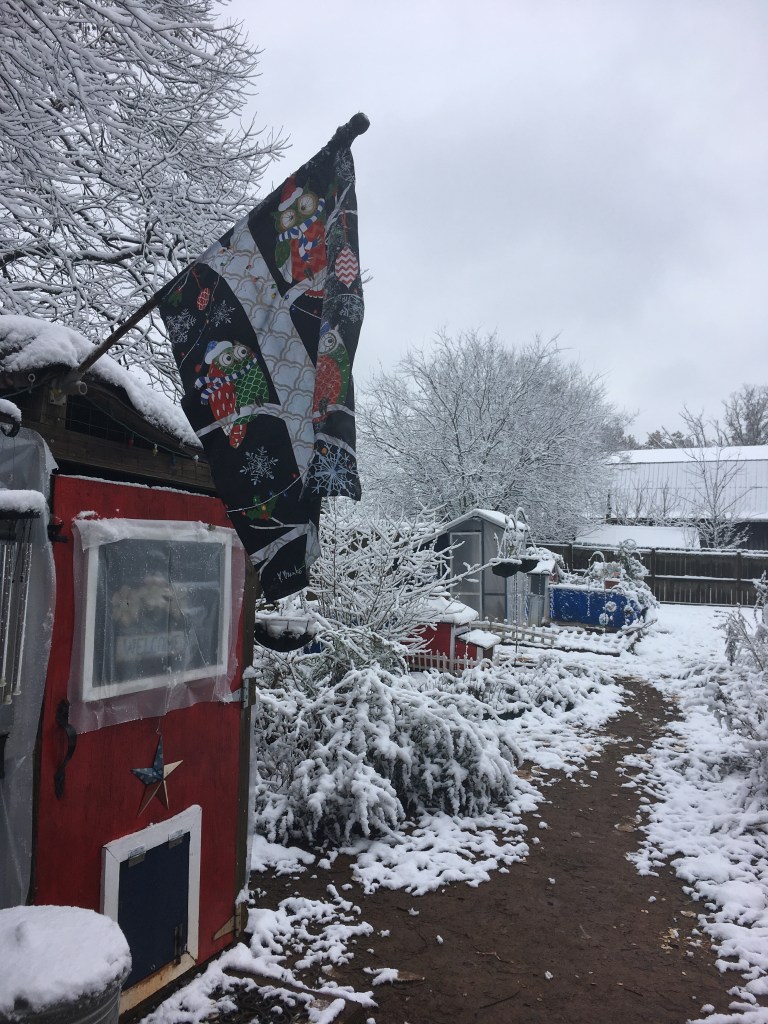
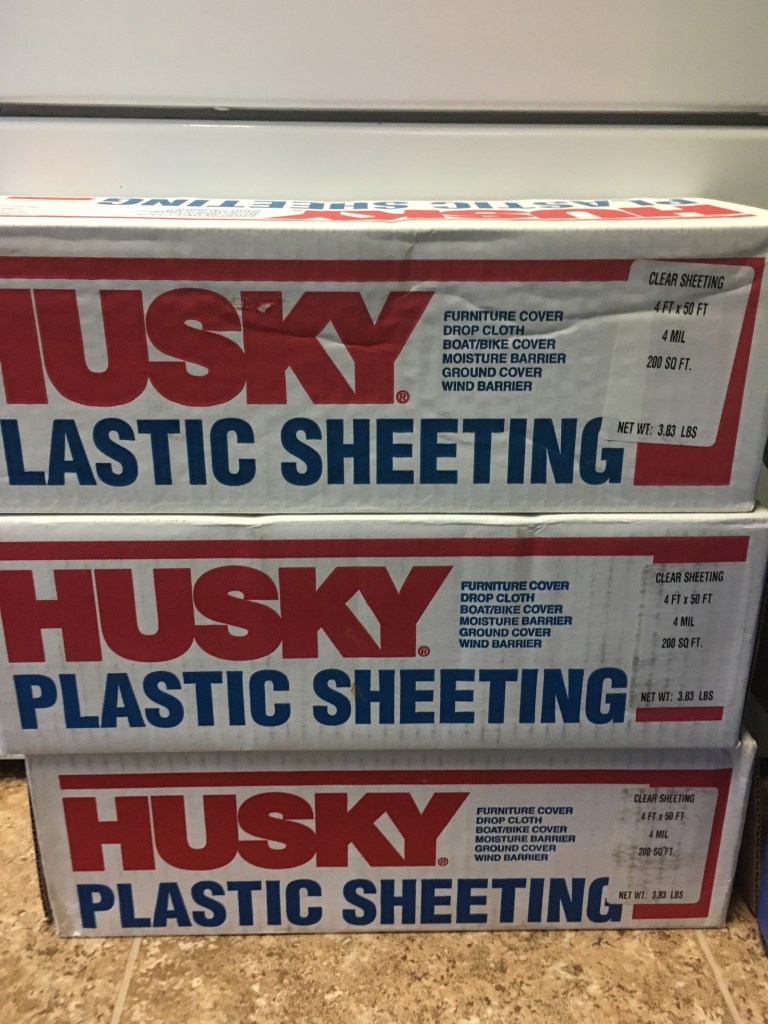
Installing plastic sheeting around the coop and pen does two things. First, the plastic is a wind barrier. Secondly, winter precipitation will stay outside the pen and coop area. This simple improvement will keep the flock’s living habitat clean and dry, which makes cleaning much easier in the winter.

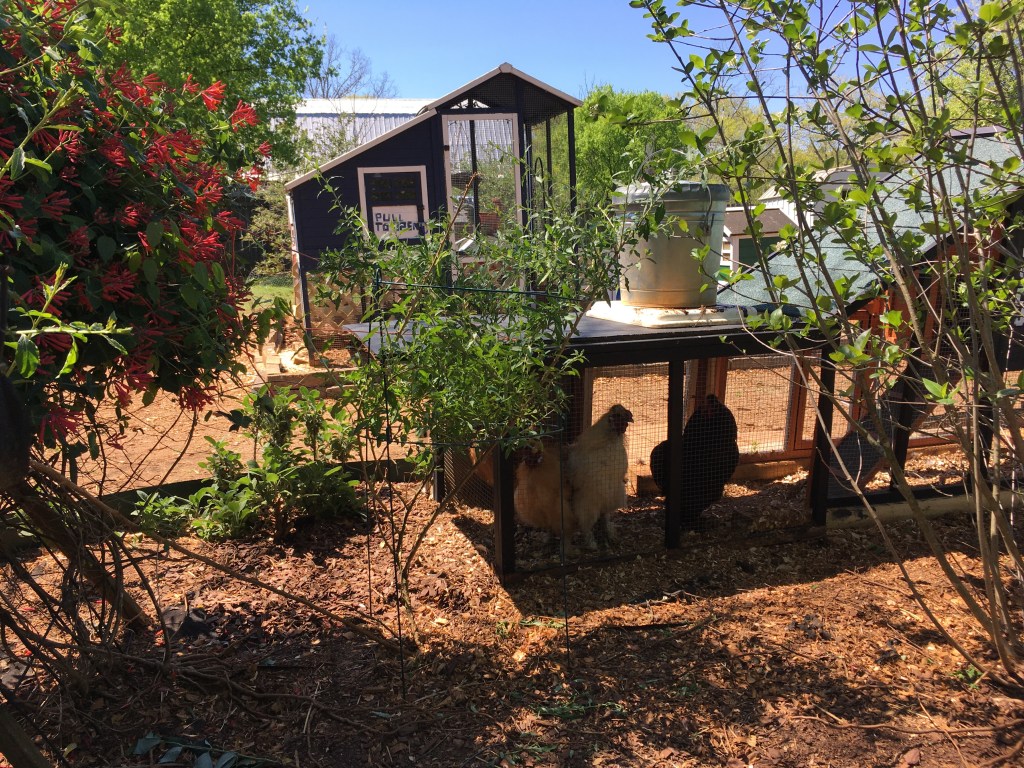
The natural body temperature of a chicken is between 107- and 109-degrees F, fatal for us but necessary for their survival; chickens are little furnaces wrapped in down feathers. A wind barrier is crucial for overwintering a flock because it allows the chickens to trap this heat next to their body where they need it to keep warm. Exposure to winds will lift their feathers, and they will lose the heat they worked hard to maintain. Given a draft-free place to call home, the chickens do the rest.

Roy (Buff Orpington Rooster) inspecting a snowman in the backyard.

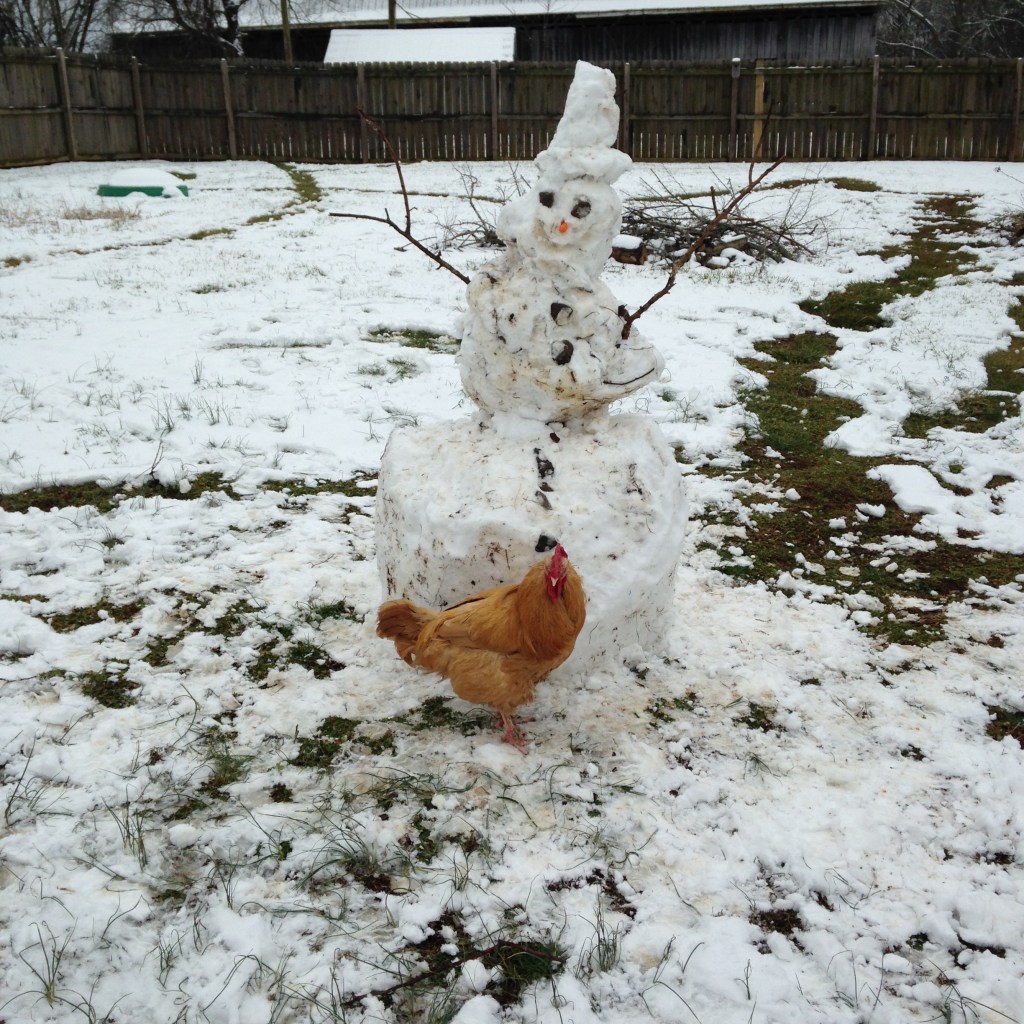
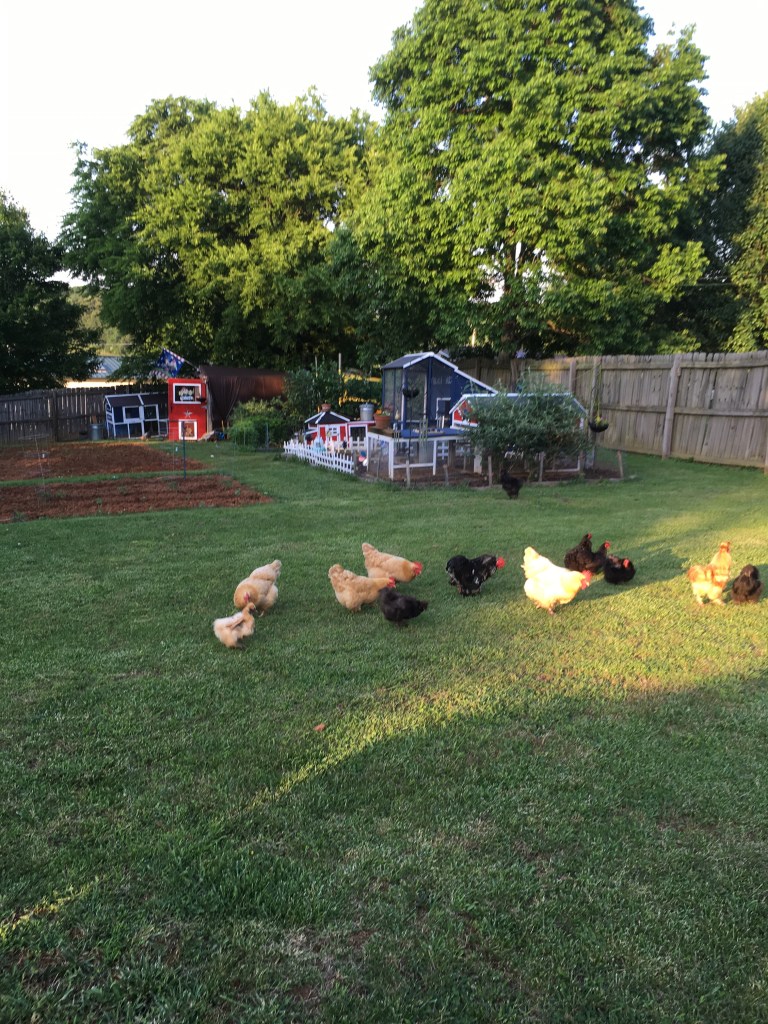
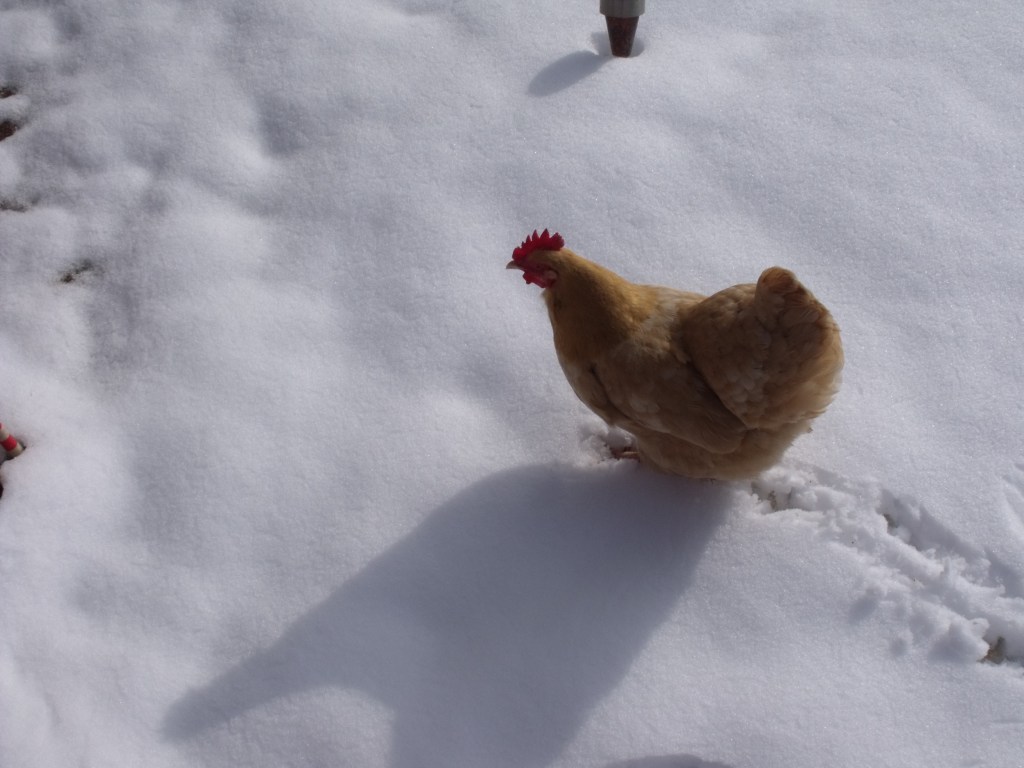
Is it safe to free-range the flock during the winter? The answer to this is absolutely yes. A winterized coop and pen protected from the wind, elements, and temperatures will allow flock members to determine their comfort level. Given access to the outdoors, individuals will spend some time free ranging, if they get a chill from the wind or precipitation, they will come to the coop, warm up, and then continue free ranging. Access to the outdoors will keep a flock happy and healthy as they have natural resources such as sunshine and fresh air.

While it may seem daunting, overwintering a backyard flock is simple and affordable. Providing a clean and dry coop and pen stocked with fresh water and feed is all that chickens require. Keep it simple and let the chickens do the rest.

I hope this post was helpful and made the process of winterizing your coop and overwintering your flock much easier. If you have any questions, feel free to leave a comment. You can also reach me as the following e-mail address: kuntryklucker@gmail.com

I check my e-mail often and will respond as soon as I can.

To watch a YouTube video on my procedure of winterizing The Kuntry Klucker, please click here.

To watch a YouTube video where I go more in depth on overwintering my flock, please click here.

Image Credit: Noelle K. Moser. A male cardinal perching on a snow-covered tree.

I am a multi-disciplinary writer, blogger, and web content creator. If you like this post, please peck the subscribe button.

If you like this blog, please visit some of my other blogs and online writing portfolio.

The Works of Noelle K. Moser – Online writing portfolio

Coffee and Coelophysis – A blog about dinosaurs.

Chicken Math University – A blog about homeschooling.

As always, thanks for reading. Till next time keep on crowing!

~ The Kuntry Klucker Crew ~

Prefab Coops, A Worthwhile Option.

In this post I will discuss a hot topic within the backyard chicken community. It’s a topic that is important, examining both side of the debate offers much in-depth knowledge. In this post, I will examine the topic of Prefab Vs. Hand-built coops. Showing that prefab coops can and do make very viable options for your flock.

Many chicken keepers do not like prefab coops, they recommend that newcomers build their own coop. I differ in regard to this opinion. I built my first coop, then added 5 prefab coops. I love prefab coops. They make viable options for those who cannot build a coop for various reasons be it financial, physical limitation, or conceptual. Wood working and carpentry is not for everyone, it’s a skill that requires hard work, training and can be very expensive. It can also be very dangerous if you have never worked with wood or high-powered tools before.

This is the story of my journey in both building a coop and owning prefabs. It’s my intention to help others who are not craftsman or builders to put your mind at ease with respect to prefab coops.

For those who are not familiar with what a prefab coop is, allow me to explain. When I refer to prefab coops, I am talking about coops that your see in farm stores, such as Tractor Supply or Rural King to name a few. They come in large boxes and require assembly which is very simple only requiring a screwdriver, a partner and a little elbow grease. Above I have pictured three of my largest prefab coops that I purchased from Tractor Supply (The TARDIS, Henwarts, and Hyrule). I will formally introduce you to all these coops a little later in this post.

I built my first coop, The Kuntry Klucker 10 years ago. I love my big coop, but I will say that it was the hardest, most dangerous project I ever undertook. I was new to chickens and followed the advice from more experienced keepers, which was “don’t buy a coop, build your own”. Not knowing much, that is what I did. I found out through this endeavor that I have no business using power tools. I nearly killed myself several times and spend $1000 more than I had intentionally set out to spend. After I cut the wood too short or at wrong angles, adding to those two trips to an Urgent Care Center, it got expensive. I realized that this was really bad advice that I followed from my experienced chicken keeper counterparts. Up till that point, I had no experience with wood working or carpentry in general.

So, how did I come to love prefab coops you may be asking. Well, as the saying goes, “you can’t have just one”. I fell in love with chickens and wanted more. I knew from my past experience that building my own coop was a suicide mission, so I began looking elsewhere. I began to entertain the thought of prefab coops against the better judgement of other poultry keepers. The fact was simple, I cannot build a coop, so I had to seek out other options.

To start, I read reviews, most will say something like this, “It looks good, but the quality is poor”. This is a general across the board review that you will see for a prefab coop. Don’t let this bother you, the coops given, and little love will do just fine. Anyway, knowing this I ordered my first prefab with a plan in mind. When it arrived, I put it together and was actually shocked at how well it was made. Drawing from the experience from my coop building disaster, I made a few adjustments. I updated the hardware cloth, the latches and gave the wood a good coat of barn and fence paint followed by a quality water seal. The results were stunning!! Not only did I not kill myself building the “kit coop” (all I needed was a screwdriver instead of a power saw) but after I made my adjustments it held up well, I mean really well! I live in the steamy south of East Tennessee. We get hot summers with lots of humidity, nasty spring storms, and ice in the winter. Mother Nature throws it all at us. Through all of this my prefab coops have held up very well. I do touch up the paint every other year, the hardware cloth and latches are still fine.

After the experience with my first prefab coop (which now has 5 years under its belt), I ordered more as my flock grew.

I now have 9 coops currently in operation, 7 of them are prefab coops. I have not had any predators get into my prefab coops, nor have I had any problems with the wood rotting (hence the water seal). The roof holds up well and the durability of the structures have withstood everything Mother Nature has thrown at them. I can honestly say that it would take a disastrous weather event to tear them down such as a tornado or derecho. If I get a tornado or other high wind event, I will have more to worry about than just damage to my prefab coops. Additionally, I have them insured under my homeowner’s property damage clause. If we experience a disastrous weather event, I will just put them in with all the other things that we need replaced should this unlikely situation actually occur.

Allow me to introduce you to the 6 prefab coops that call The Kuntry Klucker Farm home.

First came Roy’s Roost and Betsy’s Bliss. These two coops, (the smallest of all my coops) are situated in my spice and herb garden. Roy’s Roost was purchased to use as a hospital coop and hatch out coop. I use it for other purposes but these two are most predominate.

Betsy’s Bliss is my broody breaker. It is only big enough for one hen. The upper compartment is the coop area where food and water is kept, its also where the resident roosts at night. Below is the pen area. This coop is only used to restore a broody hen back to her normal behavior. Stints in Betsy’s Bliss are usually short lived. After a short stay in Betsy’s Bliss, the resident is granted parole pending good behavior.

Next, and the first of my large prefab coops is Hyrule. This coop belongs to my youngest son. Hyrule houses White Crested Polish Bantams and Frizzle Cochin Bantams. After witnessing the durability of this large prefab coop, my chicken addiction really took off.

The next prefab coop to join the backyard “coop-hood” was the TARDIS.

Belonging to my eldest son and home to Bantam Silkies, the TARDIS was the next large prefab coop to land in the backyard. My son is a huge Dr. WHO fan and wanted to paint and name his coop after the TARDIS. His artistic skills really made this “Time and Relative Dimension in Space” machine come to life. I was concerned that due to its height it would be easily knocked over in strong winds. To my surprise it has held up remarkably well, surviving several very rough spring seasons. The TARDIS is 4 years old and still holding up very well. Even after being battered by several severe spring seasons, it is showing no signs of slowing down.

The final large prefab coop to be added to the “coop-hood” is Henwarts.

Henwarts was added spring of 2018 and has so far survived several hails storms and a few ice storms. Henwarts is home to Silver Lace Wyondottes and Lavender Orpingtons. Painted the colors of the Ravenclaw house at Hogwarts, all the residents are named after characters from the “Harry Potter” series.

This spring (April 2020) we added one more coop to our coop-hood. A medium size coop bearing the name “Curisable”. This Dalek chook interplanetary ship belongs to my eldest son. Along with the TARDIS, the Crucible is home to 4 Silkie breeding roosters.

Now that I have introduced you to all the prefab coops that call the Kuntry Klucker Farm home, allow me to tell you how I preserve these coops for long lasting value.

How to extend the life of a prefab coop.

Just like everything else in life, a prefab coop needs maintenance. Here are some hacks that I have discovered along the way that resulted in the longevity and durability of my prefab coops.

1. Grounding: Make sure to set the prefab coop on large outdoor treated lumber planks. It is important to make sure that the prefab coop does not touch the ground. I am sure that it would be fine, but I like to raise my prefab coops off the ground a little bit. I set them on large outdoor treated landscaping 4×4’s or 4×6’s. These large heavy pieces of lumber serve as a buffer between the ground and the coop. With 4” deck screws, I secure the coop to these large timbers of wood. Although my prefab coops have held up well on their own, this adds a bit more stability to the coop. Furthermore, this ensures that the coop is well grounded and better withstand strong winds.

2. Latches: Prefab coops come with latches installed. I found that they do suffice for the purpose intended but I like to add a bit more security to my coops. Typically, I will add several more latches to the coops for added security. Most prefab coops come with barrel latches, I like to replace or add to these latches’ predator proof latches. Below is a photo of my preferred latching mechanism that I use on all my coops.

3. Paint: Prefab coops come painted but only with a primer or wood stain. Be sure to fully paint your prefab coops with a quality outdoor oil-based or latex paint. Then follow with a topcoat or water seal appropriate for the paint you used. This will aid in the life expectancy of the wood. I touch up or repaint my prefab coops about every other year depending on the need. In doing, so I have never had an issue with the painted wood rotting.

4. Hardware Cloth: Prefab coops do come with hardware cloth already attached to the coop and pen sections. I like to add another layer for my own peace of mind. This is probably not necessary since the hardware cloth that comes on the coops is a heavy gauge. I also make sure that I add a few more staples to ensure that the hardware cloth stays on.

With these 4 simple adjustments and additions, my prefab coops have held up just as well as the coop I built 10 years ago.

This is my story, I learned from experience that building your own coop as many suggest, is just not feasible for everyone. Since I discovered prefab coops, I will never build one from scratch again.

I have extended experience with prefab coops; I can honestly recommend them as a viable option for others who cannot or do not have the skills necessary to build a chicken coop. In my opinion they are a worthwhile option.

I will add, I will only purchase my coops from Tractor Supply or a local CO-OP. Reason being…if it arrives damaged (so far none of mine have) they will replace or exchange it for me. If I order from retailers, it would be harder to return it to the store. Prefab coops are great, but get them from TSC, Rural King or other reputable local co-ops in your area that stock them. If you have problems, you are not far from help.

If you have any questions about prefab coops, please post them in the comments. You can also drop me a line at kuntryklucker@gmail.com.

To see a video of the “coop-hood”, visit our YouTube channel.

I am a published author, multi-disciplinary writer and blog contributor. If you like this blog, please visit some of my other sites.

Knowledge of the Spheres – Exploring the Celestial Spheres!

Coffee and Coelophysis – A blog about Dinosaurs!

Chicken Math University – Adventures in Homeschooling.

If you liked this post, peck the subscribe button. As always, thanks for reading. Till next time, keep on crowing!

~ The Kuntry Klucker Crew ~